3/30/12
3/28/12
XS360 gas tank on an XS650
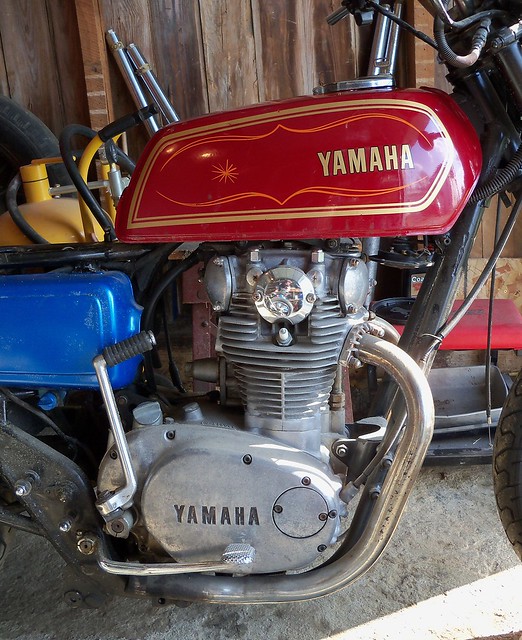
I set the swap meet XS360 tank on my '75 XS650 and loved it.
The only real issue is the petcock. It has a large vacuum petcock and doesn't clear the engine. I might be able to find a small aftermarket non-vacuum petcock that will work, so I'll have to check around. If not I'll block it off, weld in a bung farther back, and use a screw-in type petcock.
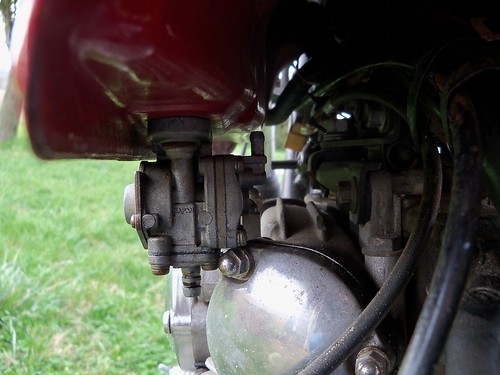
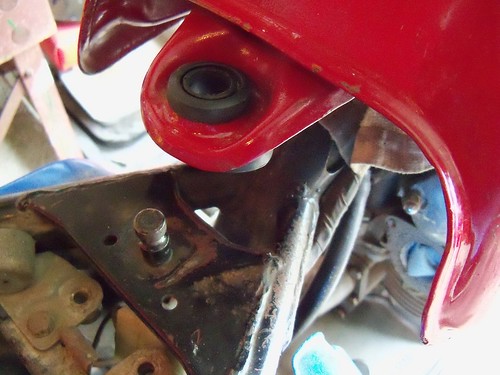
The two front mounts on the tank only needed narrowed up 1/8 inch on each side to fit. The rear tank mount needs a new bracket on the frame. When making the mount, I made it to sit lower than what I thought it would likely need. This way later on I can use large flat washers to shim it to just the right height.
Here is a scrap piece of flat steel and an old piston pin. The pin is to cut down to use as a sleeve inside the rear tank mount rubber bushing.
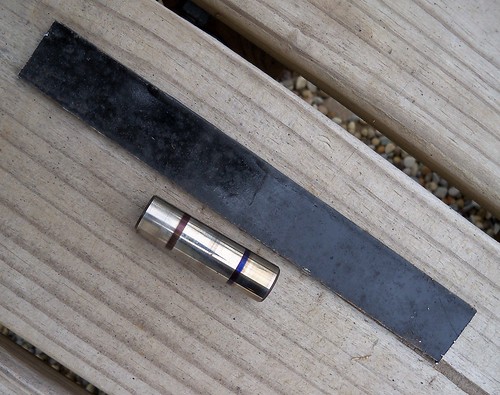
Cut, bend and drill.
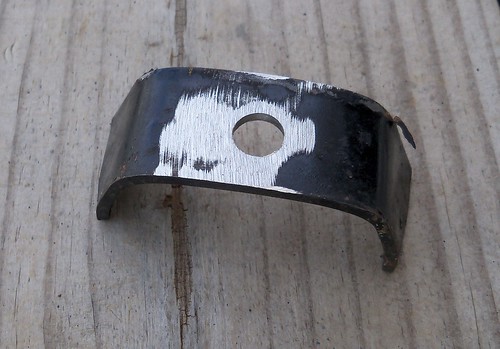
I welded a nut on the bottom, then positioned and welded to the frame.
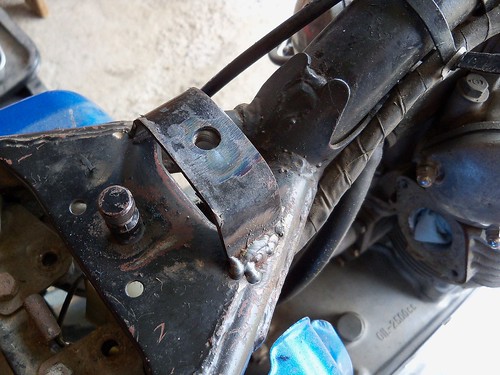
The tank is mounted. I had to throw on a set of clubmans to see how it would look. This is the XS650 that I traded an old utility trailer for in 2010. Ugly, but ran decent. I then found cam chain guide pieces in the sump filter, which needs the engine removed to fix. When that happens I'll sandblast and paint the frame. The original plan was a scrambler/roadster, but I picked up the '79 XS650 since then, so might go with clip-ons and rearsets on this one.
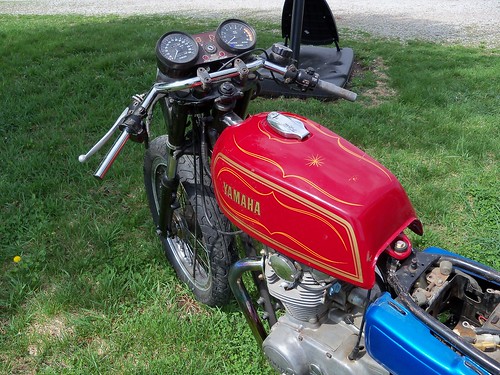
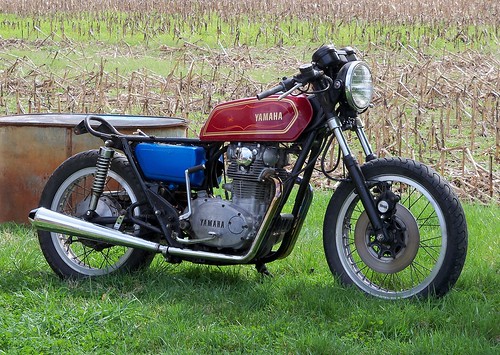
I also test fit the exhaust system from the swap meet. I like it, but might shorten it up a bit, and give it more upsweep. The gauges and headlight will likely be lowered also.
The only real issue is the petcock. It has a large vacuum petcock and doesn't clear the engine. I might be able to find a small aftermarket non-vacuum petcock that will work, so I'll have to check around. If not I'll block it off, weld in a bung farther back, and use a screw-in type petcock.

The two front mounts on the tank only needed narrowed up 1/8 inch on each side to fit. The rear tank mount needs a new bracket on the frame. When making the mount, I made it to sit lower than what I thought it would likely need. This way later on I can use large flat washers to shim it to just the right height.

Here is a scrap piece of flat steel and an old piston pin. The pin is to cut down to use as a sleeve inside the rear tank mount rubber bushing.

Cut, bend and drill.

I welded a nut on the bottom, then positioned and welded to the frame.

The tank is mounted. I had to throw on a set of clubmans to see how it would look. This is the XS650 that I traded an old utility trailer for in 2010. Ugly, but ran decent. I then found cam chain guide pieces in the sump filter, which needs the engine removed to fix. When that happens I'll sandblast and paint the frame. The original plan was a scrambler/roadster, but I picked up the '79 XS650 since then, so might go with clip-ons and rearsets on this one.

I also test fit the exhaust system from the swap meet. I like it, but might shorten it up a bit, and give it more upsweep. The gauges and headlight will likely be lowered also.

3/24/12
today
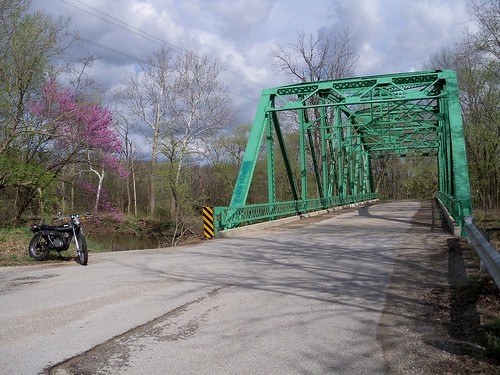
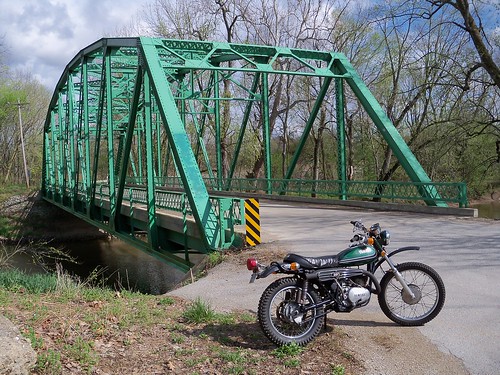
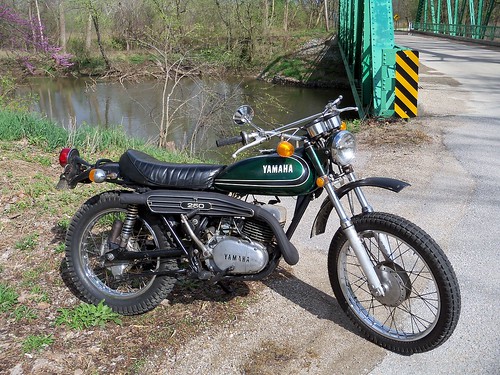
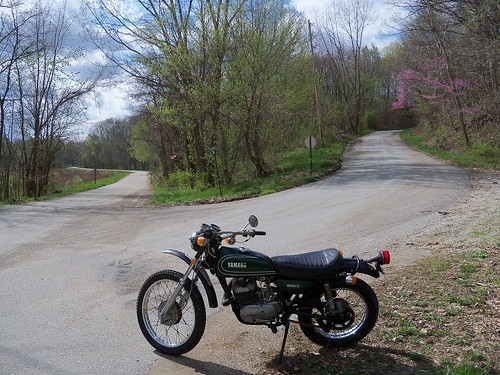
Out riding today I took some pictures inspired by The Bridge Club. I put the thermal flow shocks on that I picked up at the swap meet last weekend. They are a nice improvement for sure. They are much less harsh than the stockers, and really soak up the bumps. I haven't installed the fork brace yet. It might be pretty close to the fender at full travel, so I'll have to see about that.
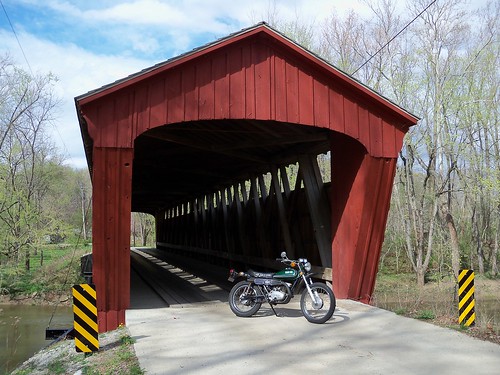
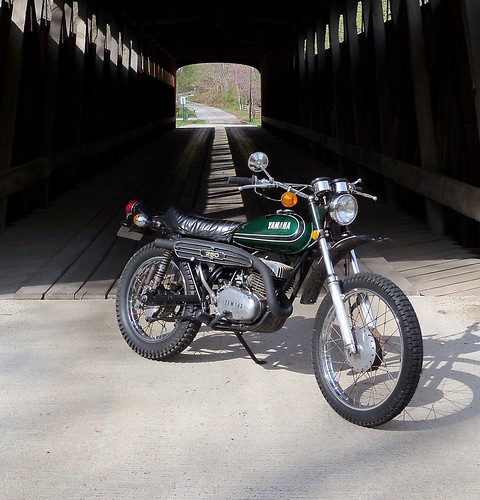
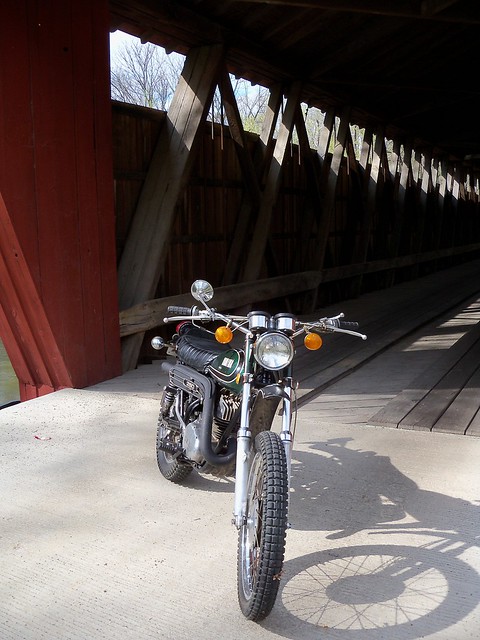
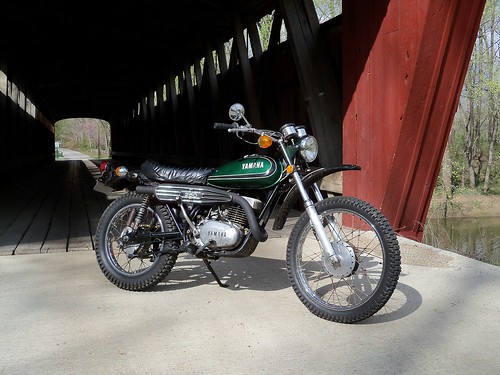



3/18/12
the swap meet
The vintage motorcycle swap meet at the Boone County Fairgrounds had a very nice turnout. The indoor vendor area was filled, with some vendors outside also. I'll be back next year for sure. I didn't take any pictures at the swap meet, but should have as there where some very nice bikes for sale. Here is what I bought, on my shop porch after getting home.
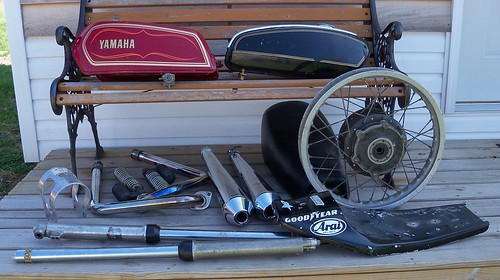
I picked up a nice Norton peashooter style XS650 exhaust, and early TT500 forks and seat. I also got an XT500 rear wheel, as I'd like to go with spoke wheels on my SR500.
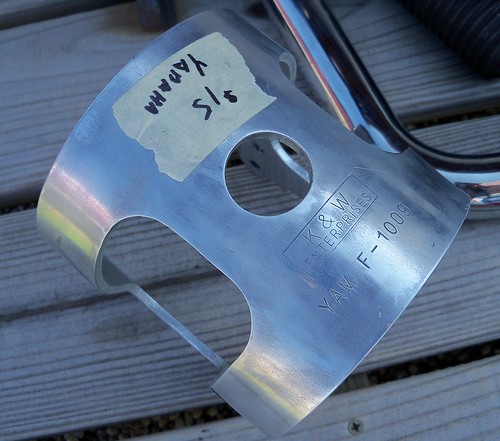
For my DT3, I got a cool K&W fork brace and a set of MX360 thermal flow external reservoir shocks. The neat thing about those shocks is that they can be rebuilt.
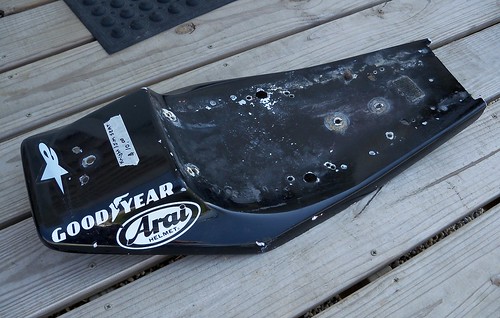
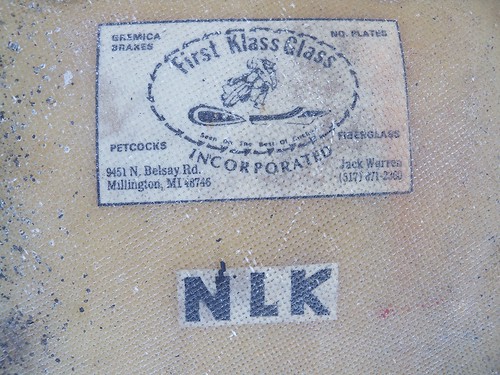
This flat track seat base was just too neat to pass up, and very solid. It fits an XT500 frame nicley.
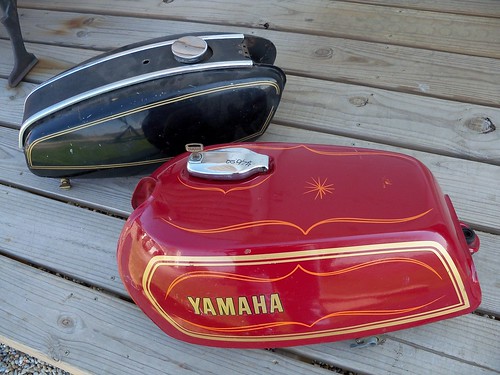
I picked up a couple tanks for future use. One is an XS360 tank, and the other is a '71 or so BSA A65 tank. The BSA tank just has a nice slim look to it.
I like to use ebay, but it can't beat a swap meet for fun and deals, and there were deals to be had. The two seats I bought where $10 each, and the most expensive thing was the XS650 exhaust system at $65. It's great to be able to handle the part, know exactly what you are getting, and no shipping costs.

I picked up a nice Norton peashooter style XS650 exhaust, and early TT500 forks and seat. I also got an XT500 rear wheel, as I'd like to go with spoke wheels on my SR500.
For my DT3, I got a cool K&W fork brace and a set of MX360 thermal flow external reservoir shocks. The neat thing about those shocks is that they can be rebuilt.

This flat track seat base was just too neat to pass up, and very solid. It fits an XT500 frame nicley.


I picked up a couple tanks for future use. One is an XS360 tank, and the other is a '71 or so BSA A65 tank. The BSA tank just has a nice slim look to it.

I like to use ebay, but it can't beat a swap meet for fun and deals, and there were deals to be had. The two seats I bought where $10 each, and the most expensive thing was the XS650 exhaust system at $65. It's great to be able to handle the part, know exactly what you are getting, and no shipping costs.
3/17/12
replacing Triumph plastic fuel fittings
If you own a Hinckley Triumph with the infamous plastic fuel fittings, like my 2003 Speed Four, and are wanting to go with metal fittings, here are a few tips.
Here is the problem, the brittle plastic fuel fittings which break easily. The male part of the fitting was recalled, but the recall didn't apply to the female fittings in the tank. I never took mine in, but decided I'd replace both with metal when the time came, and here it is with the white return fitting breaking when I recently removed the tank. I've always been very careful with them, but it still broke. At least it was a convenient time to break. I've heard of them breaking out on the road.

Here is the broken part still in the female fitting.

What makes this job tougher than you'd think is that the fittings generally break off in the tank when you go to unscrew them. I've heard of them coming out without breaking, but mine snapped right off.

After removal I gave the red one a super gentle pry to see how easily they break. They are extremely brittle.

The first step is to remove the pump plate from the tank.
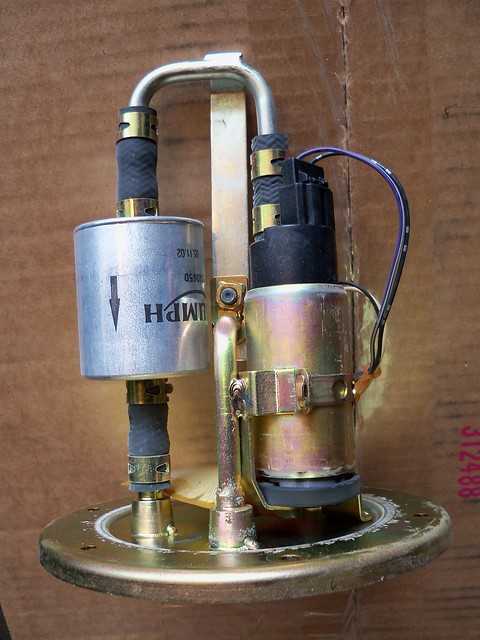
Then the plate gets disassembled. This makes it easier to work, and prevents damaging or getting shavings in the pump. The electrical connection pass-through doesn't need removed.
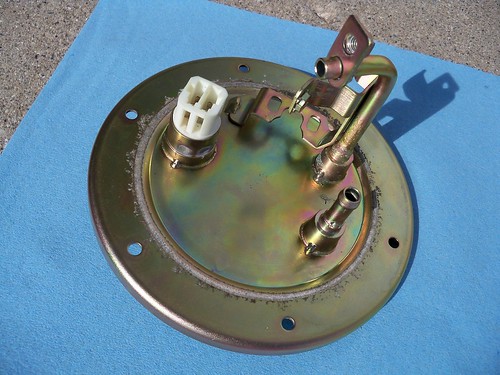
So as to not damage the plate, I decided to take a careful approach to cleaning out the broken section of the fittings. You'll need a hobby knife and a beer or three.

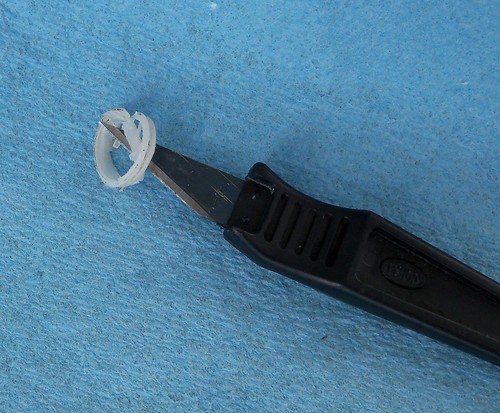
Start by shaving the fitting. It cut very easily, and took less time than I thought it would. The idea is to get it down to the threads.
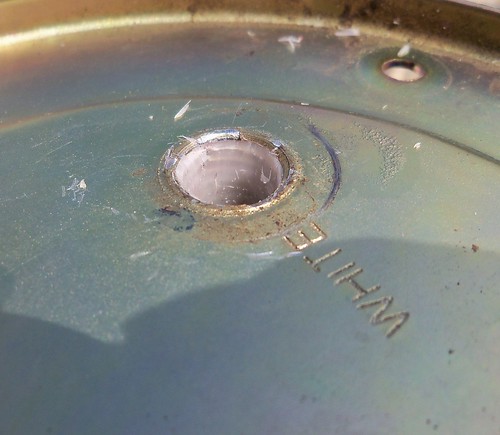
Pick out the pieces as you go.
Each fitting has a part inside that will fall out once they are opened up a bit.
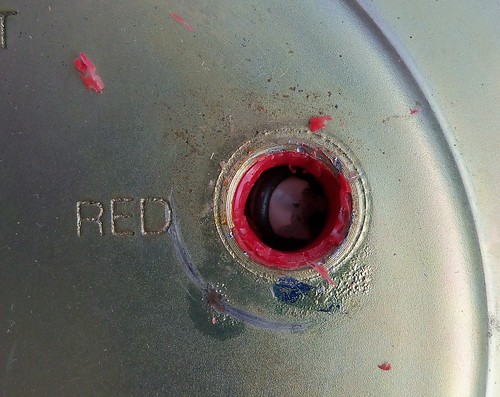
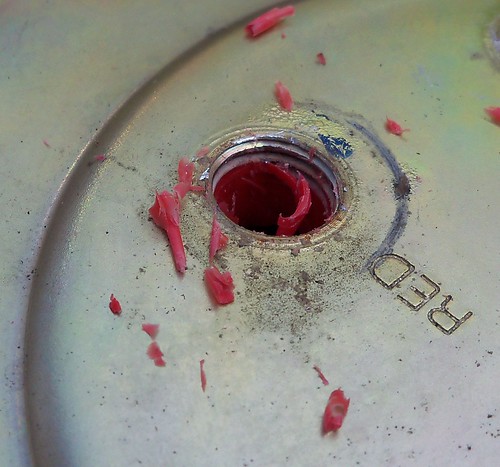
It's getting there.
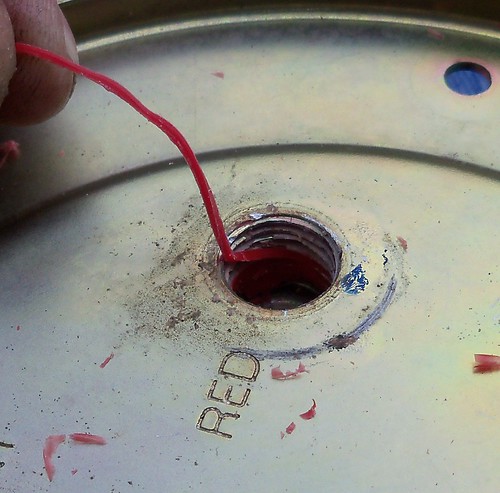
Once you shave it far enough, some parts pull out like a string.
The reason these fitting are such a pain is that there are basically glued in place. Here you can see the remnants of whatever they used.
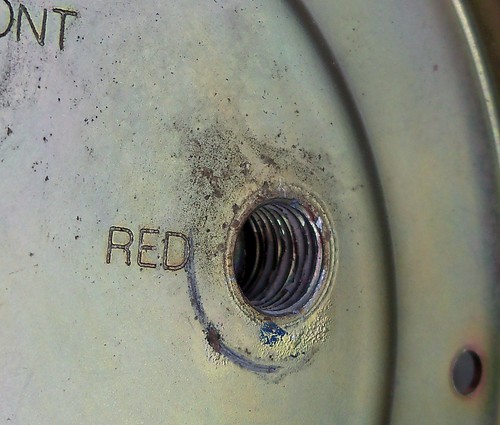
I cleaned the sealant out with a tap. After this a blew them out with compressed air, and then hosed them out with carb cleaner. You don't want any shavings left inside, and the threads have to be very clean.

I used a metal fitting kit from Team Triumph of Wisconsin. The kit cost $82 shipped, and they are of a very high quality. You could piece a kit together for less, but I decided to go with this, and I'm very happy with it.
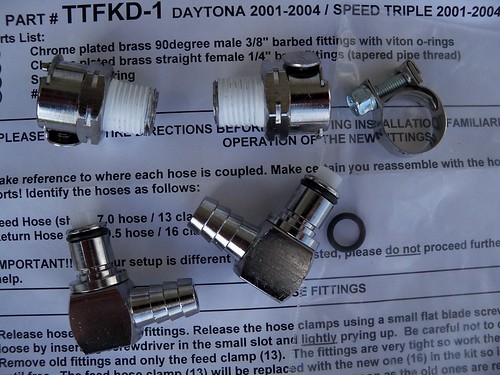
Ready to reassembly the tank. These don't thread in all the way, being tapered pipe thread, but only about 2/3 at the most.

The hose barb fittings are just a straight swap compared to the tank fittings. The new fittings still need careful handling, but mainly to prevent damaging one of the viton o-rings. A bit of grease or transmission fluid can help prevent that.

Here is the problem, the brittle plastic fuel fittings which break easily. The male part of the fitting was recalled, but the recall didn't apply to the female fittings in the tank. I never took mine in, but decided I'd replace both with metal when the time came, and here it is with the white return fitting breaking when I recently removed the tank. I've always been very careful with them, but it still broke. At least it was a convenient time to break. I've heard of them breaking out on the road.

Here is the broken part still in the female fitting.

What makes this job tougher than you'd think is that the fittings generally break off in the tank when you go to unscrew them. I've heard of them coming out without breaking, but mine snapped right off.

After removal I gave the red one a super gentle pry to see how easily they break. They are extremely brittle.

The first step is to remove the pump plate from the tank.

Then the plate gets disassembled. This makes it easier to work, and prevents damaging or getting shavings in the pump. The electrical connection pass-through doesn't need removed.

So as to not damage the plate, I decided to take a careful approach to cleaning out the broken section of the fittings. You'll need a hobby knife and a beer or three.

Start by shaving the fitting. It cut very easily, and took less time than I thought it would. The idea is to get it down to the threads.

Pick out the pieces as you go.

Each fitting has a part inside that will fall out once they are opened up a bit.

It's getting there.

Once you shave it far enough, some parts pull out like a string.

The reason these fitting are such a pain is that there are basically glued in place. Here you can see the remnants of whatever they used.

I cleaned the sealant out with a tap. After this a blew them out with compressed air, and then hosed them out with carb cleaner. You don't want any shavings left inside, and the threads have to be very clean.

I used a metal fitting kit from Team Triumph of Wisconsin. The kit cost $82 shipped, and they are of a very high quality. You could piece a kit together for less, but I decided to go with this, and I'm very happy with it.

Ready to reassembly the tank. These don't thread in all the way, being tapered pipe thread, but only about 2/3 at the most.

The hose barb fittings are just a straight swap compared to the tank fittings. The new fittings still need careful handling, but mainly to prevent damaging one of the viton o-rings. A bit of grease or transmission fluid can help prevent that.

3/14/12
SR500
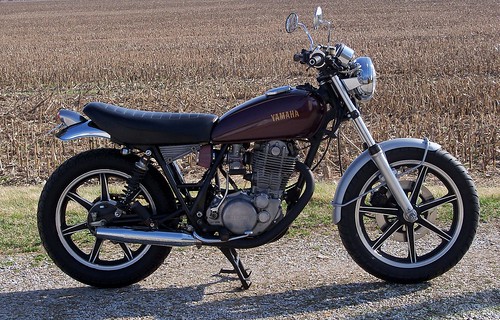
I got my SR out for a ride today. It has been some incredibly nice weather for March.
If you are going to be in Indianapolis this weekend for the AMA Supercross race and looking for something else to do, the Eiteljorg Museum of American Indians and Western Art has a motorcycle exhibit called Steel Ponies running through August 5th. I'm really looking forward to the vintage motorcycle swap meet on Sunday, March 18th, at the Boone County Fairgrounds. It is for vintage Japanese and European motorcycles and parts. This is the first year for it, and hopefully it will be a yearly event.

