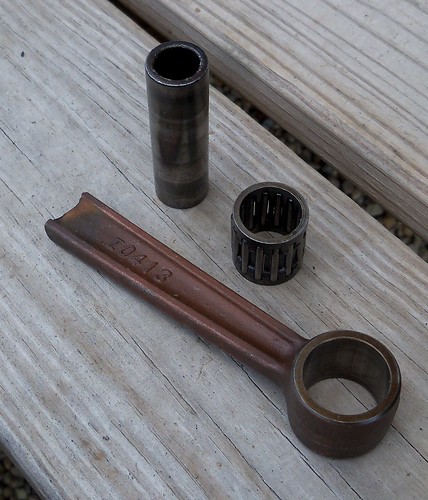
I cut the corners off a nut so it would fit inside the pin...

...and welded it in.This is what will hold the pedal in place.

I welded in a large washer to the pivot pin behind the pedal, and tacked the pivot pin to the footrest mounts. Once this was in place I worked the lengths of the linkages.

A couple nuts and some bronze bushings...

...part of a wrench...

...and I have the brake rod. I drilled out the centers of the nuts to fit the bushings, and then the bushings cut just slightly wider than the nuts. A heim joint type linkage would probably be better, but this should work.

Starting on the brake pedal, I first drilled and tapped a hole, then trimmed a nut to fit and welded it in so I'd have more thread area and a flat surface to go against the brake rod.

The last part of the linkage was the splined section from the stock brake pedal cut, drilled, and tapped.

The front part of the stock pedal...

...welded to the pivot for a completed brake pedal.

Here it is put together on the bike. Almost done on this side, other than some cosmetic welding and grinding. Like with most rearsets on an XS650 the kicker pedal needs heated and bent to clear, so I'll have to work that out next. The brake pedal feels excellent, just in the right spot, and pedal pressure is about right, but hard to say for sure before riding. I'm diggin' the looks of them. They look like something from a blacksmith shop.


NICE!
ReplyDeleteNice work buddy! I love the "forged in USA" on your linkage.
ReplyDeleteright on. That is a cool way to use both the conrod and the wrench.
ReplyDeleteThanks!
ReplyDelete