12/22/12
XS650 cafe project
I'm using All Balls wheel bearings on the '75. If working on an XS650, note that the rear wheel has a second spacer/reducer in the drive side bearing that needs transferred to the new bearing before installation. The spokes are the standard plated sets from MikesXS. I almost went with stainless, but for $32 a set these are very nice. They come 40 to a set for some reason, even though it is a 36 spoke wheel.
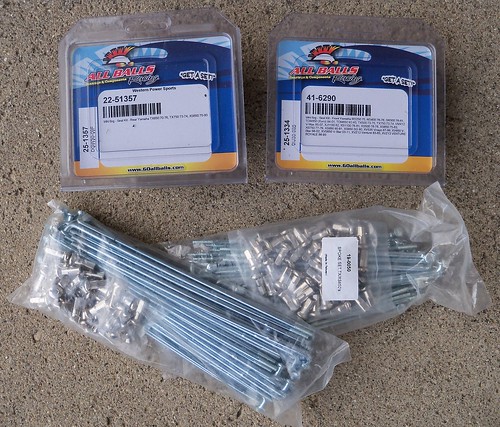
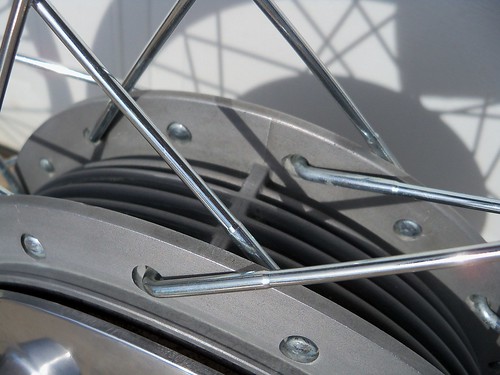
The short hook spokes are inside, and long hook outside. I place both inside and outside spokes in one side of the hub, and then inside only on the other, then point them all in the proper direction. After setting the rim over the hub and getting the nipples started on those, I then drop in the outside spokes on the remaining side and install the nipples.

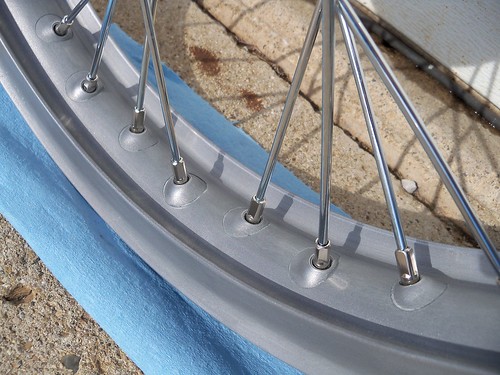
Here they are loose laced, out in the sun to see how they will look.
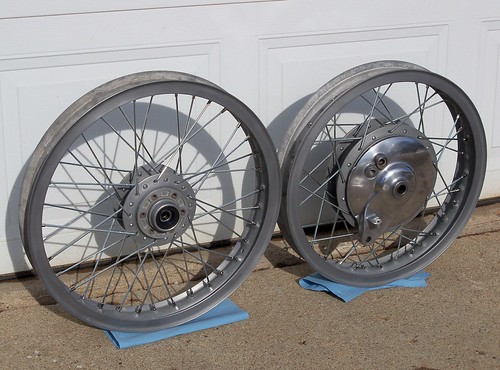
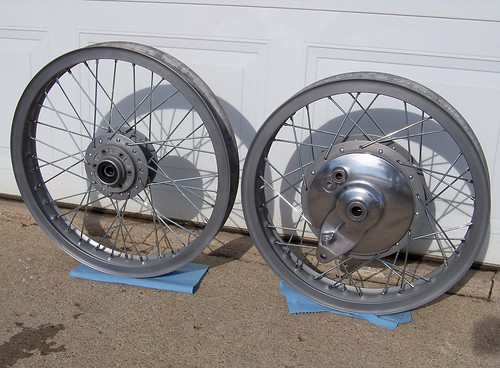
I'm really liking the brushed look I did on the rims and hubs.
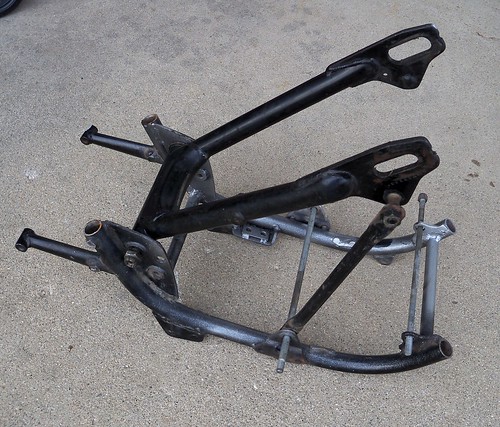
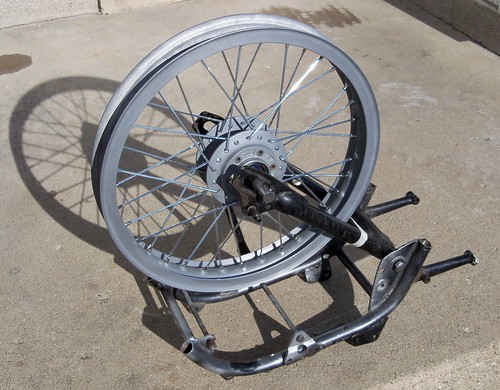
For truing I sometimes just clamp an old swingarm in a bench vise, but since the engine stand I made out of a Suzuki lower frame section still had the swingarm pivot, I just used it.

The short hook spokes are inside, and long hook outside. I place both inside and outside spokes in one side of the hub, and then inside only on the other, then point them all in the proper direction. After setting the rim over the hub and getting the nipples started on those, I then drop in the outside spokes on the remaining side and install the nipples.

Here they are loose laced, out in the sun to see how they will look.


I'm really liking the brushed look I did on the rims and hubs.

For truing I sometimes just clamp an old swingarm in a bench vise, but since the engine stand I made out of a Suzuki lower frame section still had the swingarm pivot, I just used it.


12/16/12
XS650 cafe project
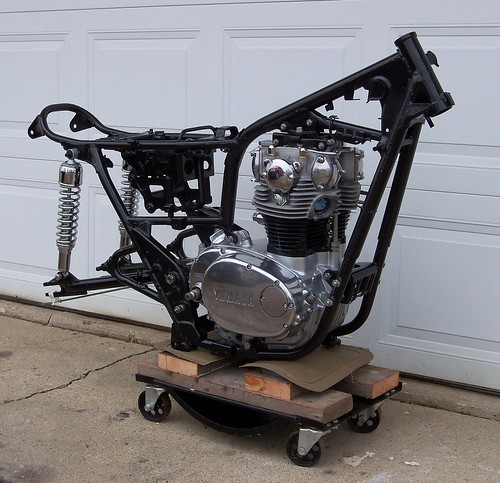
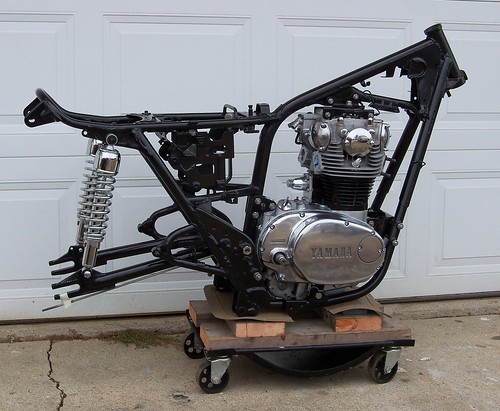
I got started putting the '75 back together. Since the frame was bare I did the sideways engine installation method; laying the engine on it's side on styrofoam blocks and fitting the frame over the engine. It is easier on the back, and prevents scratches to the frame. I got bronze swingarm bushings from MikesXS. On my '79 I used bushings from TC Bros Choppers. I thought they were likely the same, but the bushings from TC Bros were a much easier fit, needing just a rubber mallet to install, where the ones from MikesXS were a press fit. Soon will be wheel lacing and assembling the front end.


12/9/12
12/8/12
XS650 project
The '75 XS engine right after coming out of the frame...

...and ready to go back in.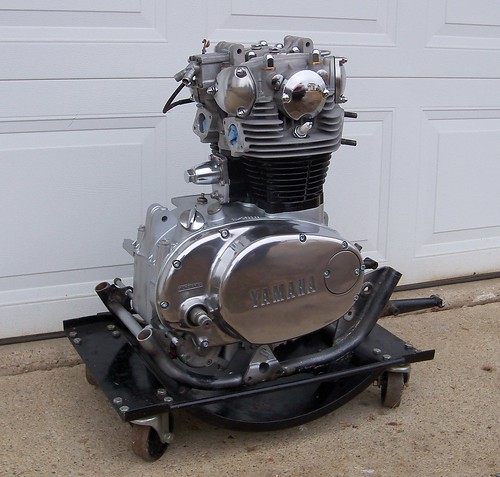
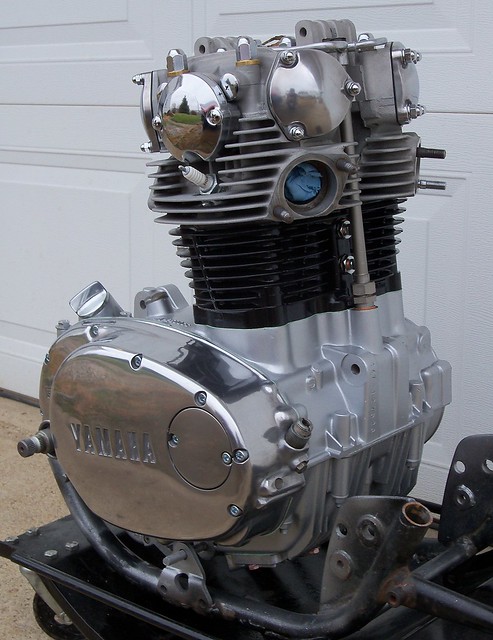
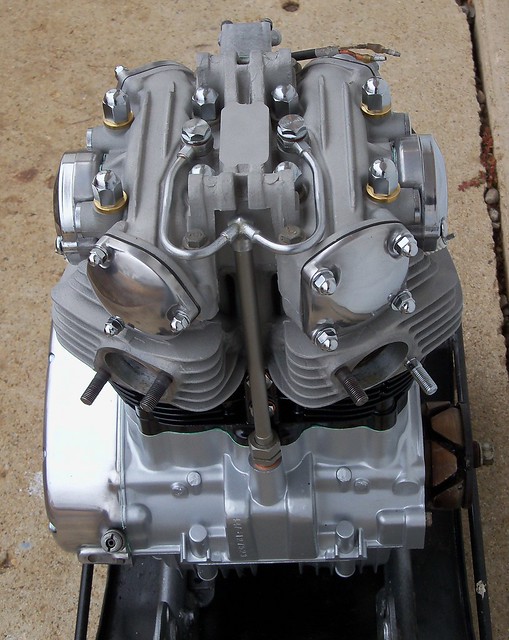
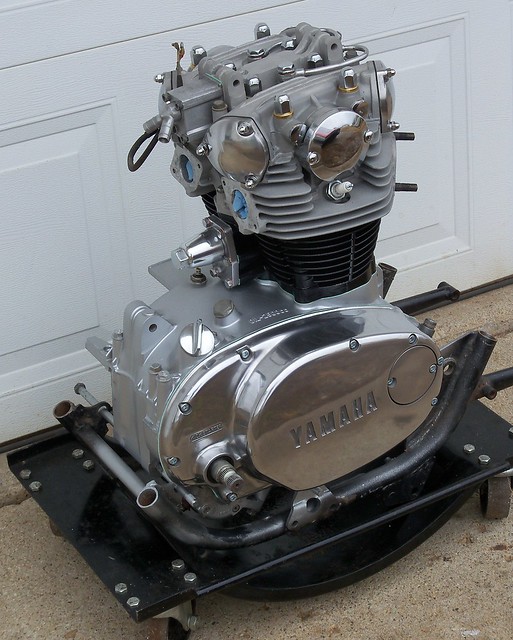
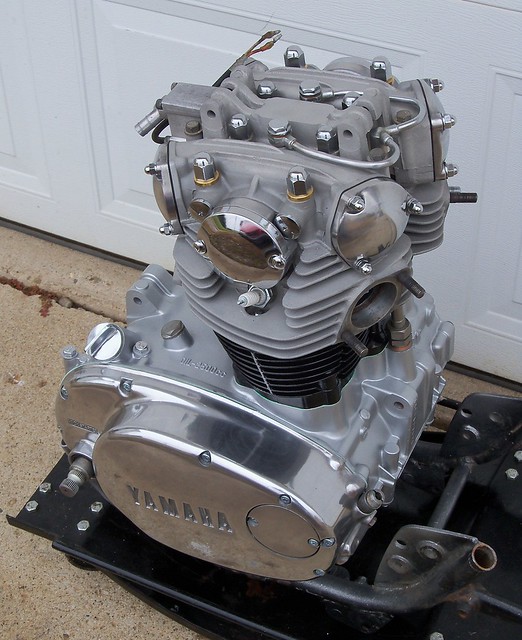
This engine ran good when I got it, and only 8900 miles, but had the failing front cam chain guide. Fixing the front cam chain guide means the head comes off, so a good time for top end rebuild. The engine was in good shape, and I ended up really good budget-wise. I lapped the valves and honed the cylinders myself, so free labor. Here is the complete parts and price list, all of which I bought from MikesXS.
Athena premium gasket set------------65.00
cam chain DID 219FTssx106---------49.50
cam chain tensioner arm---------------65.00
front cam chain guide------------------32.00
piston rings standard-----(2x32.00)--64.00
piston pin clips----------------------------3.00
clutch spring allen bolt kit--------------33.00
brass head washers--------(4x2.00)----8.00
top end fastener set----------------------49.50
top end copper washer sealing set------6.50
engine case screw set--------------------10.00
copper drain plug gaskets----------------3.50
sump filter--------------------------------29.50
side filter----------------------------------10.50
total-------------------------------------$429.00
Other than those parts, the only money spent was one new exhaust stud, a couple cans of engine paint and cleaning materials. I had the two cam seals and kickstart seal left over from a seal kit I'd bought for the '79. The bottom end seals are just as easy to replace in the frame. I'll swap them out later on if they leak. This bike had the #4 starter gear issue, and I crimped the spring in a vise as shown in this how-to. I'd planned on just getting rid of the electric start, but if this fixes it for no cost I'll keep it.

...and ready to go back in.


This engine ran good when I got it, and only 8900 miles, but had the failing front cam chain guide. Fixing the front cam chain guide means the head comes off, so a good time for top end rebuild. The engine was in good shape, and I ended up really good budget-wise. I lapped the valves and honed the cylinders myself, so free labor. Here is the complete parts and price list, all of which I bought from MikesXS.
Athena premium gasket set------------65.00
cam chain DID 219FTssx106---------49.50
cam chain tensioner arm---------------65.00
front cam chain guide------------------32.00
piston rings standard-----(2x32.00)--64.00
piston pin clips----------------------------3.00
clutch spring allen bolt kit--------------33.00
brass head washers--------(4x2.00)----8.00
top end fastener set----------------------49.50
top end copper washer sealing set------6.50
engine case screw set--------------------10.00
copper drain plug gaskets----------------3.50
sump filter--------------------------------29.50
side filter----------------------------------10.50
total-------------------------------------$429.00
Other than those parts, the only money spent was one new exhaust stud, a couple cans of engine paint and cleaning materials. I had the two cam seals and kickstart seal left over from a seal kit I'd bought for the '79. The bottom end seals are just as easy to replace in the frame. I'll swap them out later on if they leak. This bike had the #4 starter gear issue, and I crimped the spring in a vise as shown in this how-to. I'd planned on just getting rid of the electric start, but if this fixes it for no cost I'll keep it.

