7/29/12

XS650 cafe' project

Getting started on the XS650 rebuild, I'm making an extra effort to stay organized. On small projects, like my SR500, it doesn't make much difference. On a long term project, where every nut and bolt gets touched, it can be a big time and money saver. A note book, freezer bags, labels, and a separate camera card (just for this project).
100_5624

I also made a shelf unit from some scrap wood, just for parts that will be going on this bike. This avoids them from getting cluttered with the parts that aren't being used, or other parts.
100_5626

The freezer bags are great for keeping the small bits organized and separated.
100_5646

Lots of detailed pictures can be a big time saver during reassembly, taking the guess work out of things like harness routing. I bought the separate camera card just for this so I won't have to sort through other stuff just to find what I'm looking for. This bike is really more of a resto-mod, being that most of the machine is staying stock, so much of the bike will go back as it was.
100_5659

100_5678

It will likely be 7 months before reassembly starts, so notes of certain things can be a big help later on. Writing down now what parts that will need ordered can save from forgetting something and having to pay shipping costs twice.
100_5715

Just need to remove the engine, and then the real work starts.
100_5713

7/27/12

XS650 cafe' project

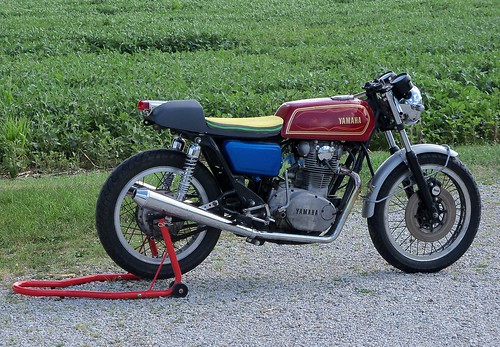
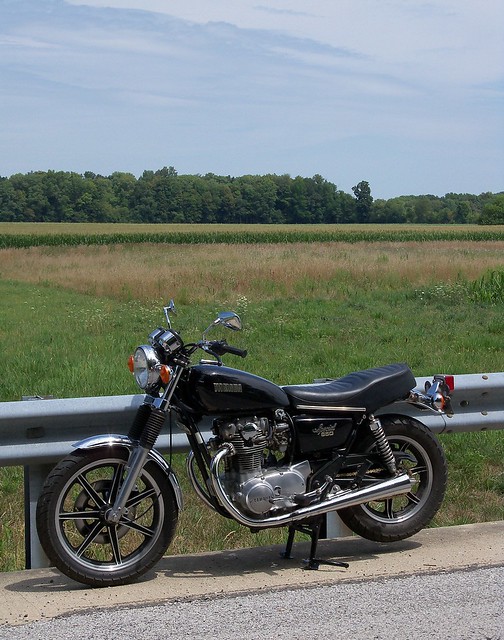
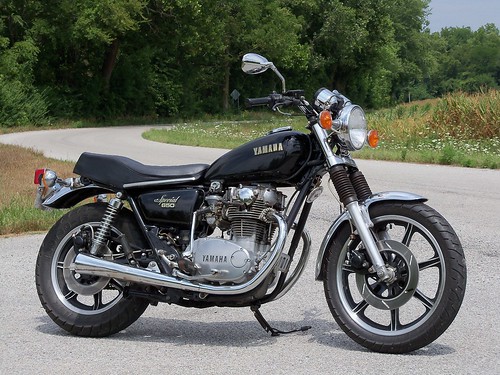
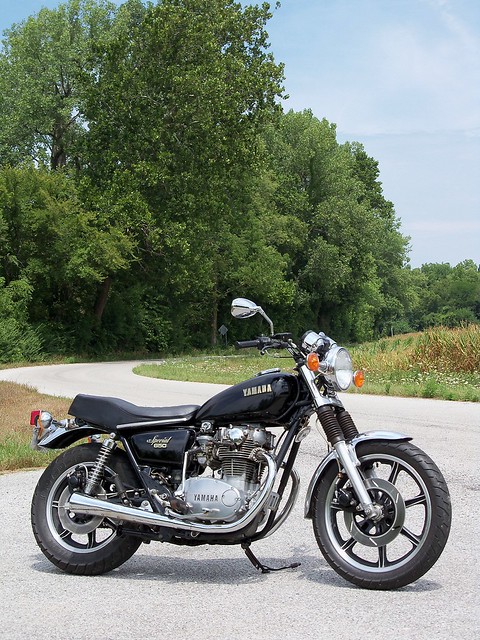
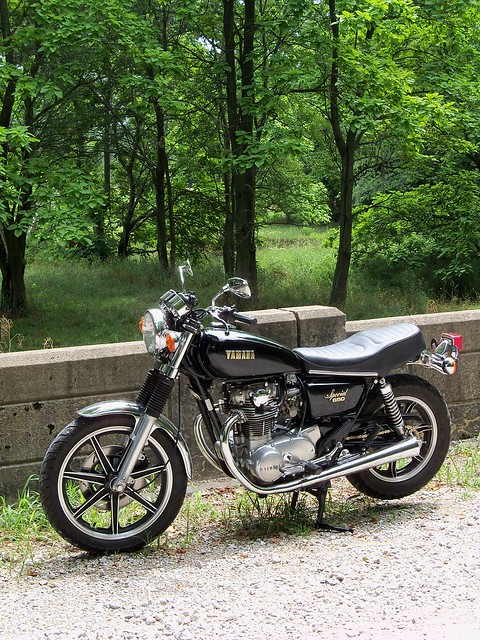
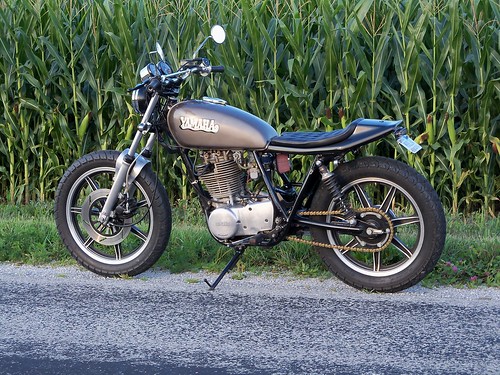
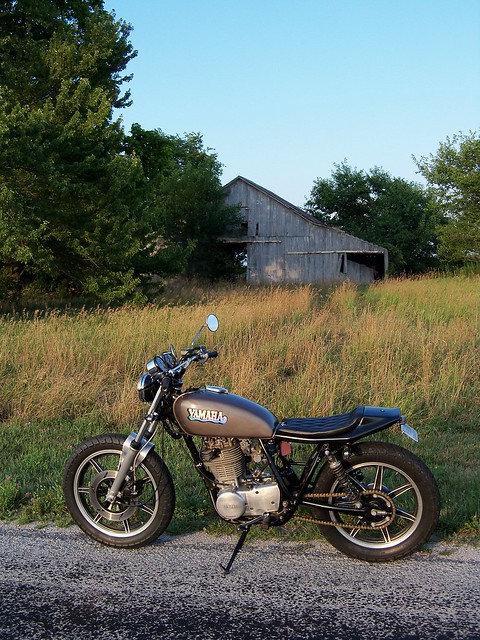
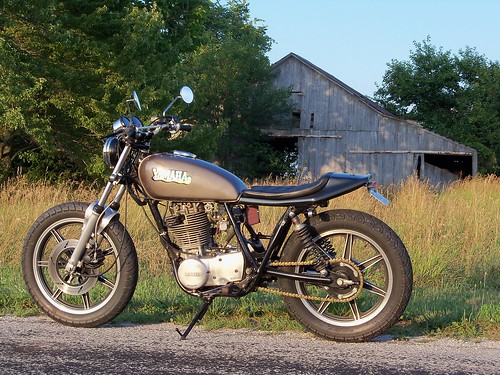
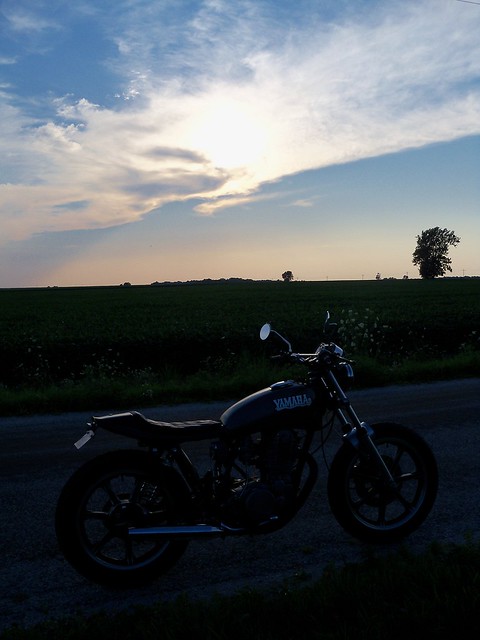
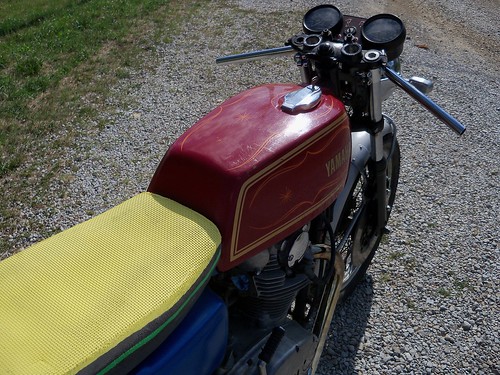
I got everything finished that I needed to do with the bike together. Some new parts, I wanted to make sure there wouldn't be any clearance problems with the clip-ons, and also got a Lucas style tail light.
101_0015

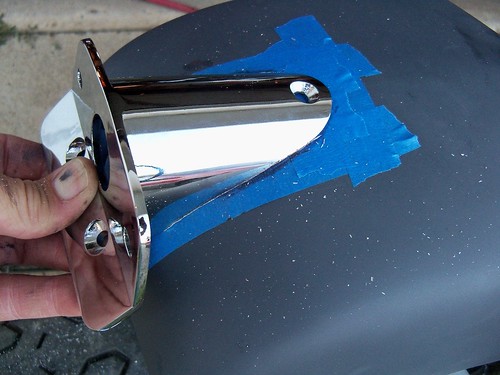
I used a die grinder with a carbide bit to fit the tail light to the bum stop.
101_0031

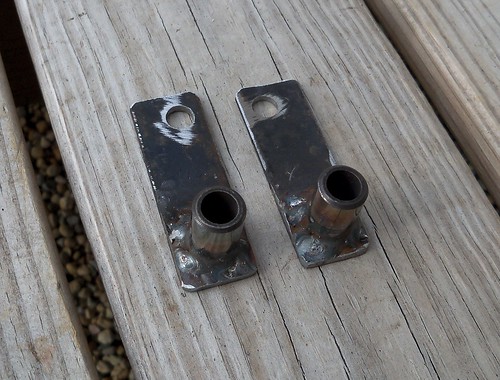
The exhaust that I picked up earlier this year at a swap meet didn't use a center mounting point like the stock system, so I made some brackets that connect the muffler clamps to the center stand tabs, just to strengthen it up a bit.
101_0017

To attach the fiber glass seat pan to the steel base I drilled some sheet metal and welded in bolts. The sheet metal is to keep the bolts from turning when tightening or loosening. I drilled the pan for aluminum pop rivets to fasten the upholstery, in case I decide to have it wrap under the pan.
100_5556

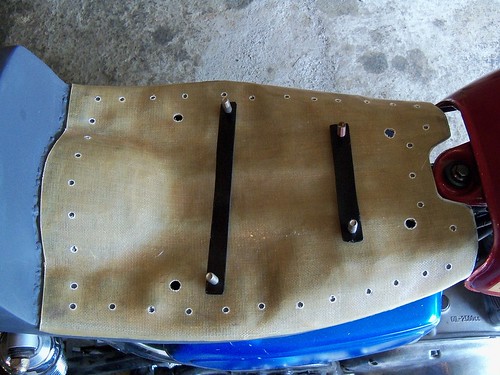
The fasteners in place. If I decide to have the upholstery snap to the sides of the seat base, which is what I'm likely going to do, these aren't needed, but won't hurt anything being there.
100_5559

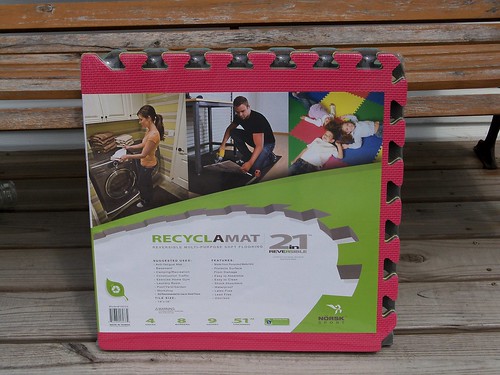
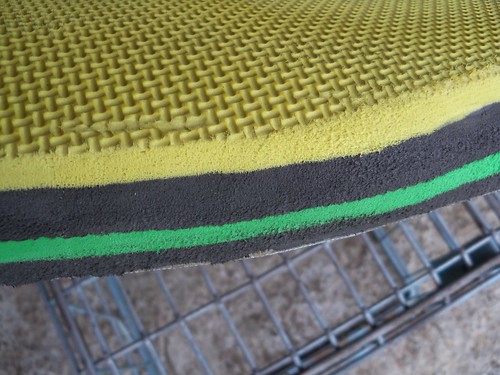
For the foam I'm using the same stuff from Menards as I did on the SR500 seat. Most any firm closed cell foam will work great, like exercise mats and things like that. They hold there shape nicely, don't soak up moisture, and don't need much thickness for comfort. 
100_5549

I used a hot glue gun to attach it to the pan. Since it sets up in just a few minutes, I did small sections taping it as I went.
100_5562

100_5565

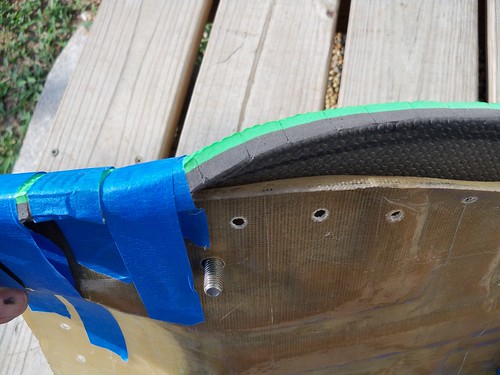
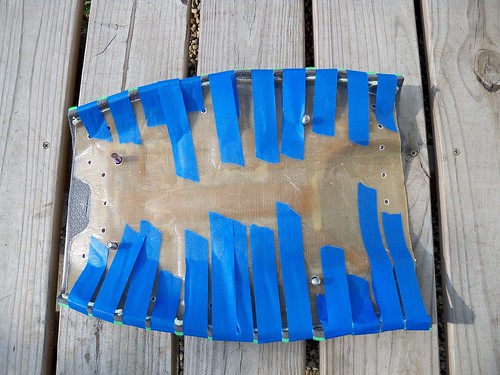
I did two layers of the foam, and then started trimming.
100_5582

For the rough trimming, an angle grinder with a cutoff wheel works great, and with a flap wheel for rough shaping. For final shaping and smoothing a wood rasp and inline sander work nicely.
100_5583

100_5608

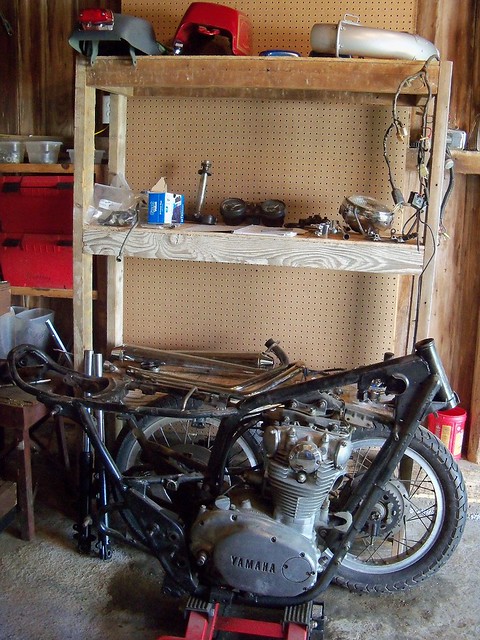
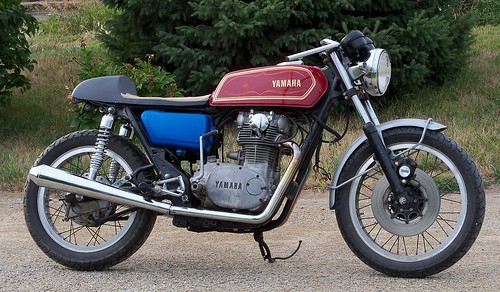
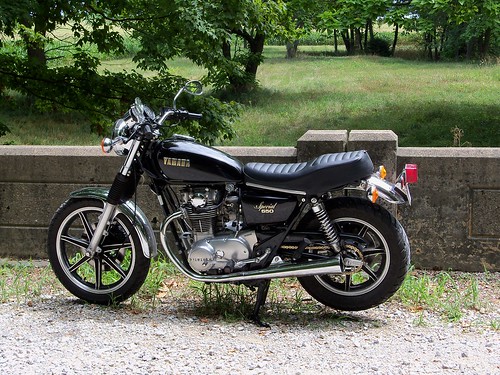
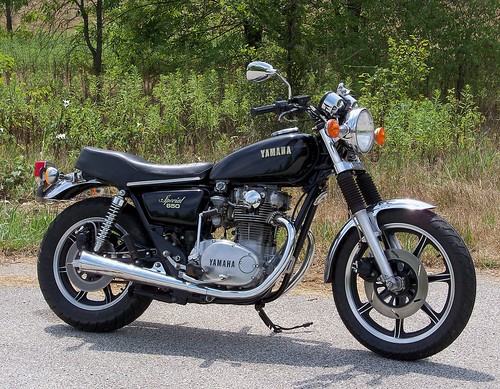
It is ready for tear down. I'm going to do the chassis and body related work this summer and fall, which will be the easiest part. That will be sand blasting and painting the frame and related parts, and painting the body pieces. It will get tapered steering bearings and bronze swingarm bushings. The engine and wheels I'll do this winter, since I can do them in my basement shop. The engine and wheels will involve lots of aluminum polishing. I know the engine needs new cam chain guides, so will get those and a new cam chain. I'll have to see what the rest looks like when it gets opened up. The wheel rims and hubs will be polished and I'll lace them with stainless steel spokes.
100_5604

100_5591

2012 Indiana events and places

- HotRods N' Hillbillies - July 28 - Nashville, Indiana

- Vintage Bike night - The first Thursday of every month 6-9pm at the Steer Inn in Indianapolis

- Mid-America Speedway - flat track and speedway racing - Indianapolis

- Wildcat Creek MX - motocross racing - east of Lafayette, Indiana

 - 32nd Annual Tippecanoe Steam and Gas Power Show - West Lafayette, Indiana - August 2-4

- Indiana British Car Union - Indy British Motor Days car and bike show - August 11 - Zionsville, Indiana

- MotoGP at the Indianapolis Motor Speedway - August 16-19

- Indy Mile - AMA pro flat track - Indianapolis - August18

- NHRA US Nationals - Indianapolis - August 29 through September 3

 - James Dean Festival & Run - Fairmount, Indiana - September 27-30

- Newport Antique Auto Hill Climb - Newport, Indiana - October 5-7

- Grand National Cross County Ironman - Crawfordsville, Indiana - October 20-21

- Indianapolis Motor Speedway Hall of Fame Museum - Indianapolis

- The Studebaker National Museum  - South Bend, Indiana

 - National Automotive and Truck Museum of the United States - Auburn, Indiana

- Auburn Cord Duesenberg Museum - Auburn, Indiana

- Ropkey Armor Museum - Crawfordsville, Indiana

- Indiana Transportation Museum - Noblesville, Indiana

- Grissom Air Museum - Peru, Indiana

- Kerstings Cycle Center and Museum - North Judson, Indiana

- Kokomo Automotive Museum - Kokomo, Indiana

7/18/12

XS650 cafe' project

Now to get the kicker to clear the rearsets. From left to right XS650, SR500, and XS750 Special kick levers.
100_9982

The XS650 kicker isn't close to clearing.
100_9983

Not much better with the SR500 part.
100_9986

The XS750 kicker is the best fit of them. If I wanted, just trimming the brake pedal and folding the peg (when kick starting) would work.
100_9987

Heating with mapp gas and bending the lever is the most common method to make it fit, but I'm going to use the splined section from the XS650 pedal to space out the XS750 kicker. Getting ready to weld it up here.
100_9995

The finished part, and the kicker clears the brake pedal and peg. It does stick out farther of course, but I think it looks fine.
100_9996

I also got some 14" shocks for the bike. Much better. I'd planned on shortening the exhaust, but put that on hold for now. I lined them up better, and with the increased ride height, I'm liking them as they are.
101_0008

7/15/12

today

100_9922

100_9915

100_9927

100_9932

100_9916

XS650 cafe' project - rearsets part 3

On the shifter side I started by putting the stock shifter in place backwards to get an idea of where the shift peg needed to be. It needed to move forward and in. For a GP shift pattern I'd just need to shorten the shifter, but decided to stay with the standard shift.
100_9877

I'll be using an '83 XJ750 Seca shifter.
100_9883

Some tubing, a nut, copper washer, shift pedal, and a shouldered bolt. I'm not sure what the shouldered bolt is from, but looks like maybe a center stand bolt. It was a perfect fit with the shift pedal. The shouldered area was just barely wider than the shift pedal pivot, so the copper washer was in case it wasn't enough to allow the pedal to move freely when tightened, but I ended up not needing it.
100_9885

Here is how it all goes together.
100_9887

The nut welded in the end of the tubing.
100_9888

The tubing cut and fit to the footrest and welded in. I was curious as to the weight from using the stock steel parts rather than the more common aluminum for the rearsets. This completed assembly with the peg weighs 1 pound 11 ounces, so really not too bad.
100_9893

The shifter pedal bolted in place, using a piece of wood dowel to determine what the shift rod length will be. The shift pedal end uses reverse thread. Other than the shift rod, like the brake side just some detail work to do before paint or powdercoat and the rearsets are done.
100_9899