3/31/13
today
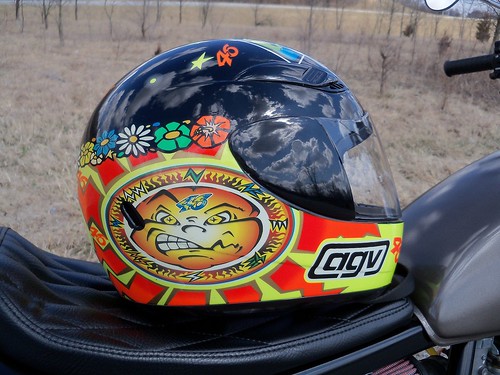
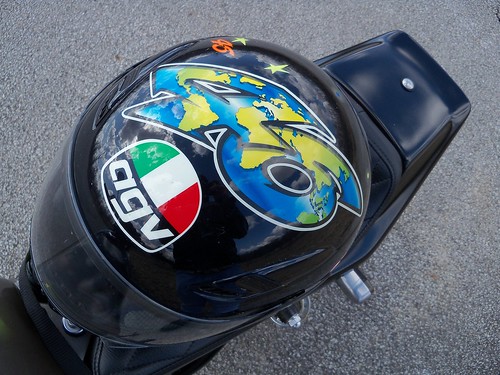
I'm an AGV guy. My favorite one is my old (12/2000 date of manufacture) Rossi sun and moon helmet. I got it for $60 new in the box back in 2005 or so since it was "expired".
3/30/13
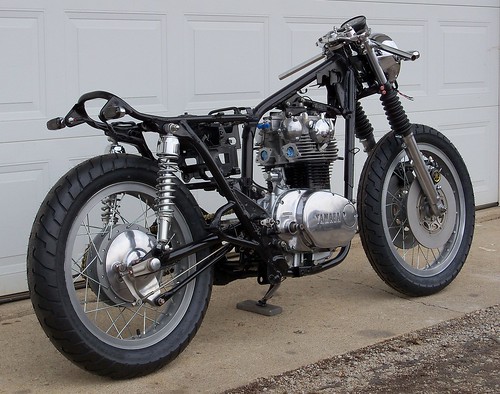
XS650 project
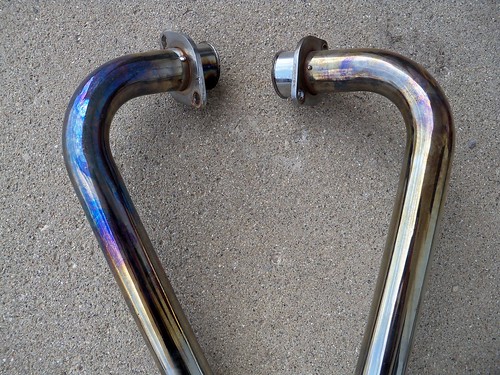
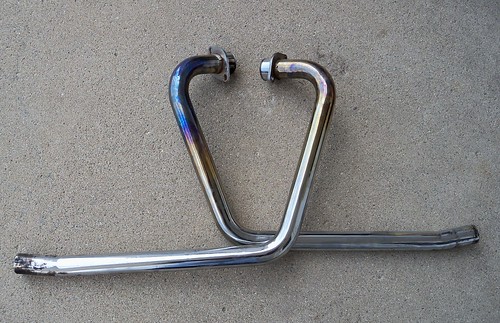
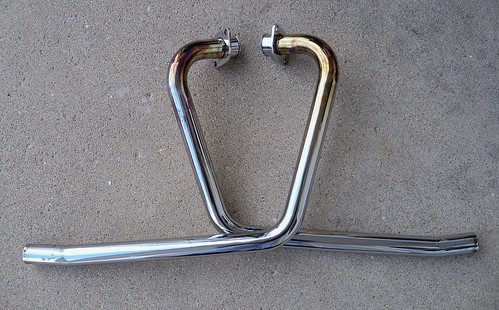
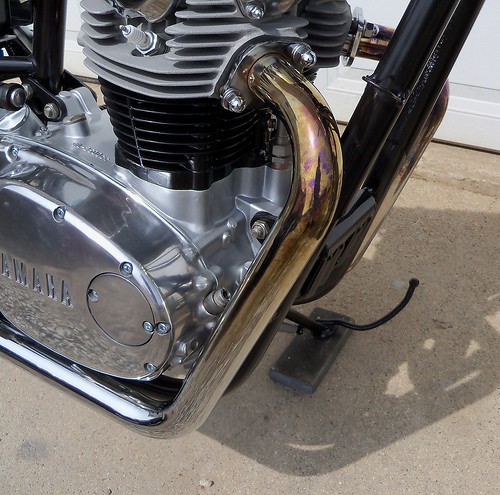
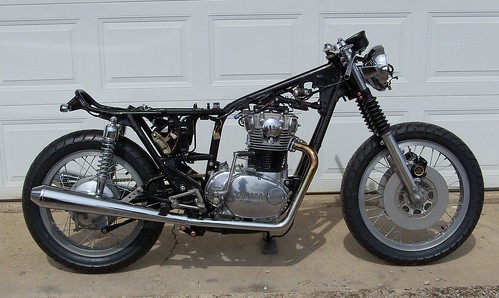
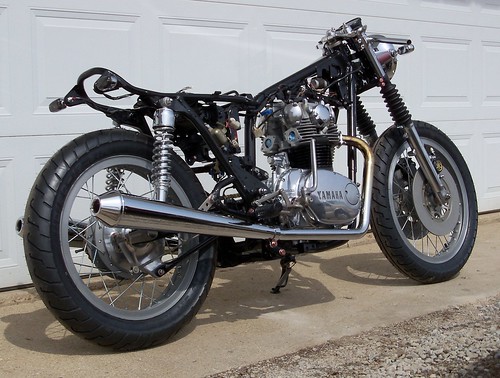
This project got started with a swap meet gas tank and exhaust system last year. The exhaust was in good shape with just a few minor scrapes and dings, but had some serious discoloration on one of the pipes. Discoloration is normal on single wall pipes, and I think it looks neat, but this needed cleaned up a bit.
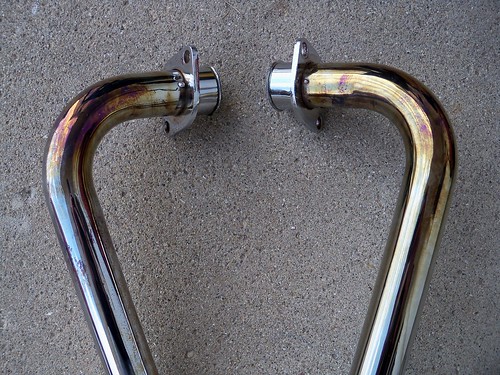
I used Noxon 7 metal polish to give them a more even look.
I think they look fine on the bike.
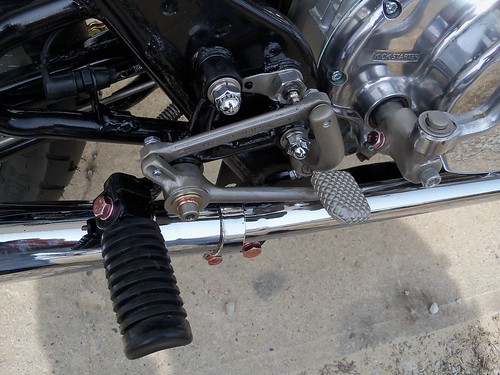
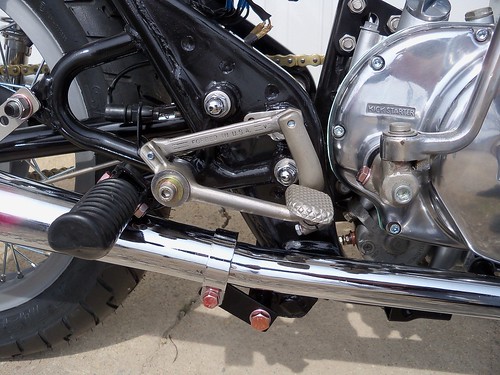
I've also been doing some other assembly, the rearsets for one. I still need to make the shift rod for the left side rearset. Rebuilding the carbs will be next.
I used Noxon 7 metal polish to give them a more even look.
I think they look fine on the bike.
I've also been doing some other assembly, the rearsets for one. I still need to make the shift rod for the left side rearset. Rebuilding the carbs will be next.
3/28/13
3/27/13
3/25/13
spring
3/24/13
March 24th
3/23/13
XS650 project
There are a few ways to increase the reliability and performance of the XS650 charging system. There are complete permanent magnet alternator(PMA) kits, or plug and play solid state regulator/rectifiers. On my '75 I'm doing the Pamcopete Chrysler regulator and Radio Shack rectifier swap. I like this in that it uses proven, yet very low cost parts that are readily available.
The old mechanical regulator and the new Chrysler regulator, part #VR733 from Autozone. I also bought a connector for it, but you can just use bullet terminals.
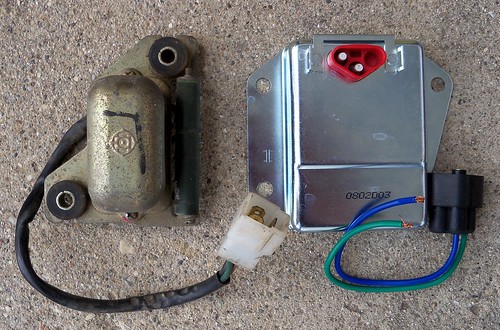
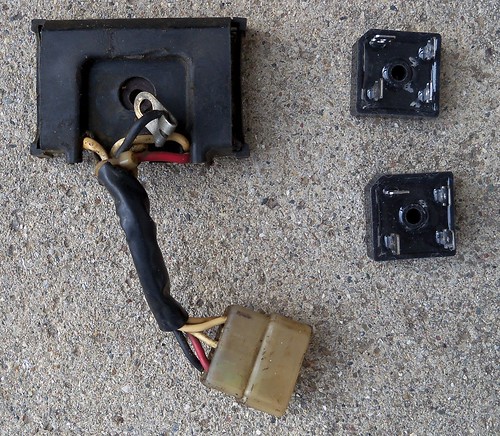
The old rectifier, and two 276-1185 full-wave bridge rectifiers from Radio Shack.
The Chrysler regulator needs the alternator to be modified to work like '80-'84 models by isolating the inner brush. This is done by replacing three steel screws with nylon. The nylon screw were the only thing I didn't buy locally. I bought a 10 pack for under $4 shipped from ebay seller AMS Bugbolts in the UK.
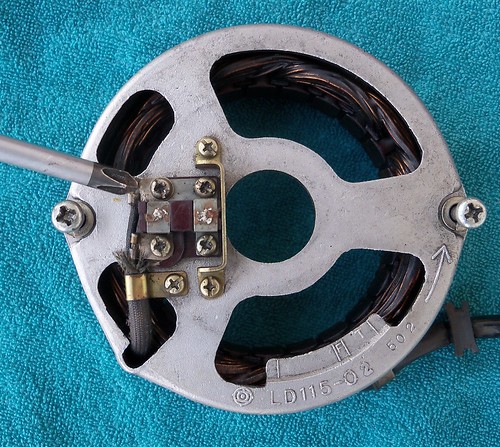
The M4 12mm nylon screws in place.
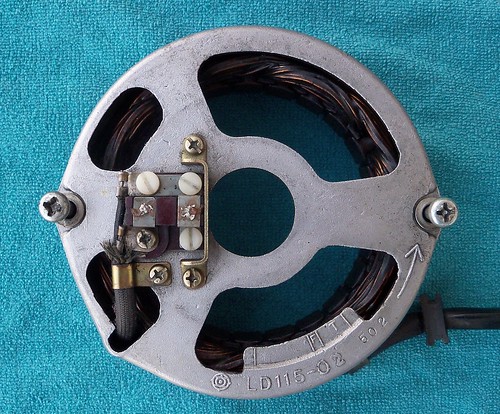
This is the alternator connection on the main harness. The black wire was ground, but needs to go to a switched 12V power source (brown wires) with an inline fuse.
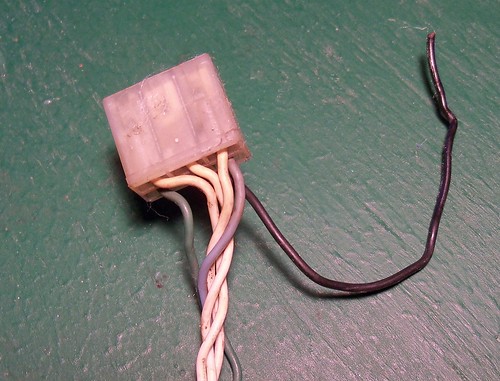
The new regulator connector soldered in place. Green to green, and blue to brown. The Chrysler regulator grounds through the case, so the black wire gets a ring terminal.
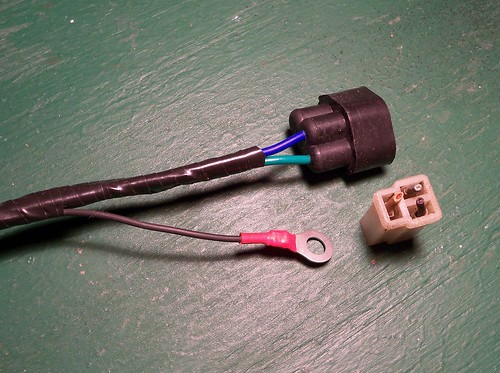
There are many ways to mount the regulator. I used one existing mount (bottom front), and drilled two holes in the battery box for the rest.
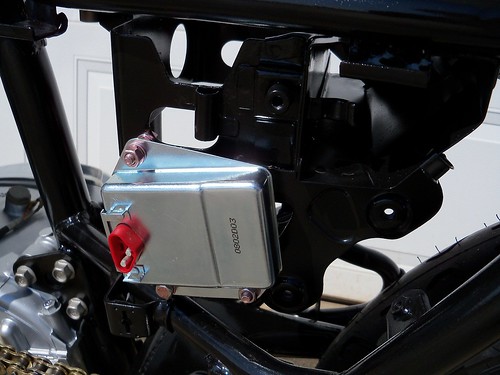
I had some scrap 1/8" x 2" aluminum flat stock and cut a 3.5" piece to make the heat sink/mount for the rectifiers. Heat sink compound is used for this.
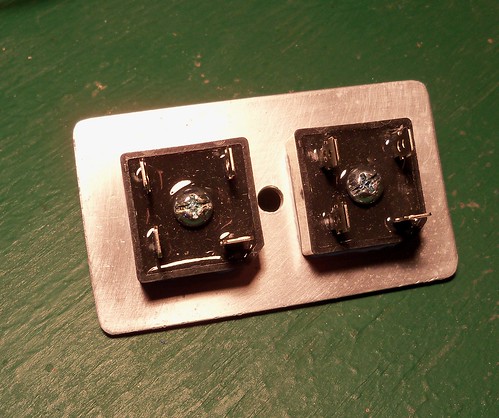
The original connector cleaned up nicely and was in good shape, so I reused it.
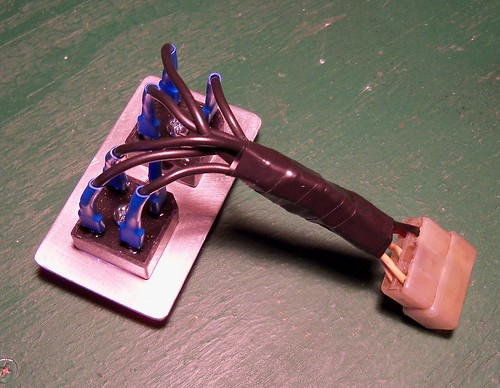
Done and mounted. The rectifier mounts in the stock location under the battery box.
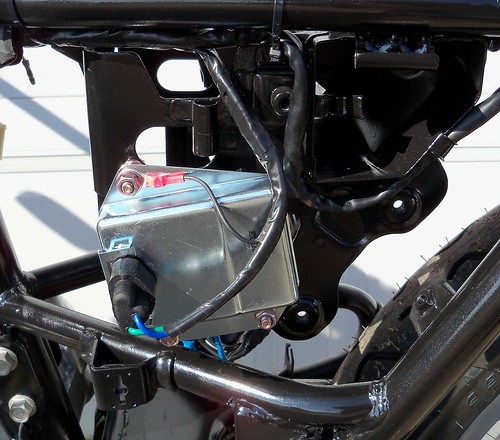
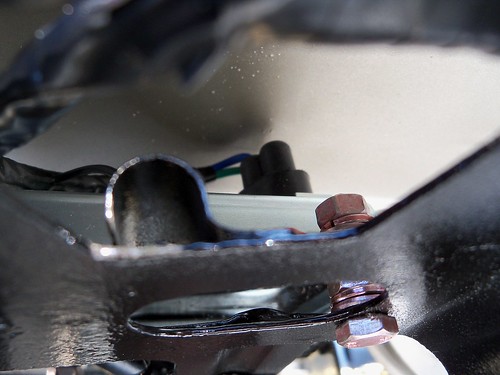
This is with the side cover on to check clearance. The wires are close, so I'll probably use some stick-on foam to make sure they don't ever rub.
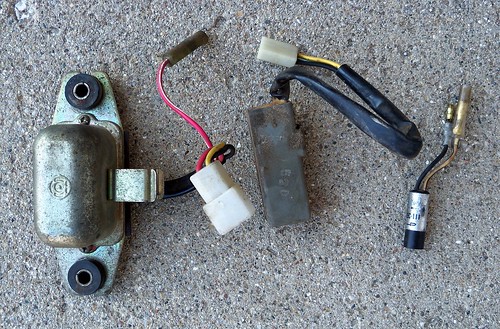
A few more electrical parts, the bigger one on the left is the 'safety relay', which I'm going to keep. It cuts power to the starter once the engine is running. I don't know why they thought it was needed, but I guess it doesn't hurt anything. The gray box in the middle is the 'light checker' and the small cylinder on the right is a diode for the brake lining switch. Both of those won't be used. I went through the harness and removed the wires for them also.
3/17/13
Mid-America Speedway
The Mid-West Motorcycle Club 30th Annual Swap Meet is being held on April 20-21 at the Marion County Fairgrounds. On April 20 swap meet admission gets you free admission to the motorcycle flat track racing at Mid-America Speedway. The Bultaco Astro Challenge being held the night before the Indy Mile looks to have a packed field, and well known names.
the swap meet
I had a great time at the Boone County vintage motorcycle swap meet. The $6 admission gets you a free hat, and I bought a t-shirt from the Mid-America Speedway guys. They've got a big 2013 planned, more on that later.
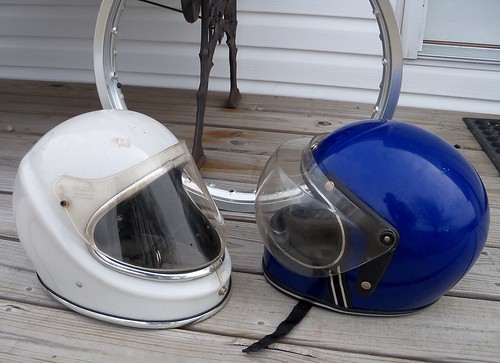
I didn't buy near as much as the last two times, but found one thing I was looking for, an aluminum 19" rim for the front of my SR500. Hopefully the spoke angles will work with the TX650 hub from the last swap meet. I got a couple old helmets, mainly just for display. The white one is a D.U.N.S. and the blue one a Grant. The white one actually fits me fairly well.
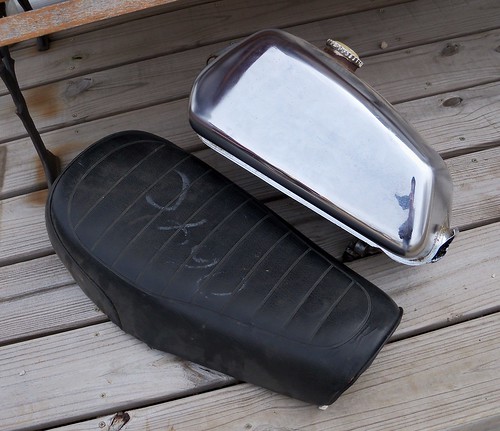
I picked up an old Husky tank that is super clean inside, and an unknown seat. Maybe they'll be perfect for a project sometime.
3/15/13
Thunder Stroke 111
It is great to see Polaris getting serious, and getting away from the Harley clone engines of the recent Indians.
3/10/13
XS650 project
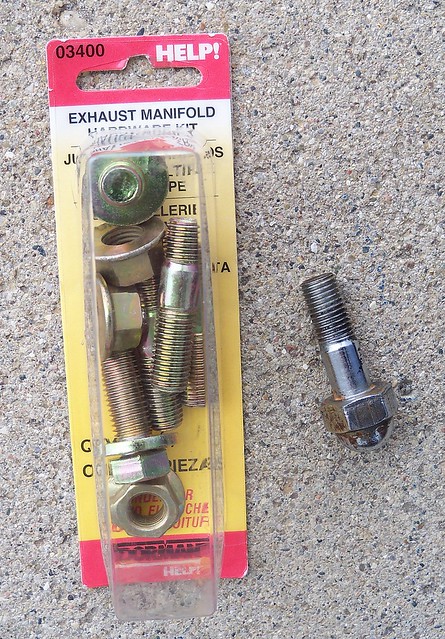
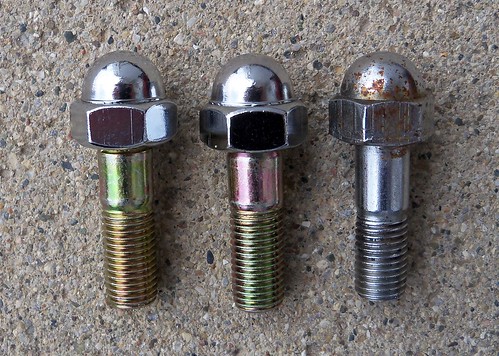
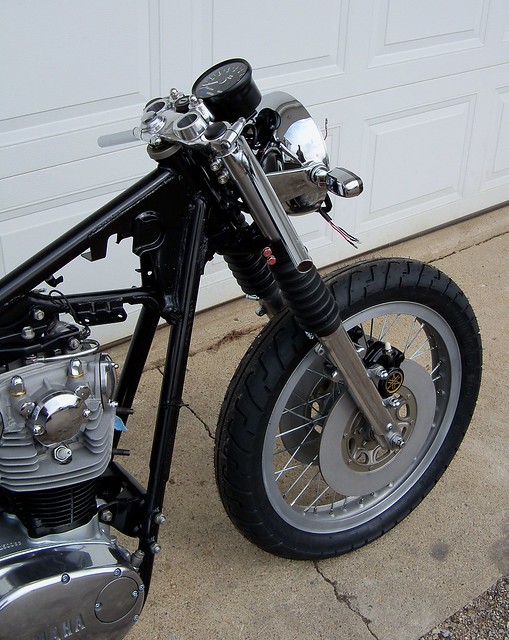
The '73 TX650 forks I'd bought at the last swap meet, and used parts for the twin disc swap, were missing the bottom caliper bolt, and the one that came off the '75 didn't look so good. It has a chrome acorn head and the threads are 10mm x 1.25. Everything at the hardware stores was 1.50 pitch. I'd bought a set of chrome acorn nuts from MikesXS, and found an exhaust manifold hardware kit at Autozone with studs the right length and in the correct 10mm x 1.25 pitch.
This will work. I first cut slots in the end of the studs at the nut end to be able to use a flat blade screwdriver if needed to remove the studs.
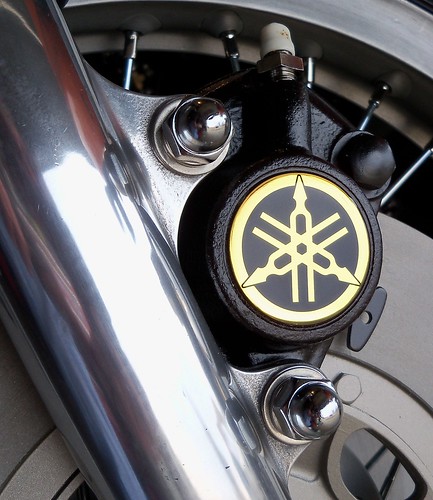
The calipers mounted. I trimmed the end of the key tab on the outside pad on the left caliper, since it looked like it might not clear the fork slider.
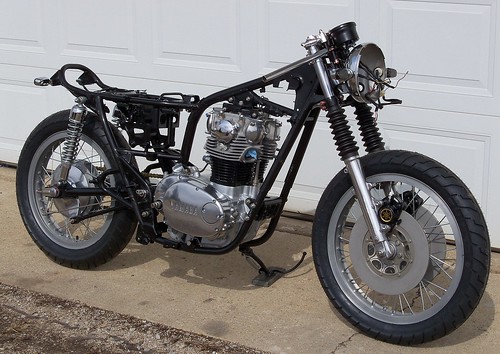
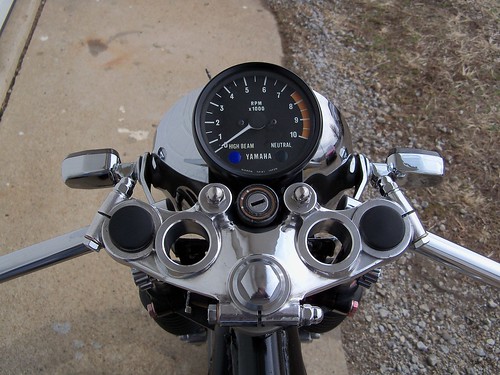
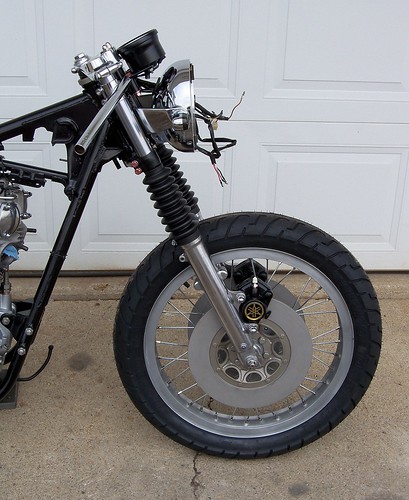
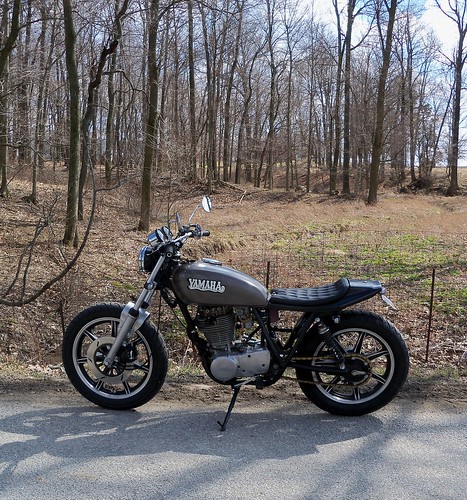
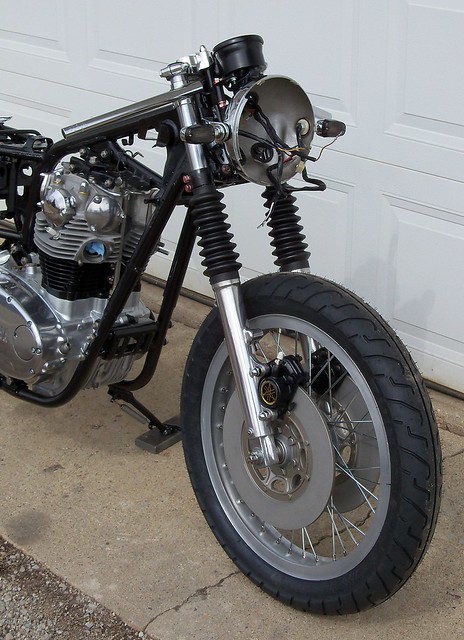
Here is where I'm at now on the bike. Next on the list is wiring. I'll be doing the Pamcopete Chrysler regulator and Radio Shack rectifier conversion.