6/29/14

XT500 project

I didn't want to use the stock number plate style side covers on the XT, but wanted something on there since I'm trying to make the bike look like it came stock from the factory. I'm shaping some small side covers from steel, and got them most of the way done. They just need some fine tuning and mounting brackets.
100_7646

I like them. They'll be painted the same color as whatever I paint the LT3 tank.
100_7662

DT1 flat track project

I got up this morning while the bugs are sleeping to clear coat the gas tank. I'm using SprayMax 2K. It is a two component paint.
100_7628

It came out pretty decent, and should look fine on the bike. This is the first time I've used the SprayMax clear, and one thing I like better than other rattle can clears I've used before is that it seems to have a wide window between flowing out and to where it runs. Some of the $6 clears I've used want to sag as soon as you get close enough to smooth out.
100_7642

100_7639

6/28/14

Lance Speed Racing


100 mph on a 175cc CT3.

DT1 MX project

I bought a 2" lowered '69 DT1 frame. It had been listed on ebay from a seller in California for quite some time, and I couldn't resist any longer. I've got some left over or spare parts, so figured I could put together something simple and fun for not much money using it. Here is a picture from the listing of the bike the frame is from.


Here is the frame after it got here Thursday. Just as the seller described, it has a small crack above the key switch bracket that will be an easy fix, but is otherwise straight and in great shape.100_7560

These are the areas where the engine cradle and swingarm pivot parts of the frame were cut and lowered, probably using a Webco kit. This was done to make the bike handle better.
100_7559

100_7565

I dug out some parts to make it a roller. The '73 RT3 tank and '72 RT2 seat pan were parts I ended up not using from the DT flat track project. The forks and wheels are XT500. The engine is a '73 250. The swingarm is from a '77 RM250. The front fender is a NOS Preston Petty that I'd been saving to use on my DT3 someday, but likely will use it on this instead.
100_7622

100_7617

The RM250 swingarm was a simple fit. The early square tube swingarm DT1 has a swingarm pivot bolt diameter of 12mm, and the RM is 14mm, so I just drilled out the frame to 14mm. The RM pivot is more narrow, so I used some washers to make up the difference. The shock mounts are 1/2" closer together on the DT frame, so I'll likely move them out 1/4" on each side, and farther forward so the shocks aren't quite so vertical. The RM uses adjuster spacers that are 17mm on the right side and 15mm on the left. I'll probably modify the left side to use 17mm also so I don't have to use a stepped RM axle. Other than a few little things, I think I just need to sort out an expansion chamber, and it's ready for finish work.
100_7625

100_7620

6/21/14

Triumph of Lafayette

Out on the Speed Four this morning I stopped in at Indian Motorcycle of Lafayette. They just started carrying Triumph, and were having an open house. I also hadn't seen the new Indians in person yet. The location use to be the home of Eagle Harley-Davidson until just recently, which is where I bought my Sportster in 2003.
100_7492

100_7509

100_7520

100_7511

100_7494

100_7508

100_7501

100_7507

100_7496

100_7499

100_7524

100_7538

100_7533

100_7500

100_7526

100_7513

100_7517

100_7542

100_7514

100_7515

100_7519

6/20/14

Ronax 500


  http://www.ronax500.com/

DT1 flat track project

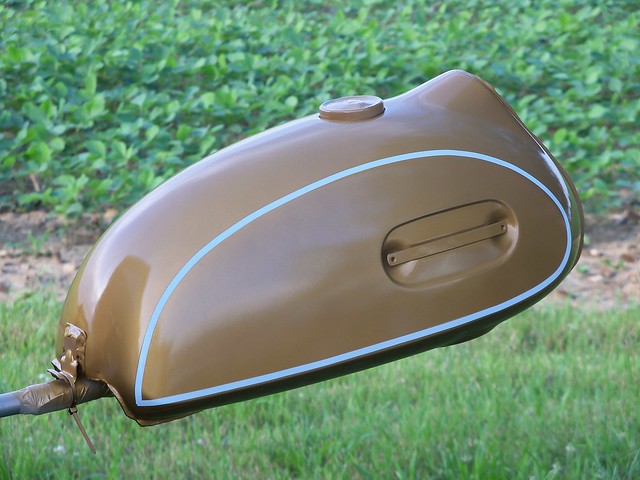
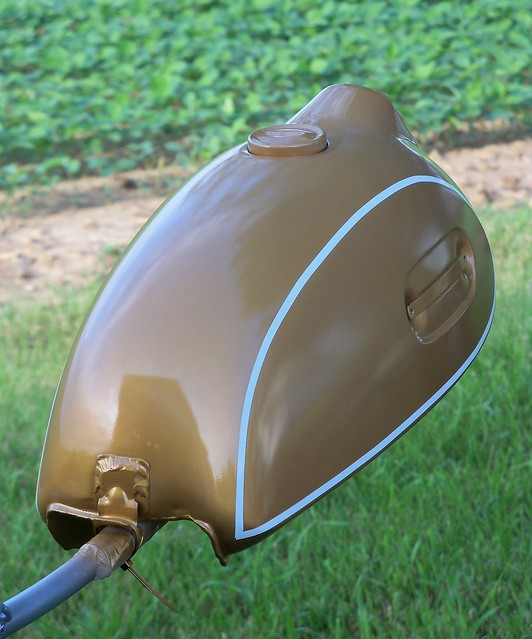
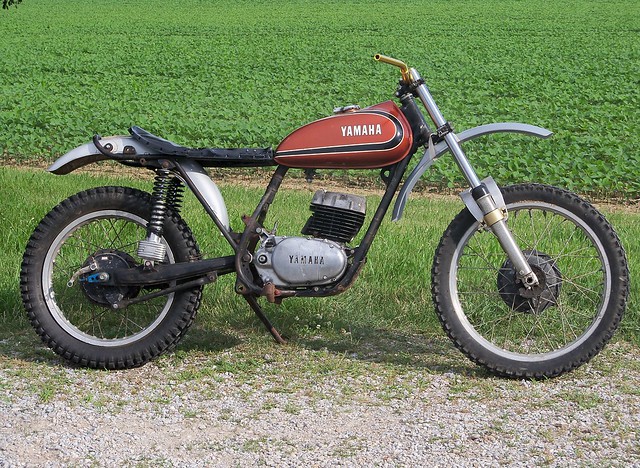
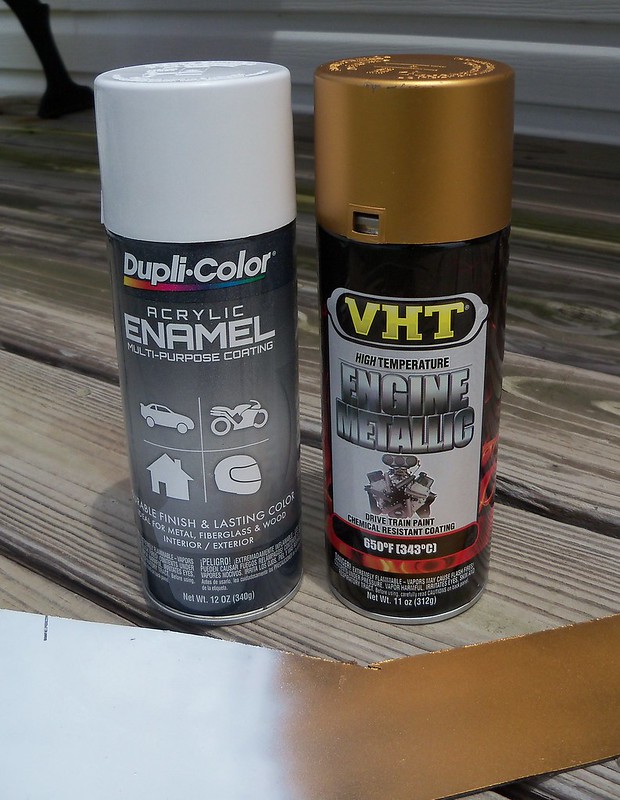
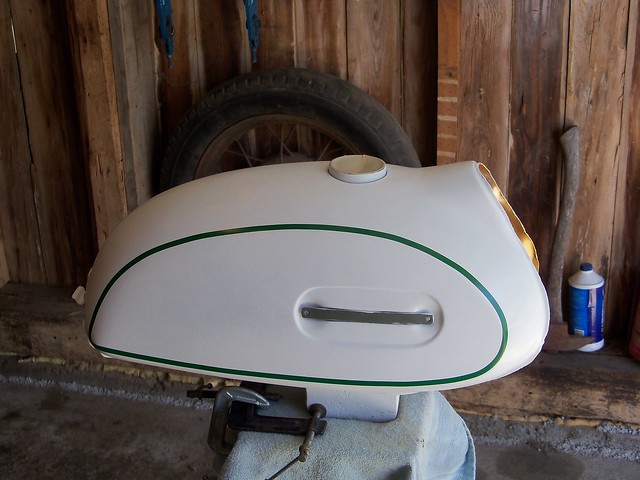
I'm doing a rattle can paint job on the DT tank. I got Dupli-Color for the white base, and VHT "gold flake" engine paint for the main color. The gold just jumped out at me, and should work fine. I did a test panel on some scrap metal so before I clear coat I can test for any interaction problems.
100_7481

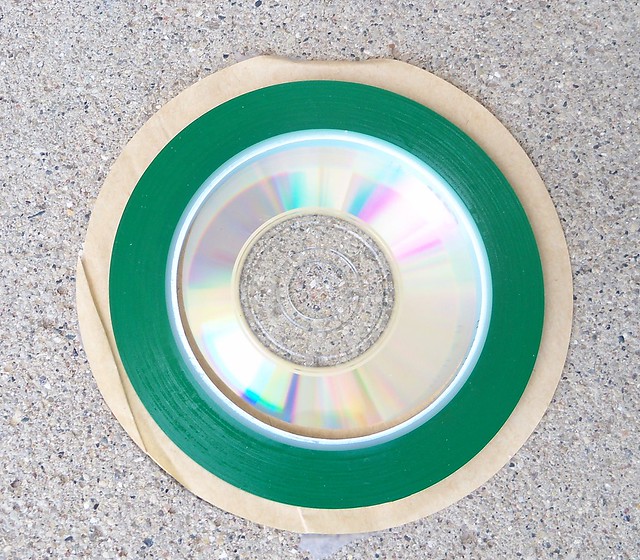
To mask for the stripe I got some 3M fine line masking tape from ebay seller motodad24. It is the correct width for these bikes, and it came shipped with wax paper and a CD on each side to keep the edges perfect.
100_7154

I'd sprayed the tank white, wet sanded it, and set it aside to completely dry. That is about the most important step with spray can paint jobs is lots of dry time before top-coating. Wet sanding seems to help this since it opens up the surface to let the solvents evaporate. I then sprayed the tunnel, and once it was dry enough to handle started masking. I did each side in one continuous piece, starting and finishing at the bottom rear corner. This tape is very flexible and I found it easy to work with.
100_7161

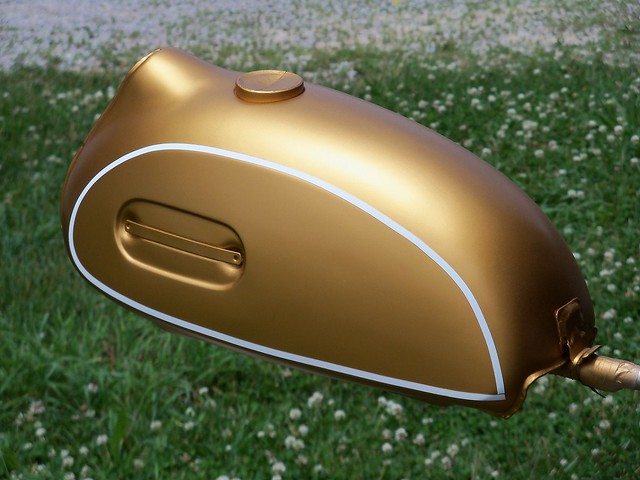
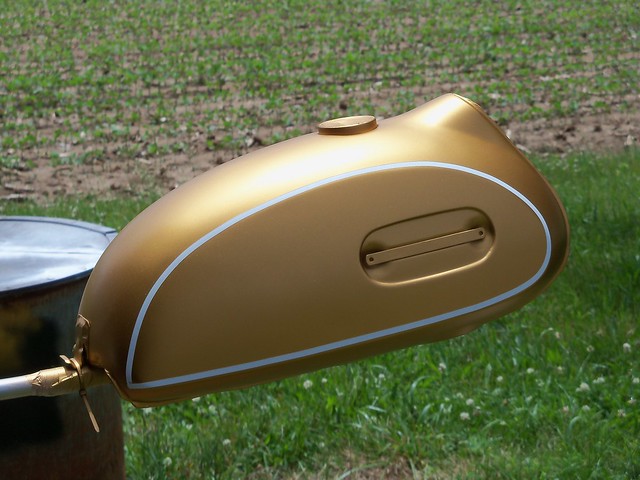
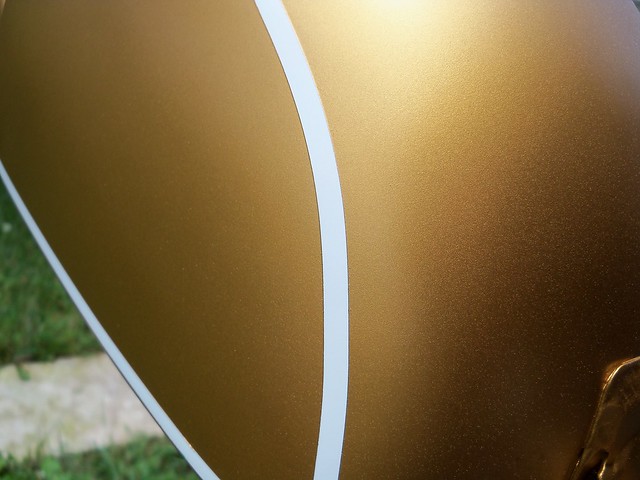
And now for the gold. I let it tack dry and them slowly peeled the tape.
100_7488

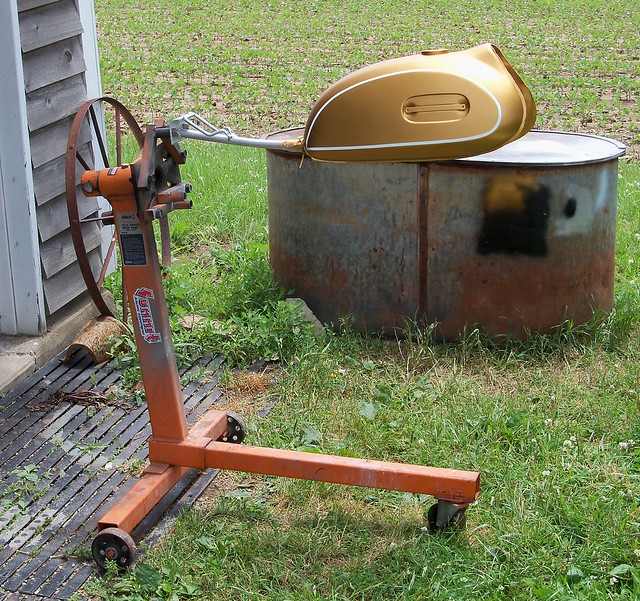
So far, so good. Where the tape ends met a little gold ran underneath, but that will just sand off the white. Next time I know to make sure to press down where the tape overlaps with a finger nail. I'll give it at least a week before clear coating.
100_7486

100_7484

You couldn't do this with regular masking tape. It is great stuff.
100_7467

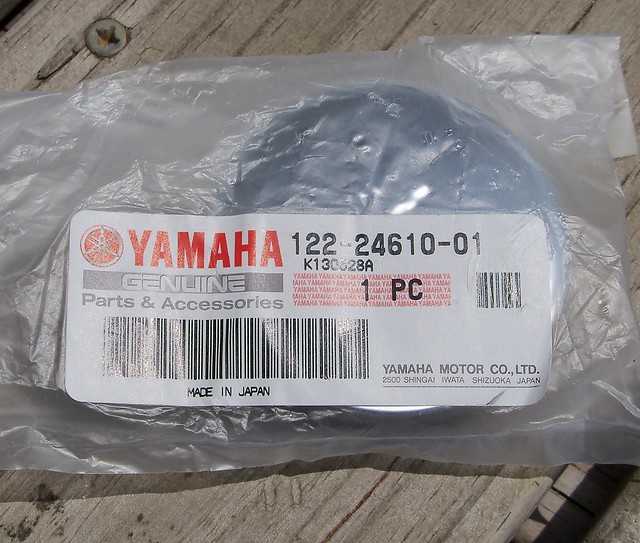
The gas cap is still available from Yamaha, so I got a new one for $19.91 from boats.net.
100_7490

6/18/14

Grissom Air Museum

The Grissom Air Museum is just a few minutes from the dragstrip. I hadn't been there for awhile, so made sure to save enough time for a visit. It has a nice indoor museum, and a large outdoor display area with an observation tower to give you a birds-eye view.
100_7455

100_7362

100_7448

100_7447

100_7370

100_7368

100_7351

100_7376

100_7410

100_7361

100_7415

100_7424

100_7436

100_7389

100_7407

100_7429

100_7420

100_7356