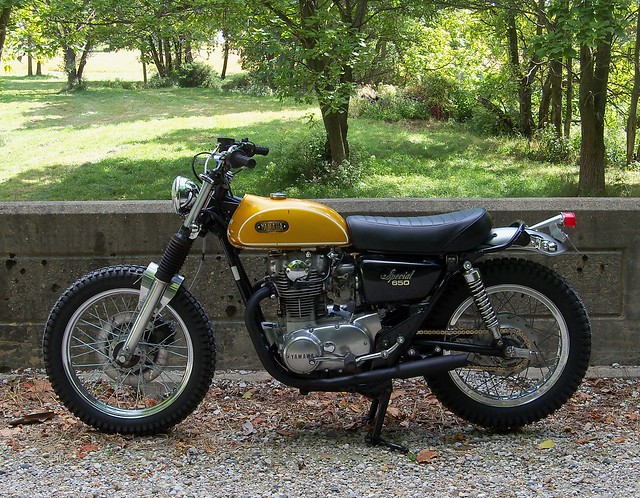
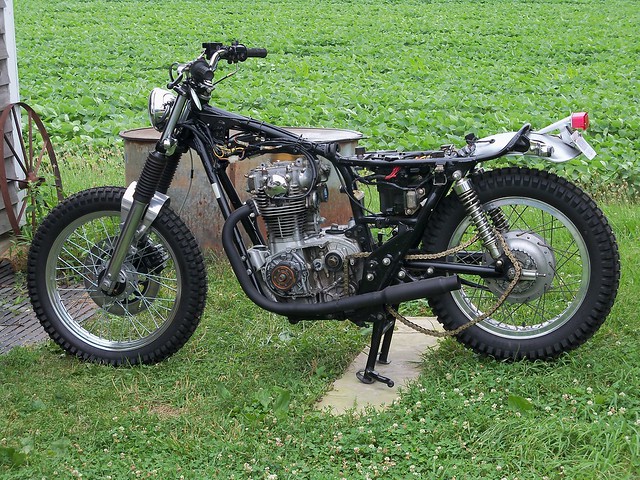
While it is down for paint I figured it would be a great time to give it a mechanical going over also.
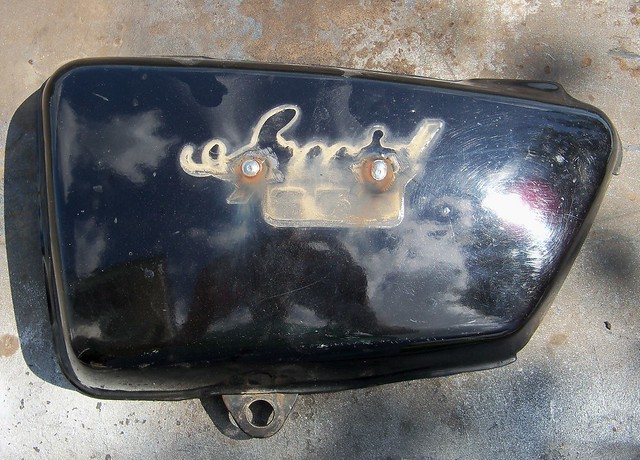
I removed the side cover badges and welded up the holes.
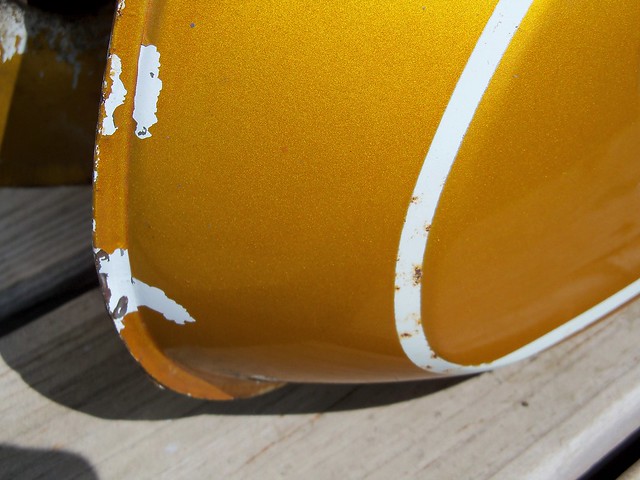
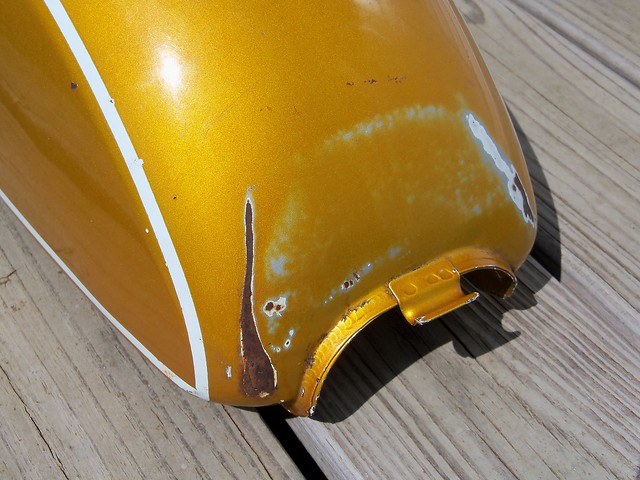
Overall the tank looked decent, but the topcoat was flaking off, and there were some rust spots. Patina is good, but rust is bad.
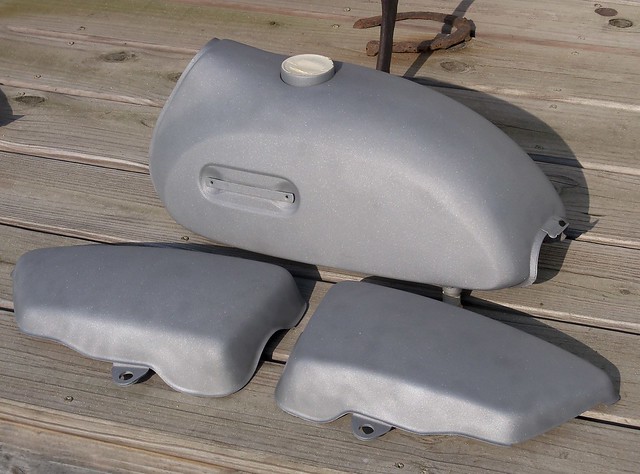
Here they are cleaned up and ready for bodywork and paint.
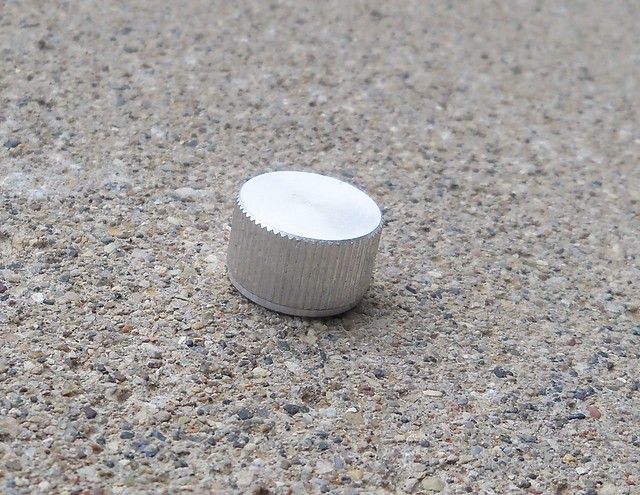
I'm not using a tach, and had just stuck a rubber cap over the drive. This block-off from MikesXS looks much better.
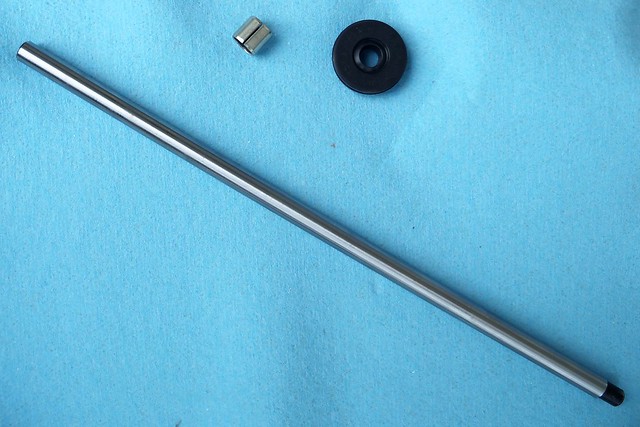
I'd replaced the clutch pushrod seal once before, but knew I'd be back soon since the pushrod had quite a bit of side-to-side play, and it recently started leaking badly. Time for a new bushing and a '70-'75 style one piece pushrod, the new parts shown here. First remove the left side engine cover, the front sprocket, and then pull out the short outer rod.
Here is the old bushing that needs to be removed. Note the split at about the 1 o'clock position. Some knock the bushing open here and pull it out with needle nose pliers. MikesXS has a how-to using a 11/32" drill bit and then a 23/64" bit to remove it.
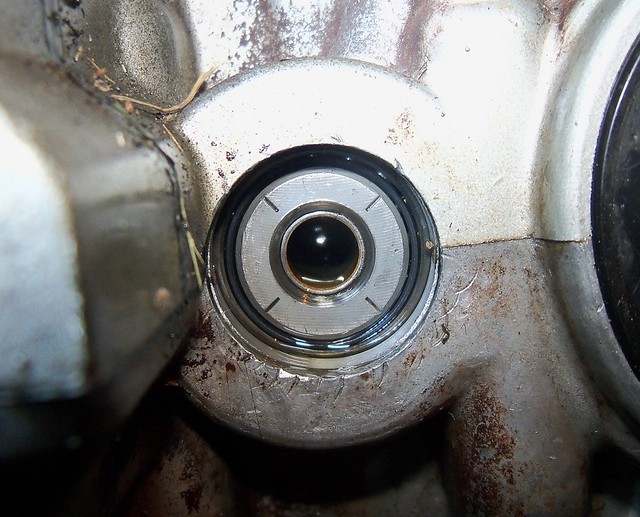
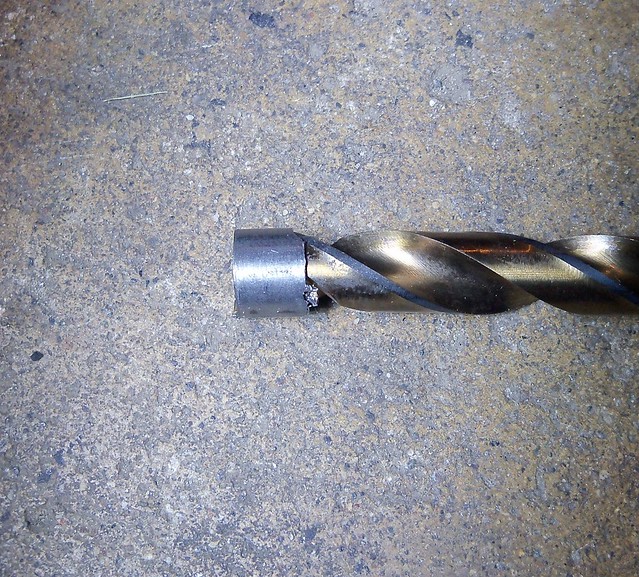
I used the 3/8" bit method. Go slow with the drill, and the bit grabs the bushing. Keep the drill turning slowly and pull it out. Then look inside with a light and use a q-tip to remove any debris, although using this method it didn't leave any.
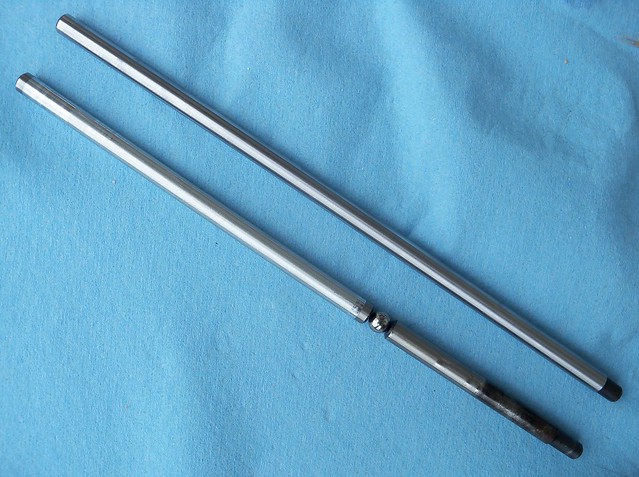
Then use a magnetic tip screwdriver or telescoping magnet to remove the first ball and longer inner pushrod. Here is the new one piece rod with the parts it replaces.
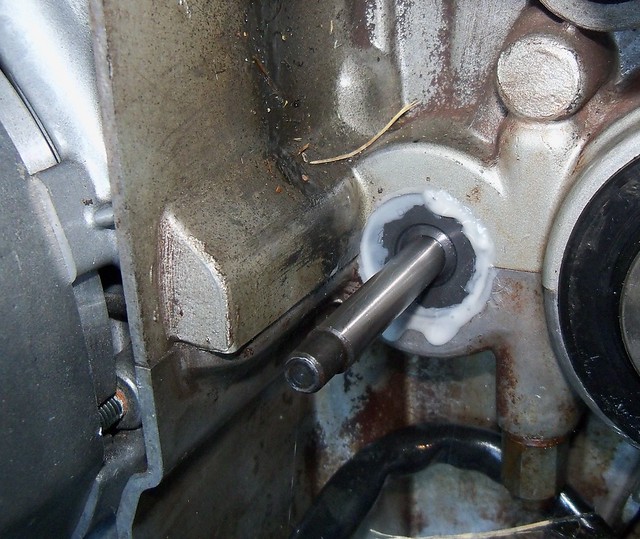
Then gently tap in the new bushing and seal, and oil and slide in the pushrod. The seals are supposed to be replaced with the cases split, so can be a little tricky. Chamfering the outside corners first, to remove the knife edge makes it much easier. I painted the outside edges with Threebond 1194. It probably doesn't do any good, but can't hurt either.
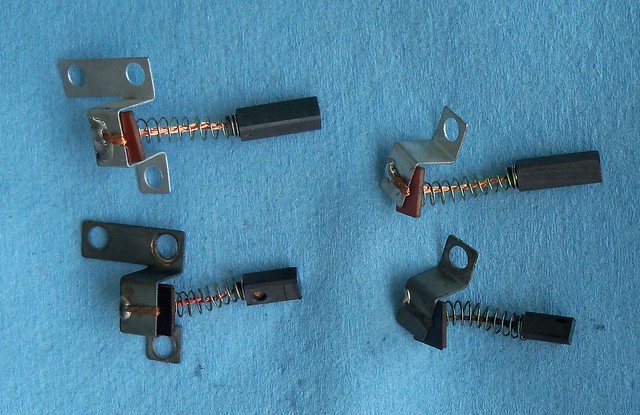
The charging system on the bike worked fine, but this is one area where you don't wait until it's broke to fix it. The old alternator brushes are on the bottom, and the new ones on top.
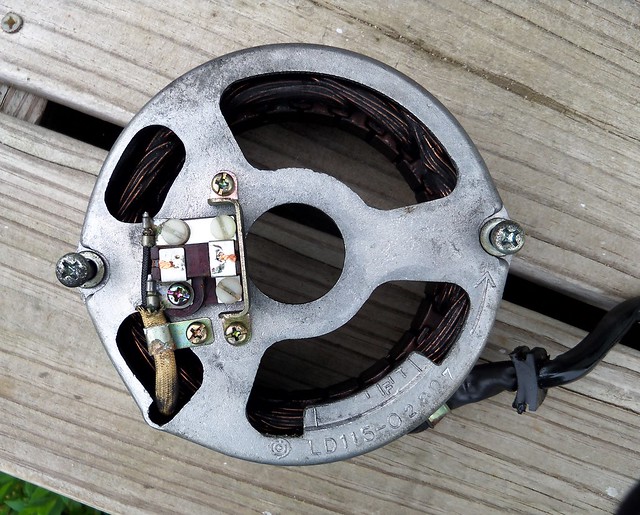
I'm doing Pamcopete's Chrysler regulator and Radio Shack rectifier conversion like I did on my '75, so installed the inner brush with nylon screws to unground it.
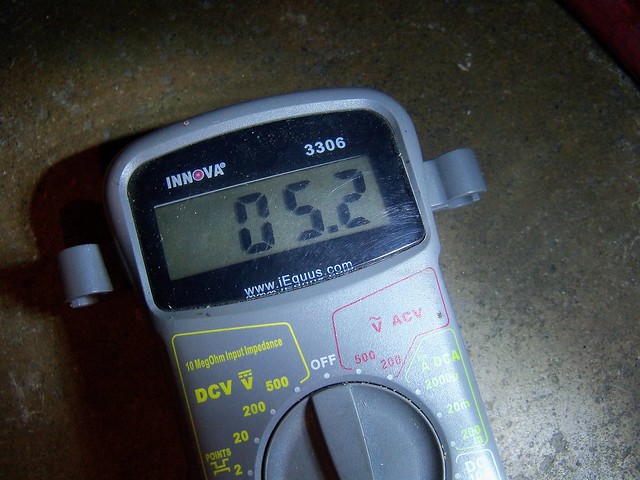
I've got 5.2 ohms between the slip rings on the rotor, so good to go.
No comments:
Post a Comment