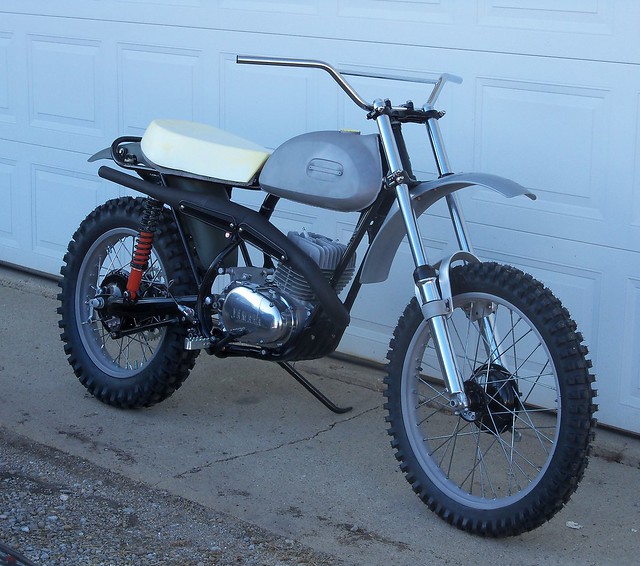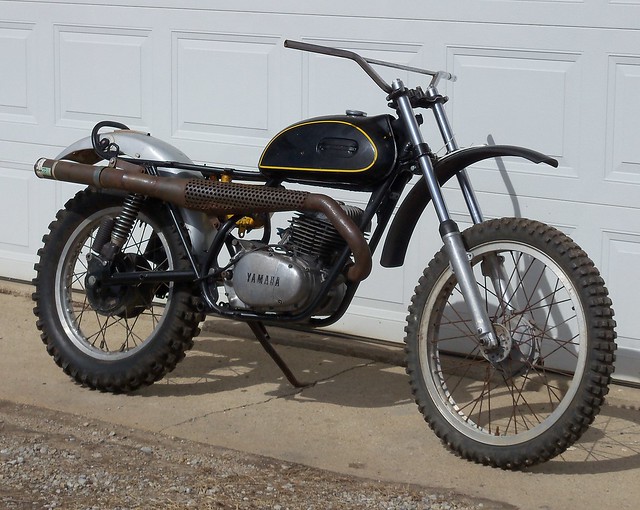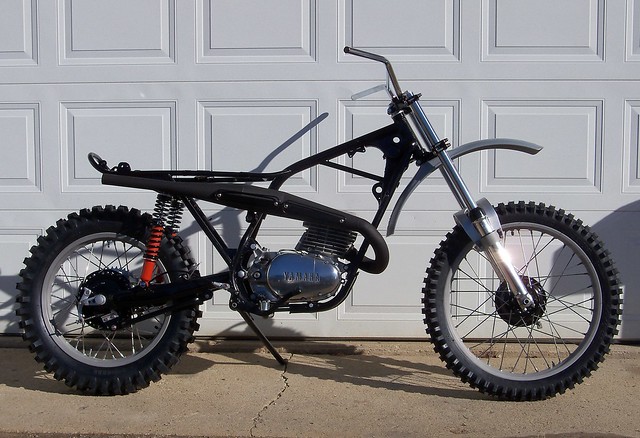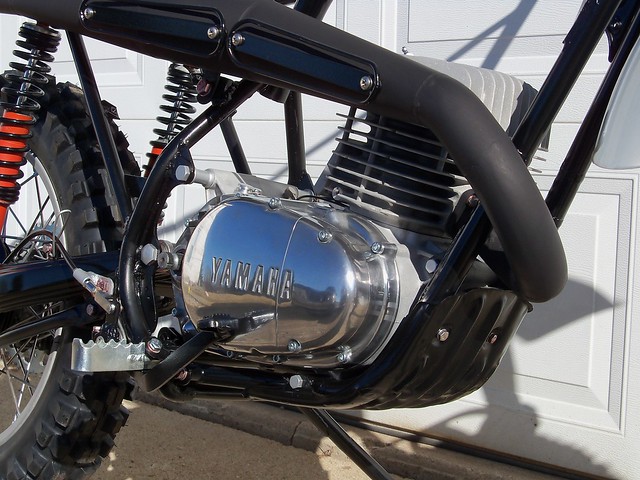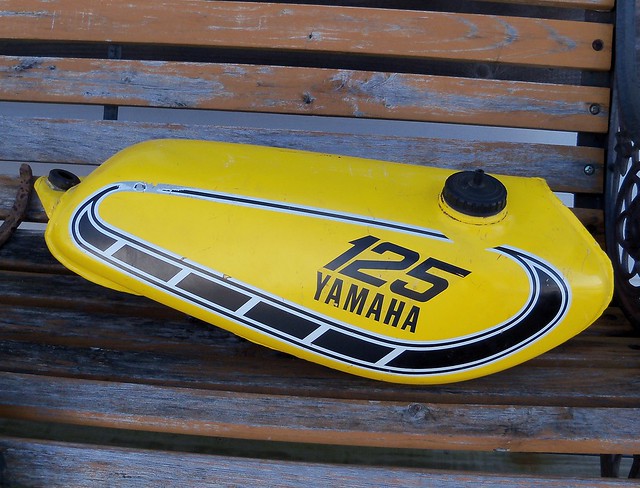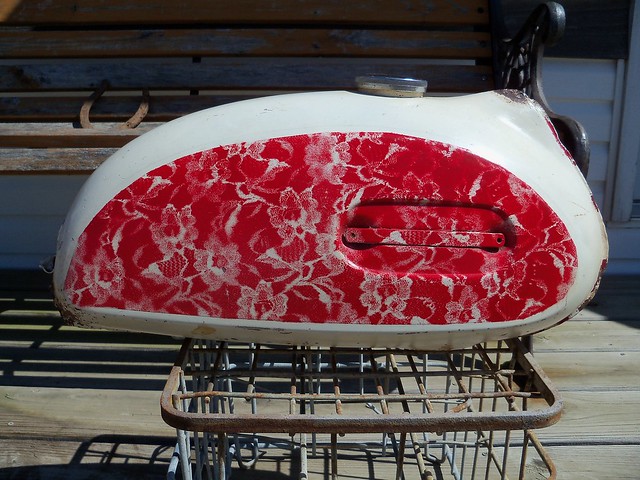
Like the '68 framed flat tracker project, I'd used a '72-'73 sticker tank and seat during mock-up, but decided to use an older badge tank and seat for the '69 framed MXer. I scored a decent tank on ebay. It was a 'buy it now or best offer' at $75, and I offered $45 and got it. Check out the lace paint job!
It is super clean on the inside. It had an oily feel, so must have been on a premix bike, which is why the inside is so nice. It has some small dents, but that is much easier to fix than a rusty inside. Note the paint on the top of the filler. That will need to be removed.
The tank also had a weld repair on a seam, so I wanted to pressure test it for leaks. I use a section of old inner tube and a hose clamp.
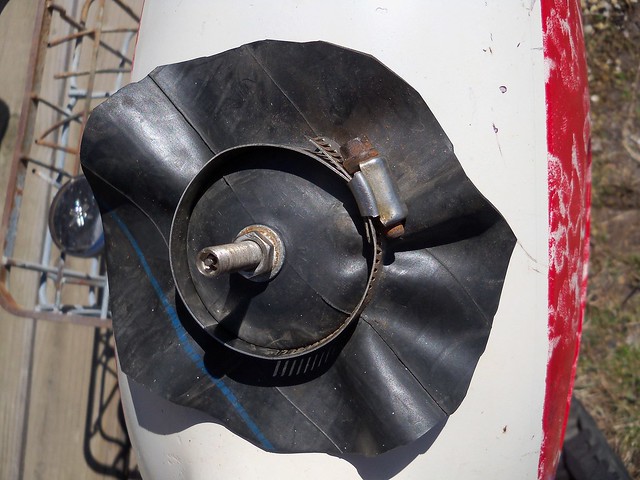
I then use a bicycle tire pump to put a very small amount of pressure, and then use a dish soap and water mix to look for bubbles. It checked out OK.
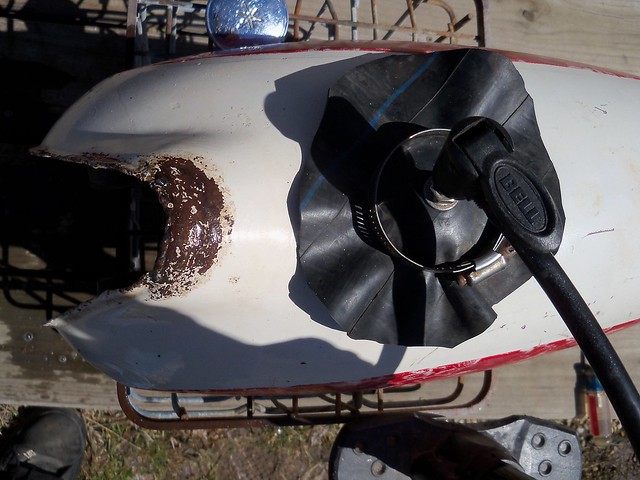
Next is to hand sand the paint from the top of the filler and the petcock mounting area. After this I sprayed out the inside of the tank with brake cleaner, and then rinsed it several times with kerosene, and then let it dry out as much as possible. The kerosene will leave just enough of a film to keep the inside from flash rusting.
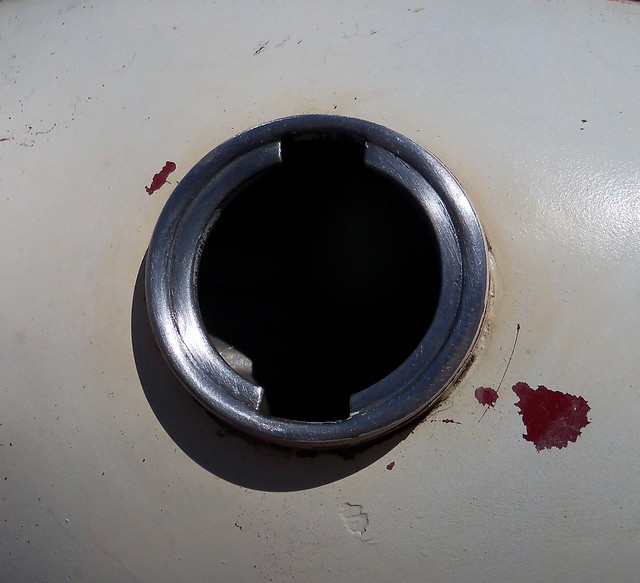
I need to seal up the tank for sandblasting. I cleaned the top of the filler with brake cleaner so the masking tape will stick.
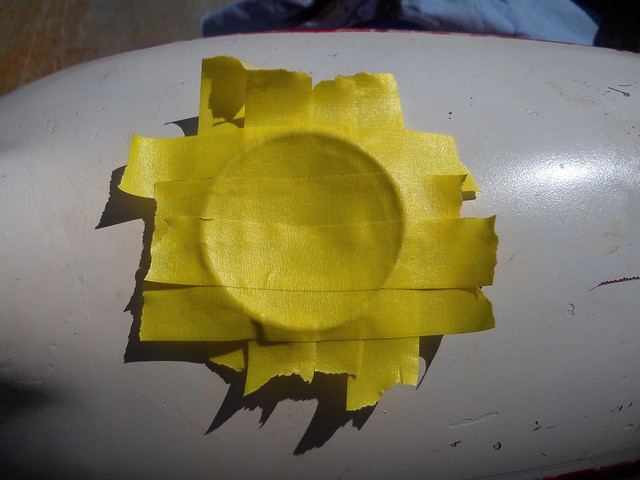
Then the tape is trimmed.
I did the same for the petcock area. The sand just bounces off the tape.
Here it is ready to blast.
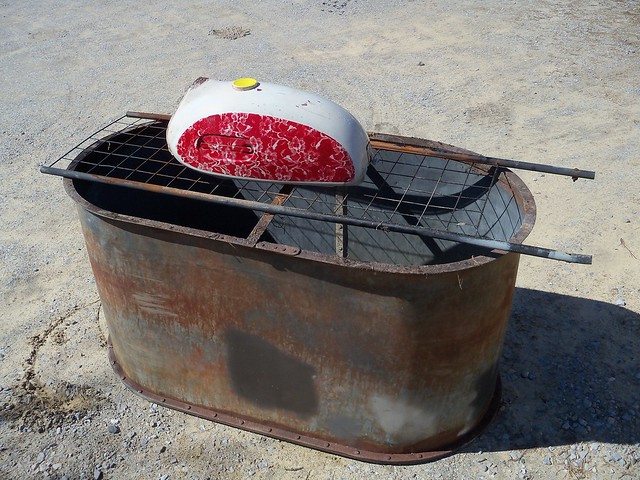
The original paint was red, so I think this was a '70 DT1 tank.
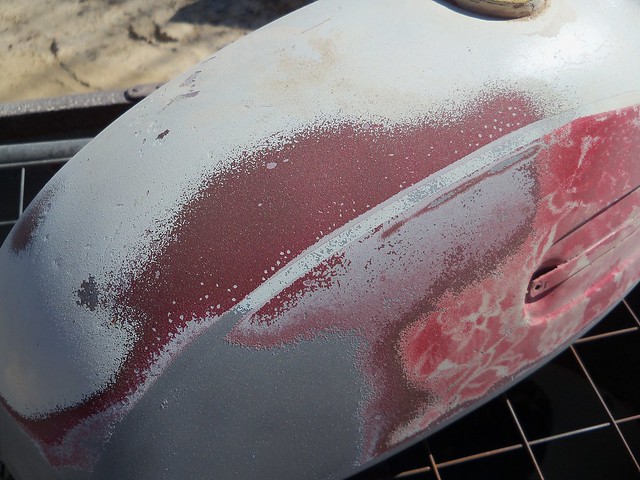
Here it is after blasting.
I then primed the tunnel so the tank will be ready to go on my stand for bodywork. I'm using Dupli-Color self-etching primer.
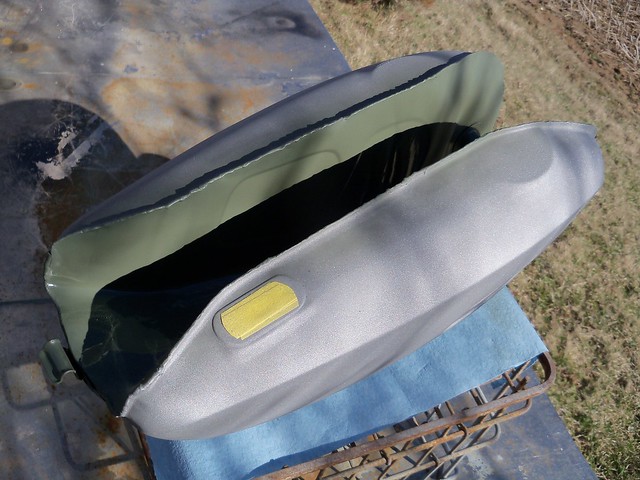
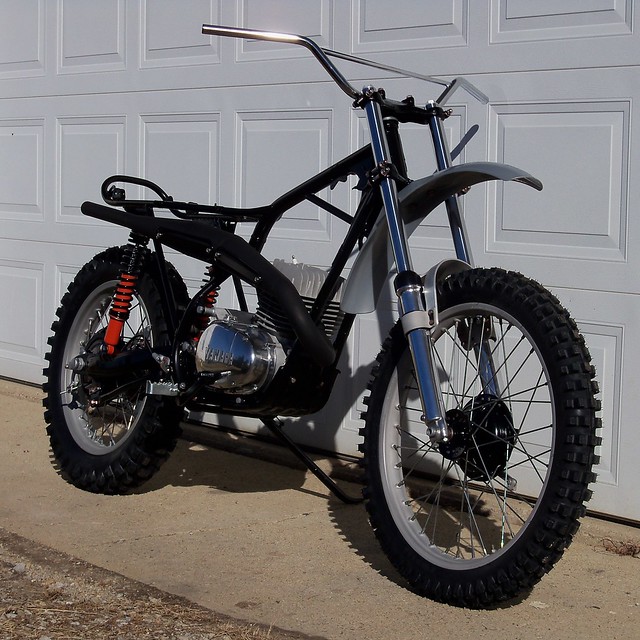
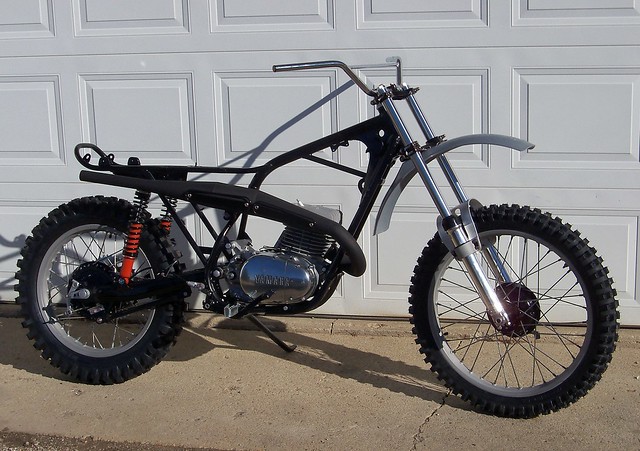
Here is a sneak peek of what the bike will look like.
I'm also finishing the bodywork on the rear fender. With the longer swingarm it didn't fit the radius of the rear tire, so I cut it off at the frame hoop, and trimmed it to fit kicked up slightly, then welded it back on. I also welded up the tail light mount holes and removed the wiring channel.
3/28/15
3/17/15
3/15/15
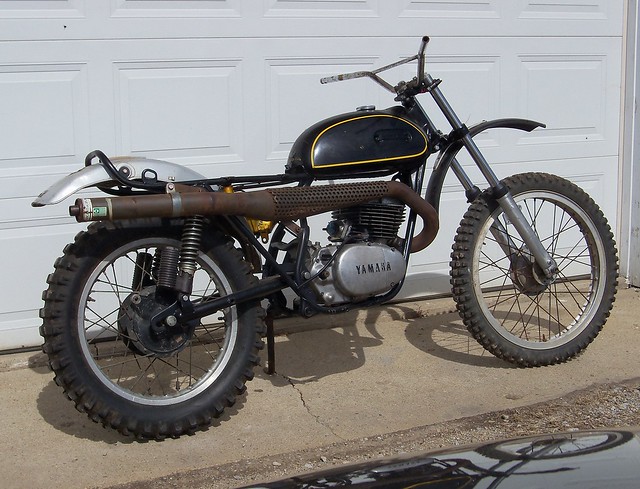
RT1 project
Last year I bought a '70 RT1 frame, and I've been collecting parts and doing some mock-up to see how I want to do it. I'm going to use '73-'74 MX250/360 and SC500 wheels and forks. I've got a high shoulder MX250 wheel for the rear, but it doesn't have a tire on it, so isn't on for mock-up. This one will be a road bike, so I'll likely use trials tires for the finished bike.
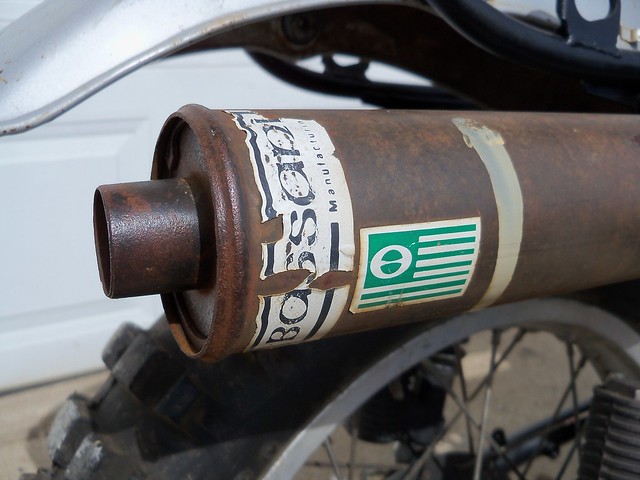
The pipe is a Bassani. I'm not 100% sold on how they look, but they are supposed to work well and sound nice.
3/14/15
DT1 MX project
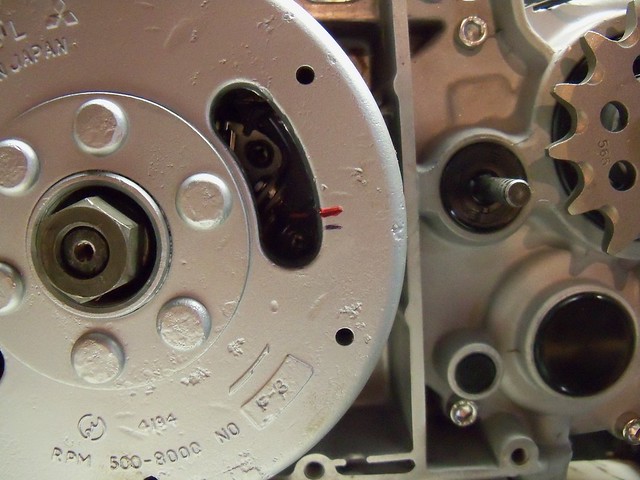
Before finishing the top end I had to static time the points to open at 3.2mm (.126") before top dead center. A dial indicator gauge is used to measure BTDC, and an ohm meter to tell when the points open. With one lead connected to the ignition wire and the other grounded to the engine, the meter reading changes once the points open.
I made sure the timing tab lined up with the factory mark on the flywheel at 3.2mm BTDC so later I can just use a timing light to check timing. The red mark is the factory mark at 3.2mm BTDC, and I put a black mark at 2.3mm BTDC for reference in case I need to run less advance.
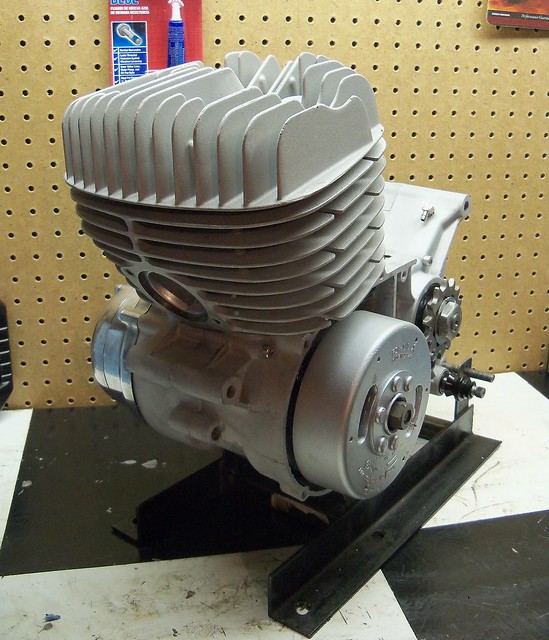
The engine is ready to go in the frame.
3/8/15
DT1 MX project
swap meet
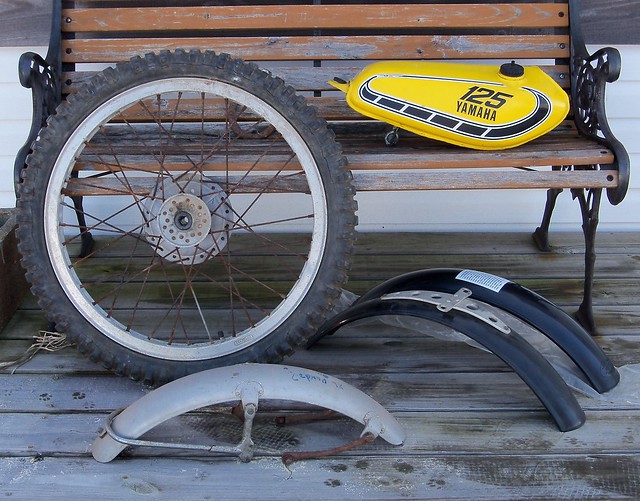
I had a great time at the swap meet this weekend, and scored some great parts for upcoming projects. I got a '73-'74 MX250 front wheel, '76 YZ125 tank, DT1 front fender, no-name high mount fender and bracket, and an NOS Preston Petty front fender.
I've already got one of these for an XT500 I'm working on, but I'm sure it'll get used for something.
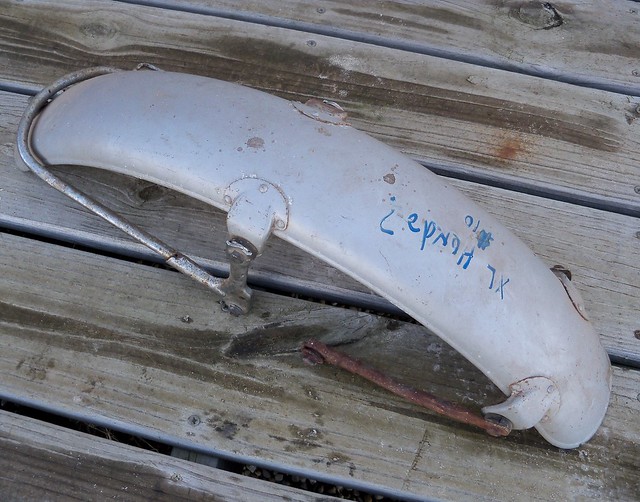
The DT fender is the aluminum version, which you can tell by the rivets fastening the mounting points. The chrome on the brackets is gone, but I can blast and paint them, but not a single ding I can find on the fender itself.
I also got a model Jorge Lorenzo M1.
If you are looking for good garage art, take a look at Gonzo Rider. He had a booth at the swap meet, and had some very nice work at good prices. He prefers commissioned pieces, so whatever you can think up he can make.
Ryan Villopoto
In round 2 of the MXGP Championship in Thailand, Villopoto wins the qualifying race and race 1 with a 3rd place in the second moto. This moves him up to fourth in overall points.
photo source: http://www.mxgp.com/