5/11/13

XS650 project

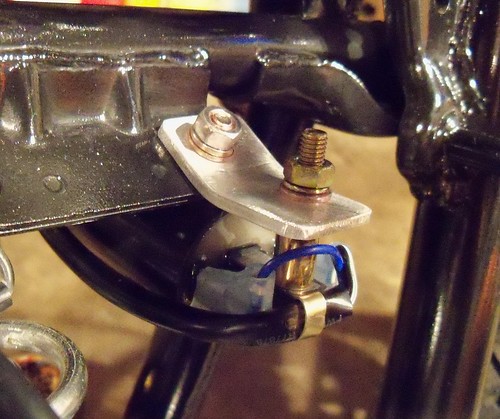
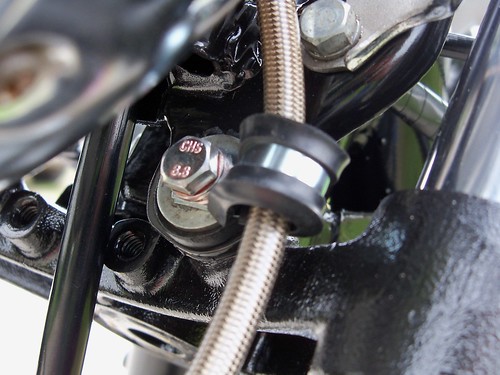
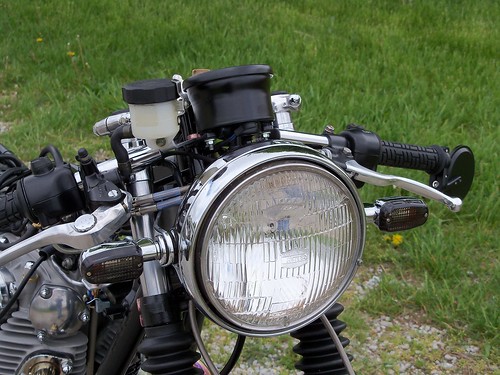
These insulated clamps can be bought in the electrical department at most hardware stores, and work great for securing braided brake lines.
100_9844 (2)

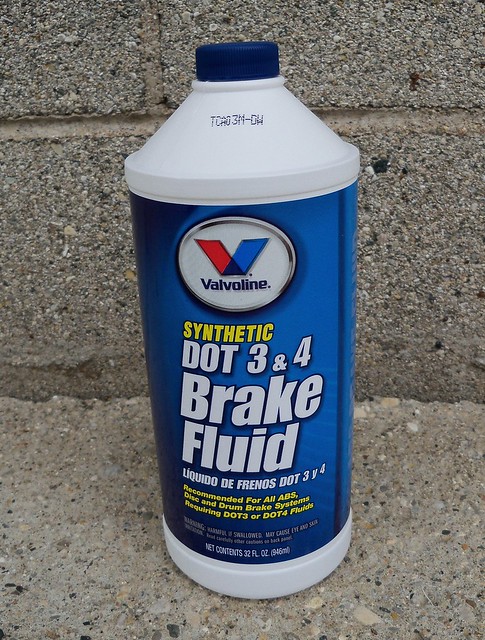
I'm using Valvoline synthetic brake fluid. The front brakes bled easily, and I think everything there will work great.
100_9760e

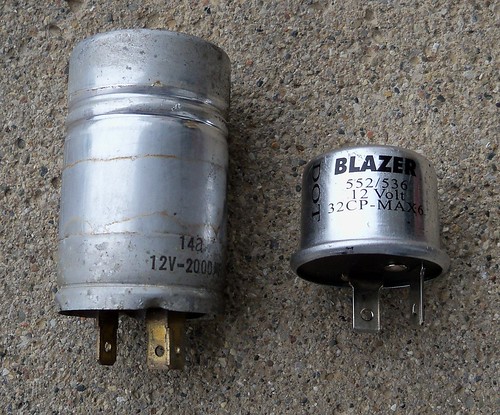
The turn signals didn't work, so I switched from the stock three prong flasher to a regular automotive 552 two prong part. On an old Yamaha you want to use the brown and brown/white wires. The brown wire is switched power, and the brown/white sends power from the flasher to the left handlebar switch. The remaining wire isn't used. After switching they worked fine.
100_9748

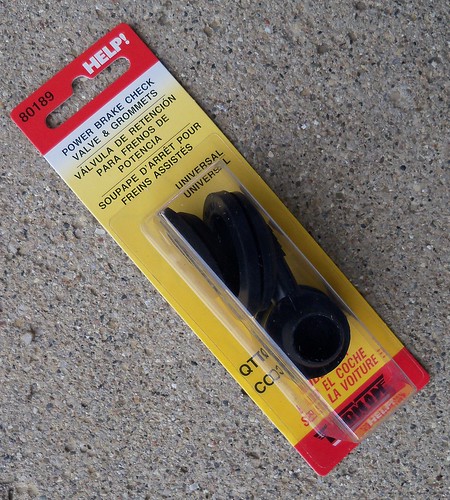
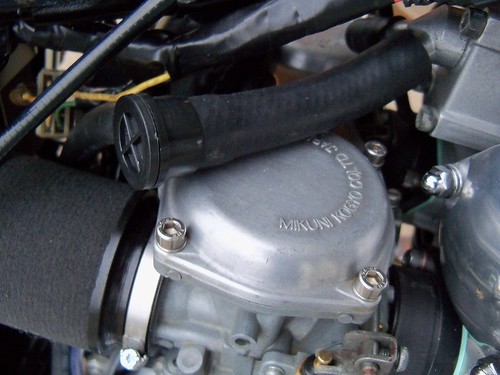
A popular mod on the XS650, I'm using a power brake one way valve for crankcase ventilation.
100_9753

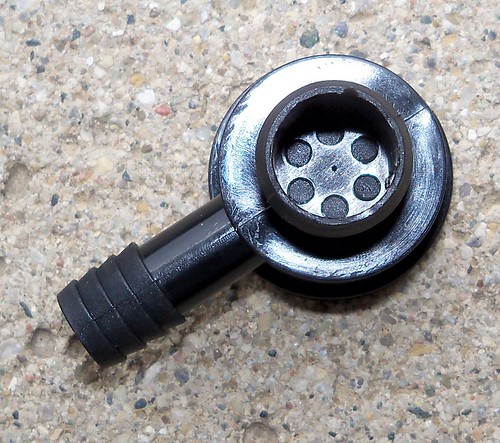
An engine displaces the same volume below the piston as above. As the pistons come down, it can pressurize the inside of the engine. With this valve it lets any pressure out, but closes to not let anything in on the pistons upstroke, in theory creating a slight vacuum, which should minimize any pressure on the next downstroke.
100_9756

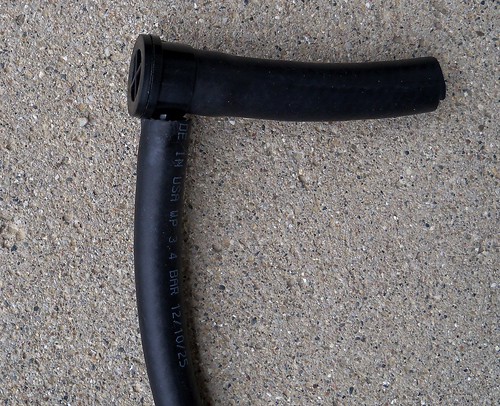
It connects to the head breather port with 1/2" hose, and then 3/8" hose exit.
100_9759

The crankcase breather housings changed over the years of XS650 production. Early bikes used both ports. The '75 originally had one port capped and one going to the front sprocket area. Later bikes just had one port.
100_9798

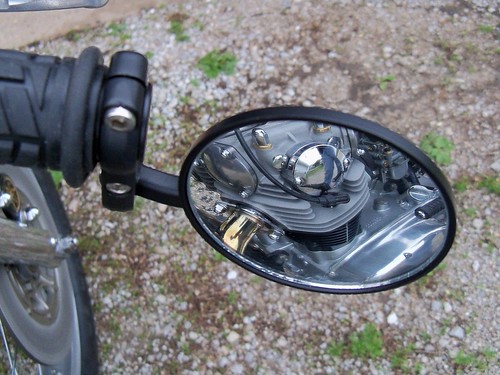
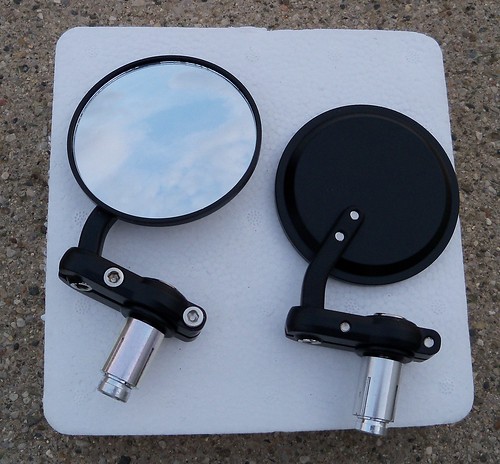
The mirrors are ebay cheapies that I've used on a couple of other bikes and really like them. I got these from seller power.freaks1 for $14.50 with free shipping, so crazy cheap price, but nice mirrors.
100_9771

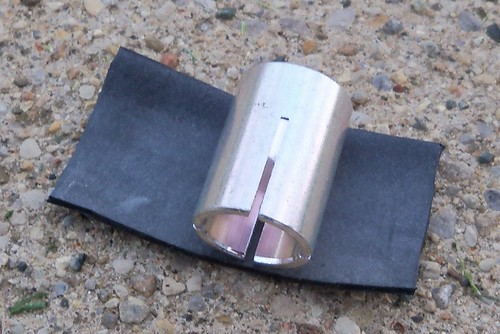
I've had a pair of these type mirrors on my Sportster for several years. Since it has 1" bars I used some old pieces of inner tube to shim them to fit. I found that handlebar vibration was greatly reduced after installing the mirrors, and also the mirror images are completely clear, so I'm doing it on the XS also even though it has 7/8" bars. I cut some small pieces of old inner tube.
100_9773

Then the inner tube rubber goes into the bar and the outer sleeve tapped into place.
100_9779

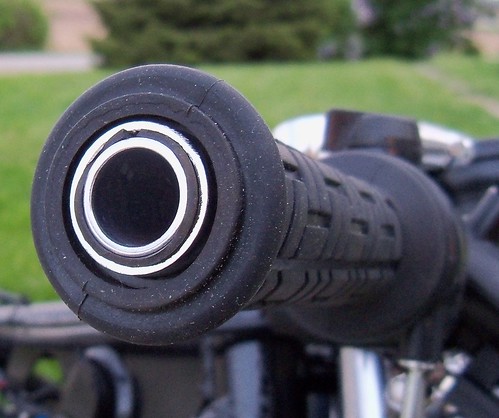
And then the mirrors installed.
100_9801

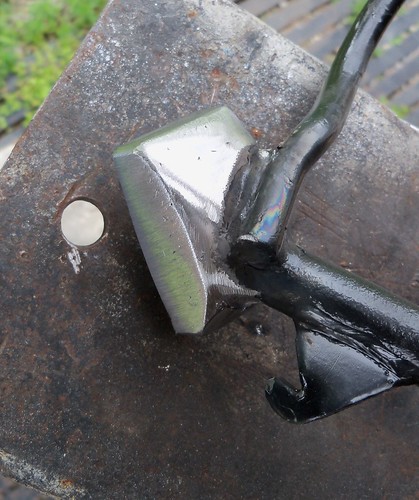
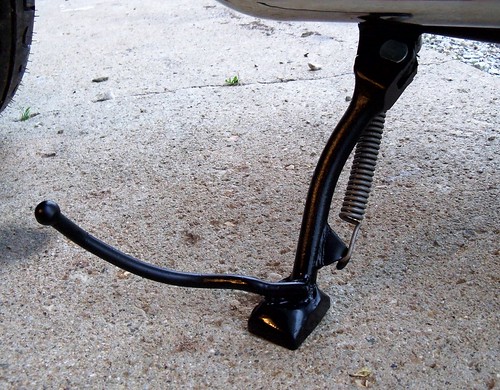
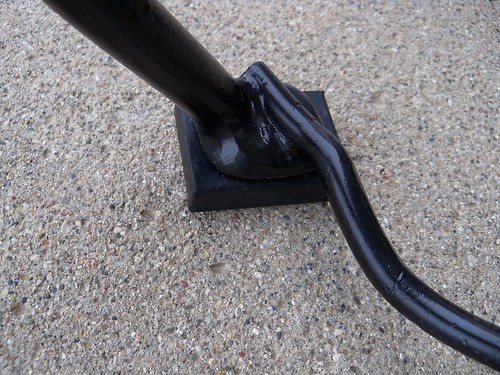
I'd figured that I might need to lengthen the side stand in mock-up, but decided to wait until further along so I'd know exactly where the ride height would be. It only needed about 3/8", so I'm just welding a pad on the bottom. I found a piece of scrap steel just right.
100_9783

Welded and some shaping.
100_9785

Painted and back on the bike.
100_9794

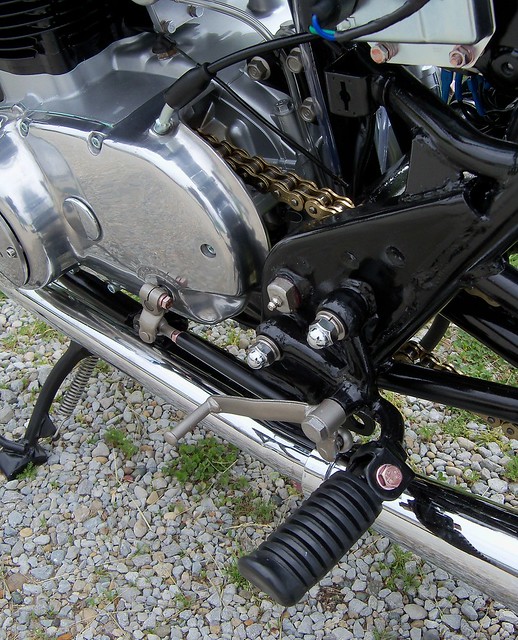
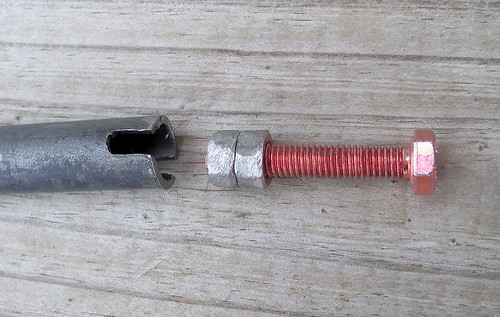
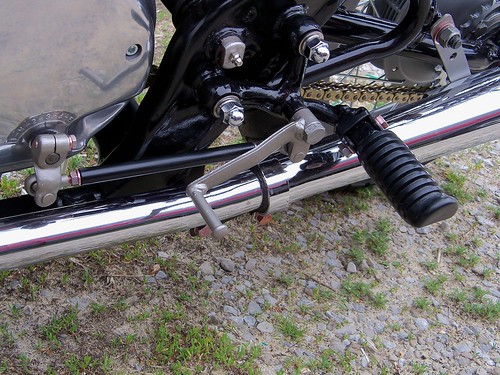
I needed to make the shift rod for my home made rearsets, so here is what I came up with. I found some 1/2" scrap steel tubing. After cutting to length I notched the ends of the tubing, and ground the corners off of a couple 6mm nuts so they just fit inside.
100_9806

Next the nuts are put in place. The bolt is to both install them, and make sure that the nut spacing is good, basically you want the bolt to turn freely through both nuts.
100_9811

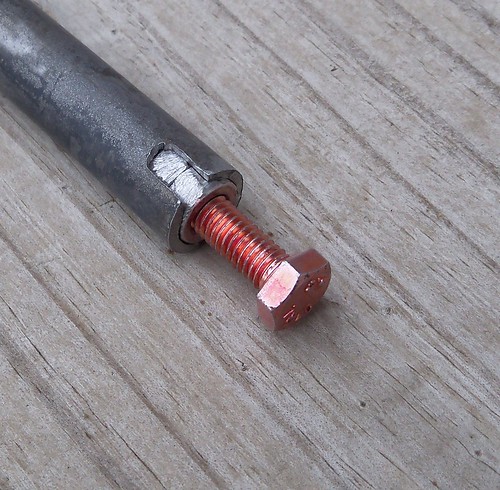
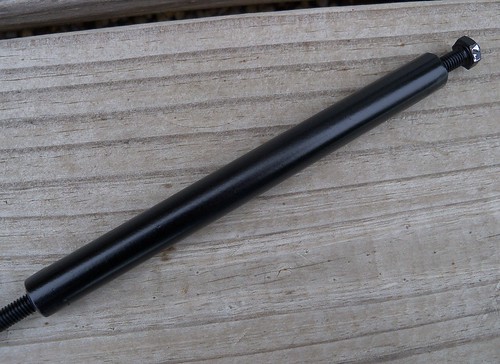
Welded, cleaned up, and painted. The bolts are left in place for painting to keep the threads clean.
100_9818

The XJ750 Seca shifter and new shift rod on the bike.
100_9824

100_9836

This is the same headlight as from mock-up, the original one from my SR500, left over after it got a smaller one.
100_9843

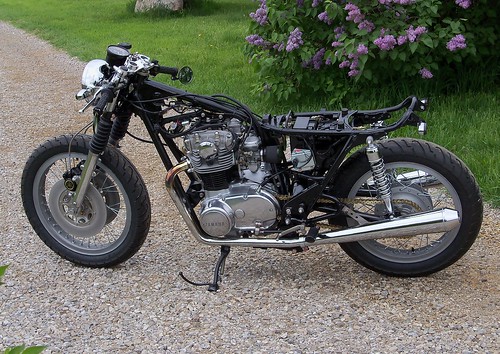
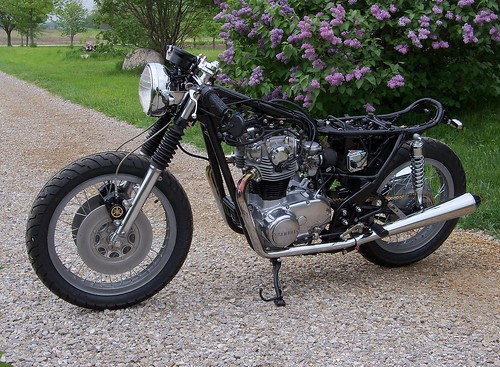
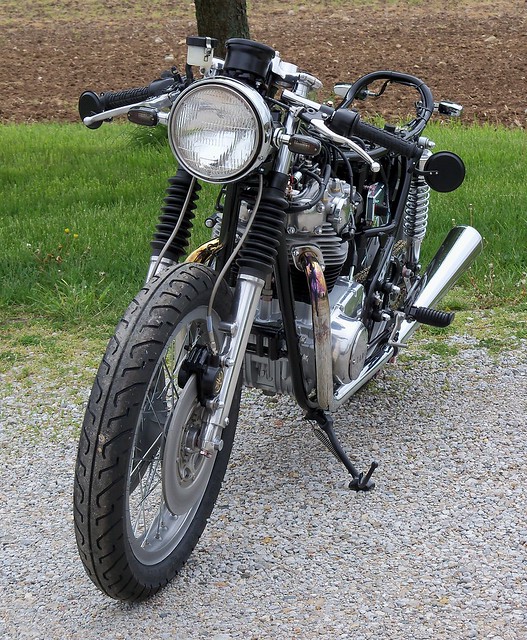
Pretty much ready for the sheet metal at this point.
100_9828

100_9833

100_9834

5/4/13

XS650 project

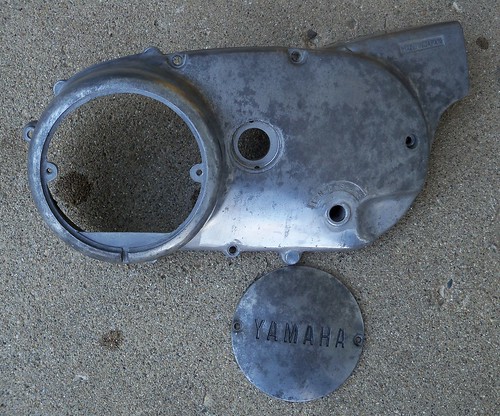
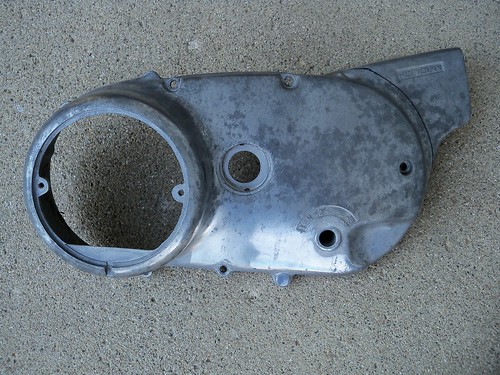
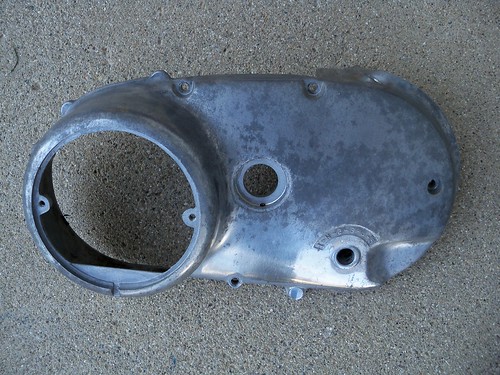
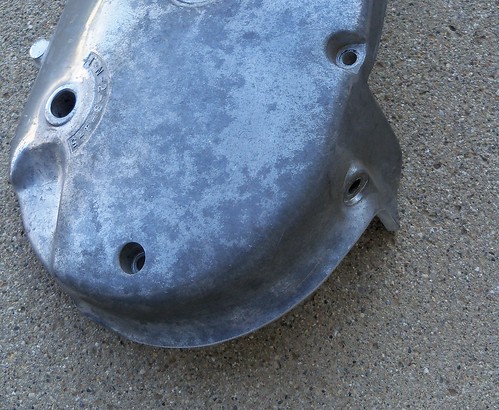
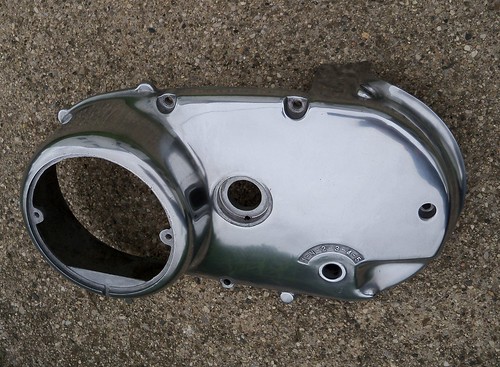
The left side engine cover needed some work. The first step was to apply Rust-Oleum aircraft stripper inside and out. On the outside it removes any remaining clear coat. On the inside it just melts away all of the years of chain lube gunk that otherwise takes lots of scrubbing. After sitting for a few minutes I hit it with the pressure washer, and it was clean.
100_9702

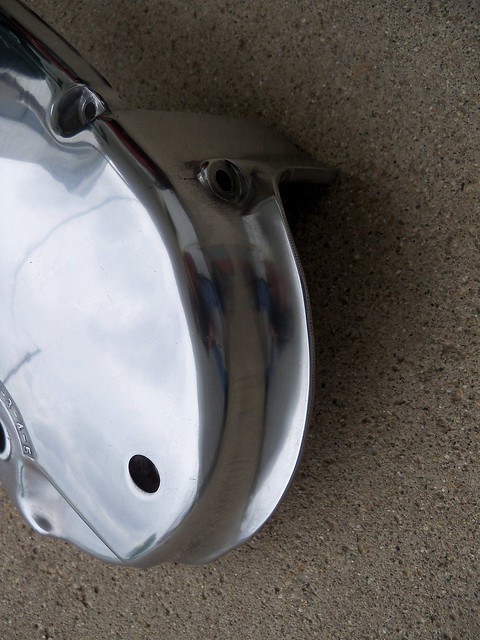
I decided to trim off the rear "fin" on the cover, so marked it where I wanted to cut.
100_9704

I used an angle grinder with a cut-off wheel to make the cut, and then a flapper wheel to finish it off.
100_9706

100_9709

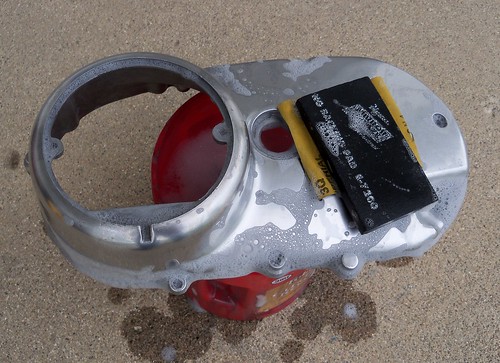
Next was to wet sand with 800 grit paper and dish soap and water.
100_9730

100_9733

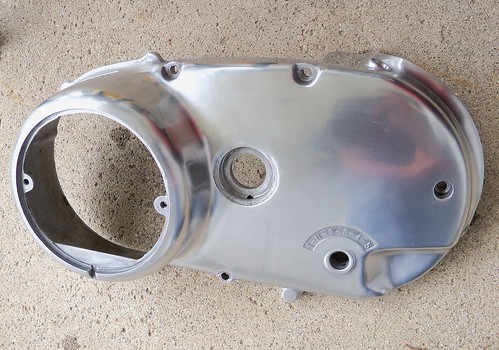
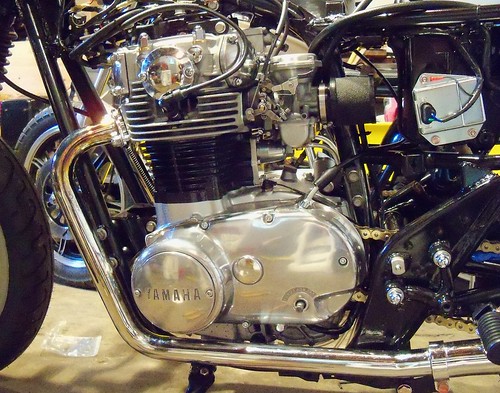
Then some Autosol to shine it up.
100_9738

100_9734

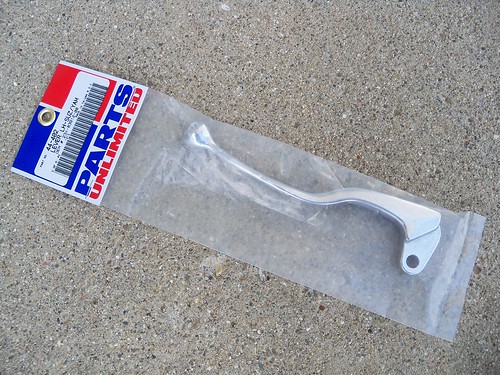
I got a Parts Unlimited part #44-402 clutch lever, since it matches the GSX-R brake lever better compared to the straight stock lever, and a Motion Pro part #05-0100 clutch cable. The cable is a bit long, but routing it in a loop behind the air filters made it fit fine.
100_9700

I cleaned and lubed the clutch actuator, and put it all together.
100_9744

4/28/13

XS650 project

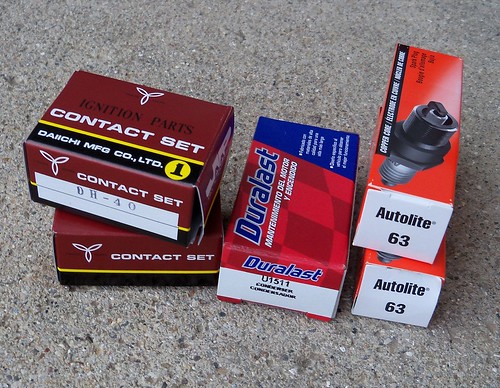
To finish up the ignition I got new points from MikesXS, and new plugs and a condenser from Autozone. I set the points gap and used the ohm meter method to set the static timing.
100_9686

It rained all morning, but cleared up enough to roll it out and have a try. I ran some fuel line from my SR500, and after a few kicks it started right up without drama.
100_9692

It starts easily and sounds great, although the audio from my camera isn't the greatest.


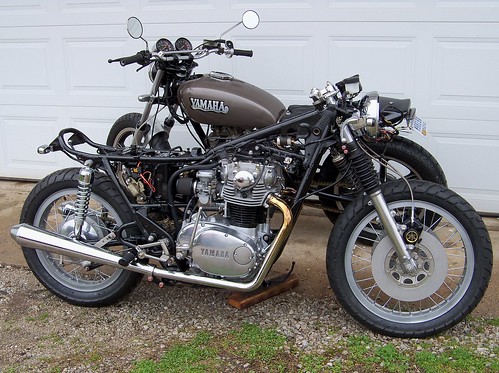
The exhaust is perfect; fairly quiet, but with a great sound. Now I've got to tidy up the wiring, cables, hoses and all that stuff. I'll need to recheck the cam chain tension and valve clearances, and time it with a light now that it is running. It's all good!

4/21/13

XS650 project

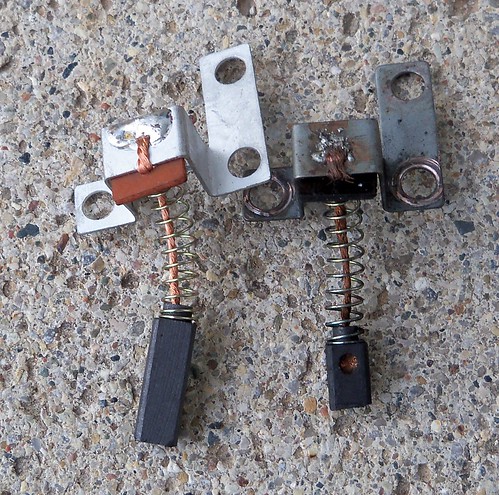
I'm getting fairly close to starting up the '75 and see if it runs (or if I screwed anything up!). Lots of little things to do like replacing the alternator brushes, one of the old ones here with the new one.
100_9602

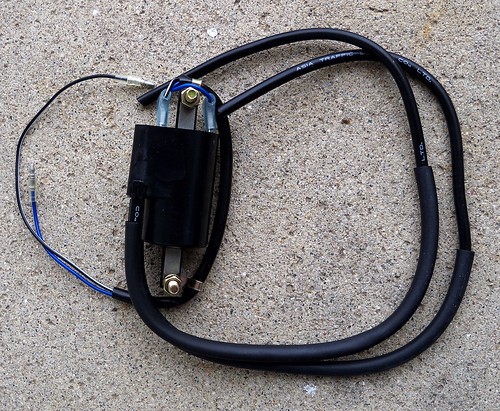
For ignition I'm using the stock dual points with a single dual lead coil, MikesXS part #17-6822. Both points get wired together with a single condenser. This is called a "wasted spark" system since both plugs fire at the same time. This coil has likely triple the voltage of the stock coils.
100_9599

I made two aluminum brackets that mount the coil sideways using the front two stock coil mounting points.
100_9610

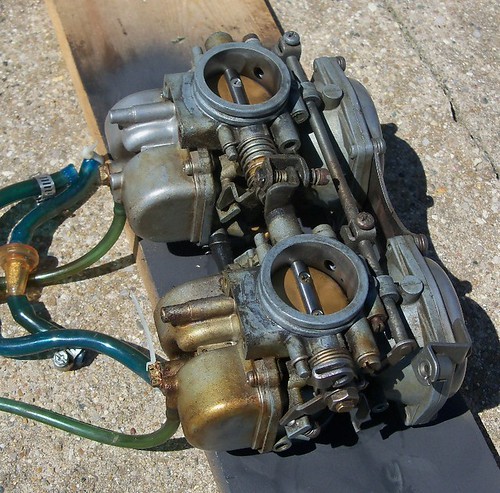
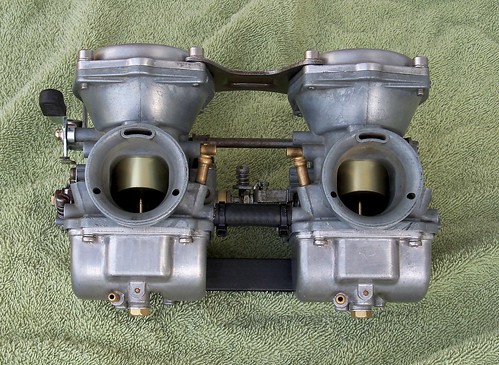
1975 had unlinked BS38 carbs using two throttle cables. When I bought mine it had a linked set using one cable, so I knew they had been swapped at some point. Before ordering parts I needed to identify what year they were. They turned out to be '76-'77 carbs, which use some different parts than the '78-'79. They were in decent shape but missing the choke lever and the lower link bar. The link bar is just steel angle stock, so I made one to fit.
000_0422

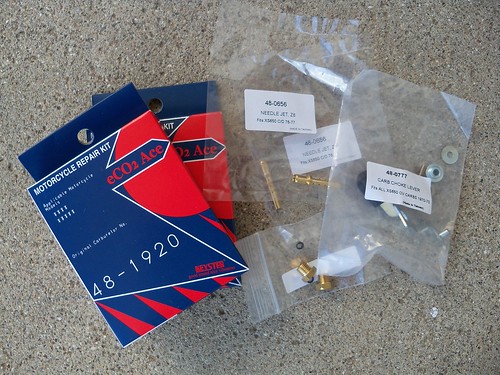
Some new parts from MikesXS, rebuild kits, drain plugs,  Z-8 needle jets and o-rings, and the choke lever. My carbs had the stock '76-'77 25 pilot and 122.5 main jets, so I went up two sizes on each to a 30 pilot and 127.5 main, which should get me close enough to start with.
100_9634

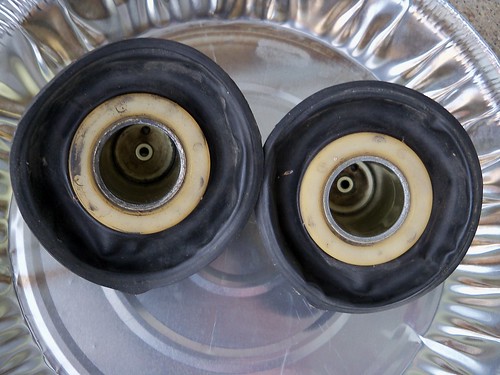
The slide diaphragms looked crusty. 
100_9629

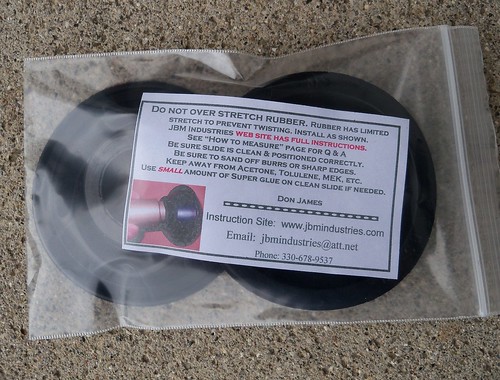
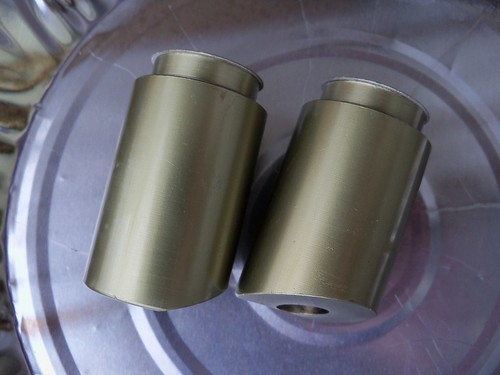
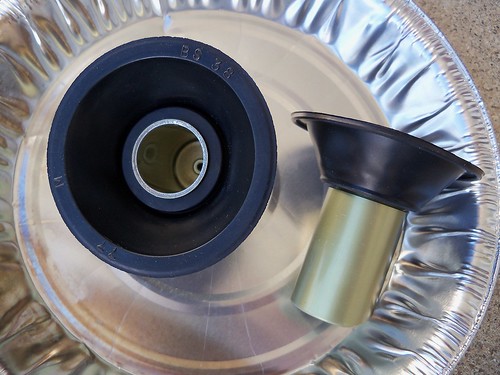
I bought new diaphragms from JBM Industries. These are excellent quality, and a huge money saver compared to what replacement slides cost. It use to be people would junk a set of carbs with bad diaphragms since they were so expensive, which is likely what happened to the originals on my '75.
100_9625

First cut the old plastic retaining washers off, and clean the slides. On the JBM website they show snips being used to cut the rings, but I did it a different way since my cutters just wanted to slip off. I first cut as far as I could with a small cut-off wheel, stopping before getting to the slide. I then used a sharp utility knife, just using a rocking action to cut the small remaining part. 100_9633

The diaphragms are a very snug fit on the slide, but I did use one drop off super glue to prevent the slides from rotating, as the website says it doesn't hurt to do so.
100_9639

Ready to go back on the bike.
100_9651

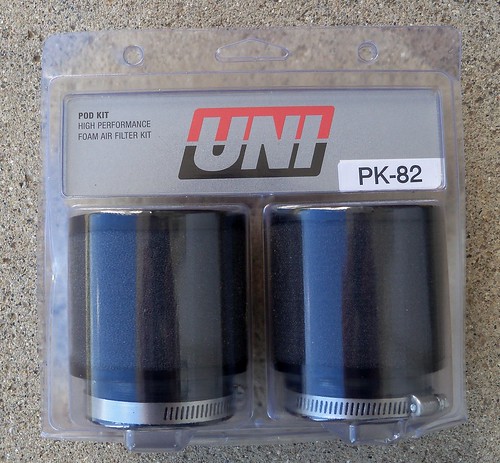
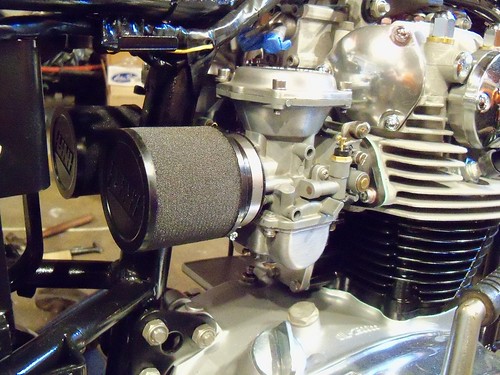
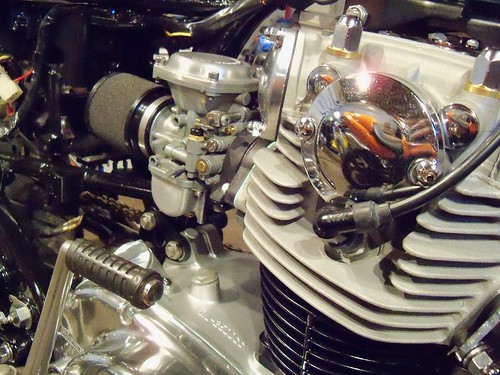
I bought a Uni filter kit part #PK-82. These are 3" long, but 4" would have cleared the battery box.
100_9641

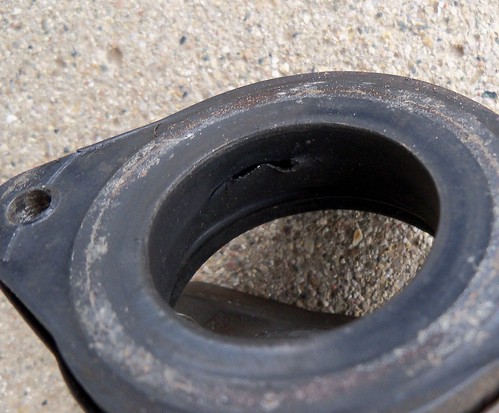
The stock carb holders were ready for retirement.
100_9622

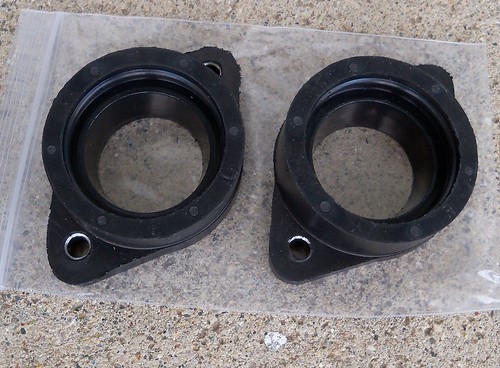
The new replacements are also from JBM Industries. Like the diaphragms they are designed to withstand ethanol blend fuels, and also made to be used with unsupported carbs when not using the stock airbox.
100_9624

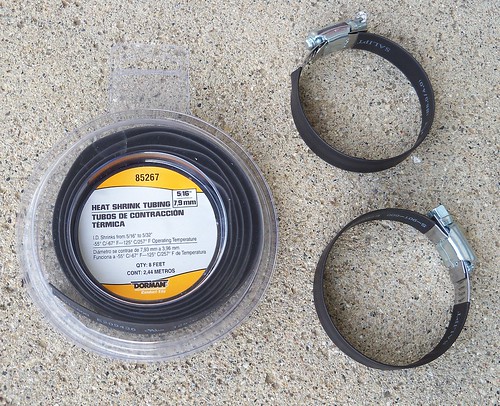
They use automotive hose clamps, which I covered in heat shrink to make less visible.
100_9643

The '75 cam chain tensioner is huge compared to later models like my '79, so unscrewing it makes installing the carbs much easier.
100_9656

100_9664