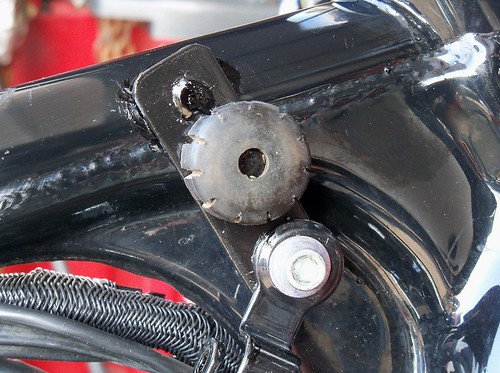
They bolt to the stock frame coil mount, which is also the stock tank mount. I had to remove the thickness of the brackets from the stock mount tubing. I also had to clearance the bottom of the tank for the right rear area of the front rocker box, and around the coil brackets. I also need to relocate the ignition switch, and space out the air cleaner. I bit more work with lowering the tank, but it really looks better.
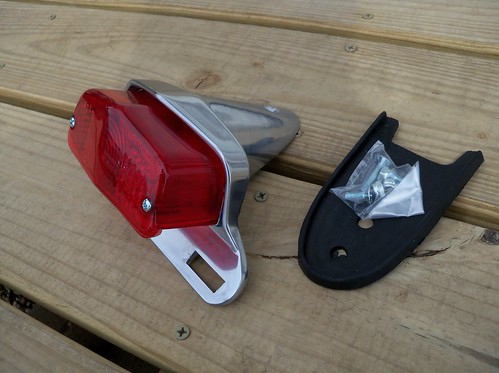
Here's the tail light/tag mount I'll be using. I bought it from Bellacorse. It's a very nice polished aluminum, and was only $30.
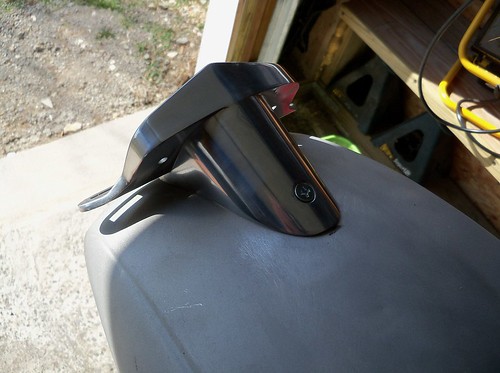
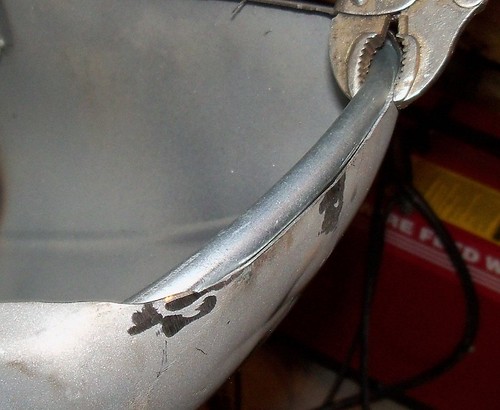
To finish off the under side of the cowl (at the very rear) I welded in some steel tubing, fitting it here.
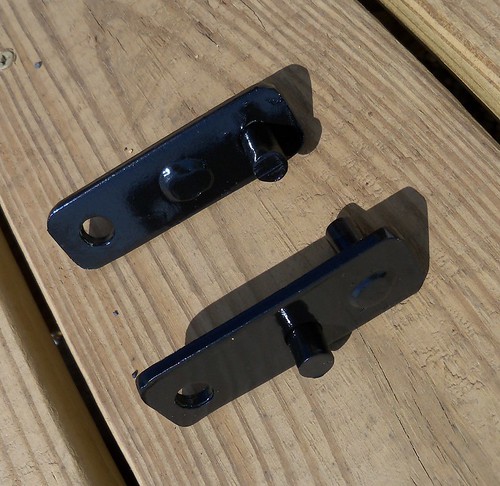
Here's the lift off seat base frame. It's made from 1/2" square steel tubing, angle stock and steel rod. The steel rod fits into tubing welded into the main seat pan. It's the same thing I did on my other seat, and worked great on it. Having the underseat storage ads a bit of weight (this part weighs 1 pound 13 ounces), but it's nice to have some storage area built in.

The top welded on. To remove, you have to lift perfectly straight up. I haven't decided for sure, but I'll probably do the upholstery myself.
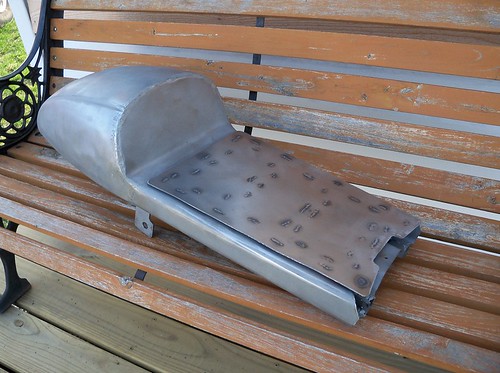
Ready for body work and paint!
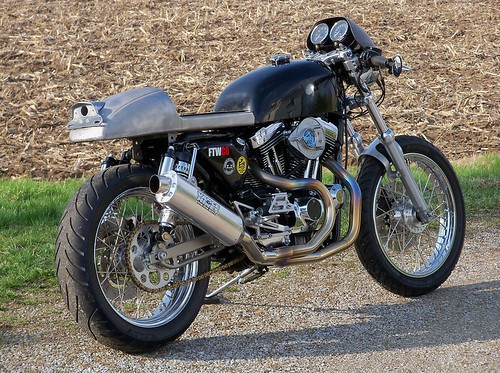
I'll likely paint it silver. The gas tank looks nice and clean on the inside, but I'm not sure what I'll find under the black paint. Someone had filled over the Honda badges, so could be some surprises there. The fuel petcock doesn't look to be in the greatest shape, so I'll either rebuild it or buy a new one. The air cleaner cover is off since the tank hits it, so a simple spacer looks to be the best way to fix that.
2 comments:
Very cool!! Love the look!!
great project. i love the detailed building-description.
fantastic blog
Post a Comment