4/25/15

The Memphis Belle

Last April we took a Behind the Scenes Tour of the Restoration Division of the National Museum of the US Air Force. Click for part 1 here, and part 2 here. A year later we went back, primarily to see the progress on the restoration of the B-17F Memphis Belle, and plan on going back every year until it is done. 101_8685

The vertical stabilizer is now back on.
101_8675

The right horizontal stabilizer is being finished.
101_8682

The tail gunner section was in a separate room being worked on last year, but is now ready to go back in place.
101_8658

The tail gunner kneels in place, perched on a small seat.
101_8662

On each side are the boxes for the ammunition belts, which feed alongside the gunner.
101_8663

101_8688

A lot of metal work is being done on many areas of the plane.
101_8720

101_8702

101_8693

101_8646

101_8648

101_8716

101_8735

Much of the activity in the restoration area has to do with the museum expansion. The massive Titan IV space launch vehicle is being readied to be moved and assembled once the new fourth building is completed.
101_8570

101_8584

101_8585

A C-119J is being restored for display in the new building. This particular aircraft was used as a satellite catcher.101_8607

101_8638

This F-104A spent years on outside display at the museum mounted on a pole.101_8615

101_8750

A new canopy has been made for it.
101_8743

4/20/15

1966 Honda GP

Honda 1966

Marusho

Marusho

VR46


Valentino Rossi makes it two wins out of three races.

photo source: http://www.motogp.com/

Cooper Webb


Yamalube Star Racing’s Cooper Webb had already clinched the 250 SX West Championship, but finishes the season with another win and 186 out of the possible 200 points.

photo source: http://starracingyamaha.com/

4/19/15

DT1 MX project

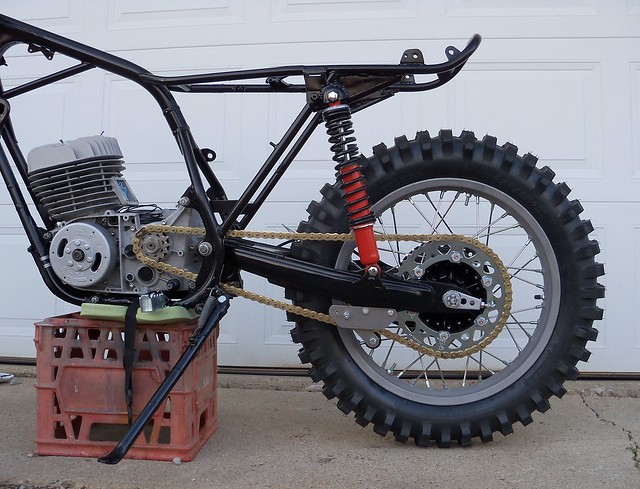
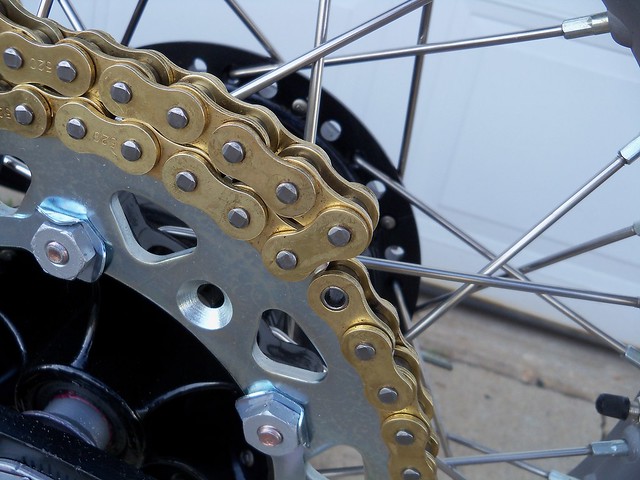
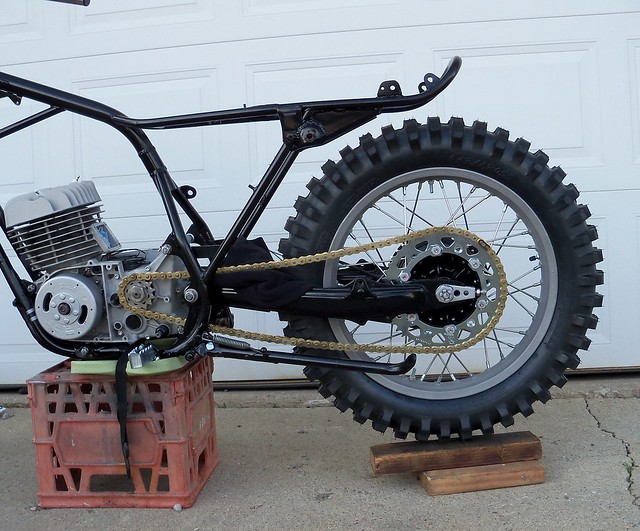
I'm using a standard (non O-ring) 520 chain on the DT. I got a 120 link which usually cost less than shorter specific length chains, and with the '77 RM250B swingarm I didn't know what size I'd need anyway. The first thing is to remove the shocks and line up the front sprocket, swingarm pivot, and the rear axle. This is where the chain will be the tightest.
101_8489

I moved the axle all of the way forward and see where the chain will meet with two inside links ready to be joined. 110 links (109 and the master link) is what I'll need.
101_8496

I marked the link to be cut.
101_8498

I grind down the pins with an angle grinder. The part of the chain that I'll be using is covered with a towel to keep any grinding debris from getting on it.
101_8502

I then pop the side plate off.
101_8505

It's shortened.
101_8506

I then put the chain on the bike and installed the master link.
101_8510

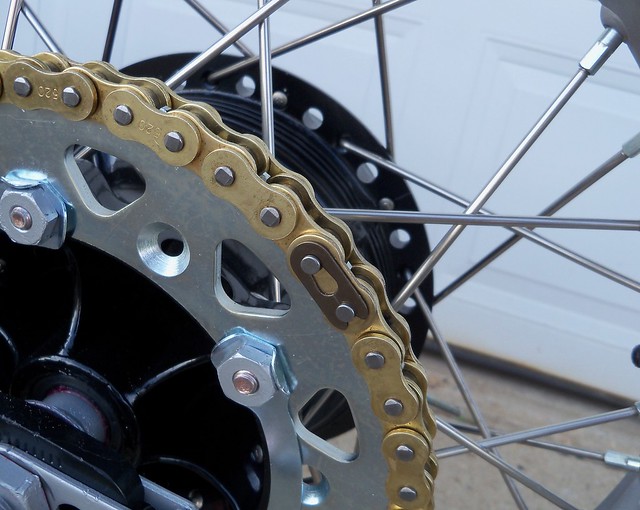
Once the chain is on then it gets adjusted. I lift the rear wheel up and down and make sure it still has a bit of slack at the tightest point. If you just adjust it with the suspension fully extended, and it binds at the tightest point under compression it can cause bearing, transmission, chain, and sprocket damage or wear.
101_8508

During mock-up, I'd looked at whether I'd need a tensioner. I didn't think I'd necessarily need one, but decided I go ahead and use one. I bought one from ebay seller trw37v olddirtbike. It is similar to an old Pro-Tec tensioner, and a very nicely made part.
101_8517

101_8515

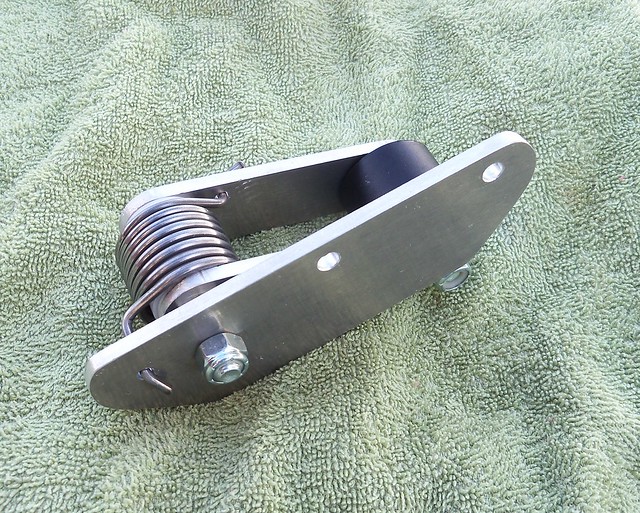
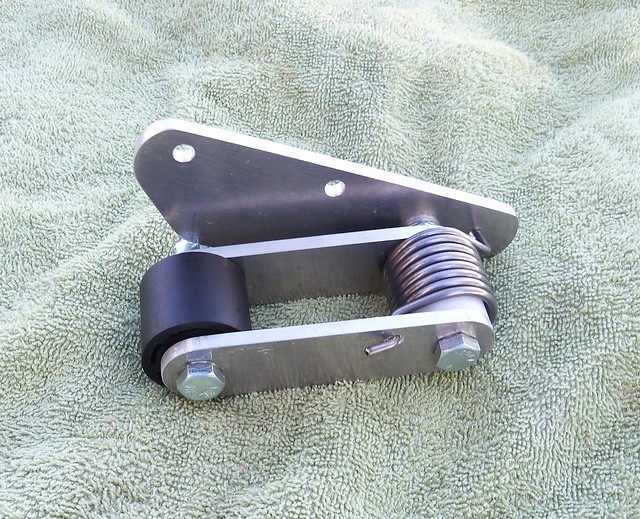
It bolts right on. You use washers to shim it so it is centered. It gets bolted on with the roller removed, than you swing the arms down and install the roller.
101_8525

The shocks are back on and the chain is good to go.
101_8521