8/31/14

DT1 MX project

The head pipe was just slightly too large to fit the DT manifold, so I made four cuts, shrunk it, and welded the cuts. The silver paint was just to mark how far it needed to go when fully seated in the manifold.
100_9473

Here it is fitted to the bike. I love it. I had taped the front fender in place to make sure the exhaust would clear it. I need to weld on the spring tabs, and I'll likely buy an aftermarket silencer/spark arrestor. In case you are wondering, the gold handlebars are just for mock-up, and won't be used on the finished bike.
100_9509

100_9506

I need to do some work on the rear fender. It is for a later year DT, so I have to modify the rear mounts so it clears the frame, and also make a patch panel to fix where the tail light use to mount. I looks like it got ripped off at some point.
100_9499

8/26/14

DT1 MX project

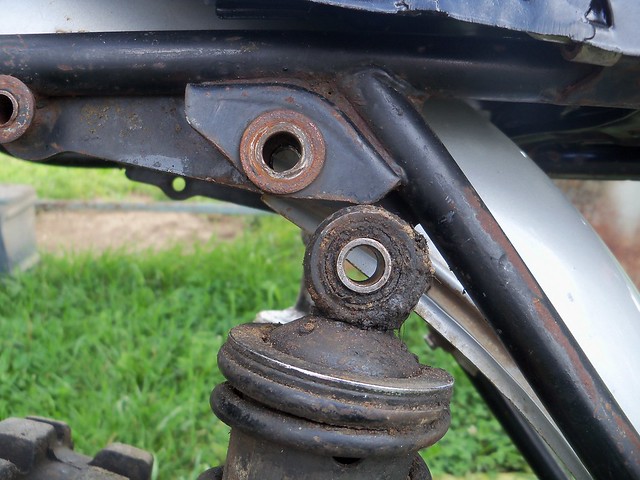
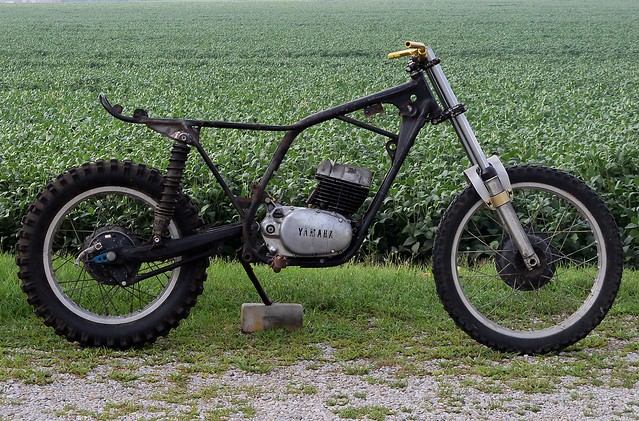
The '77 RM250 swingarm shock mounts are 1/2" wider than the DT frame, so I'm moving each side out on the frame 1/4", and going slightly forward and down. This picture shows roughly where they will be going.
100_9345

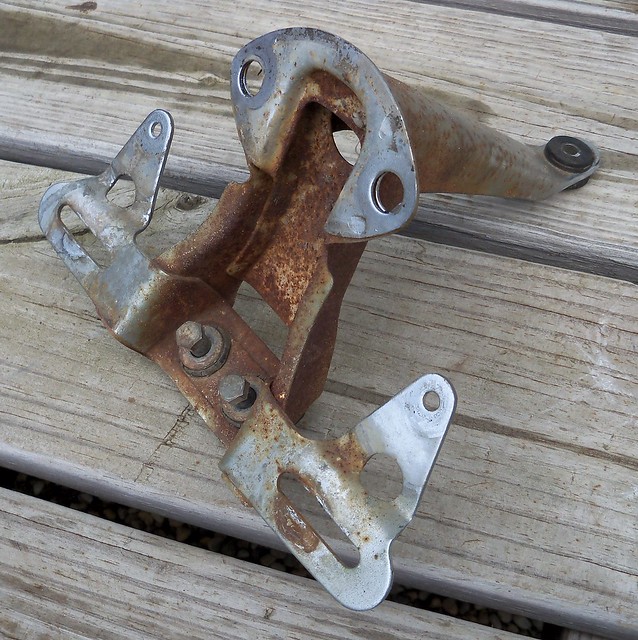
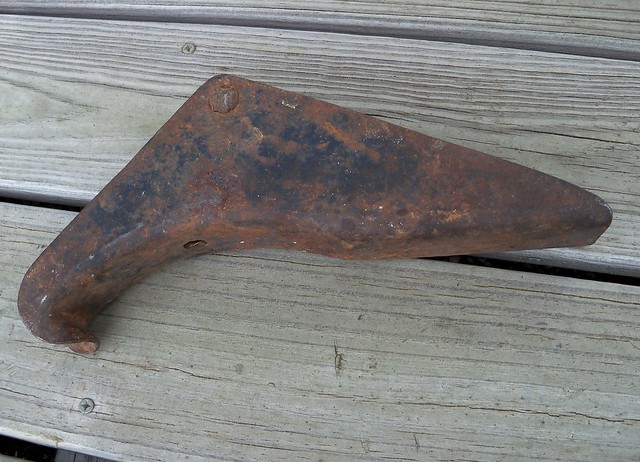
To make the new mounts I'm starting with a part of an old bumper jack. It is 1/8" steel, and has a good shape for what I need.
100_9351

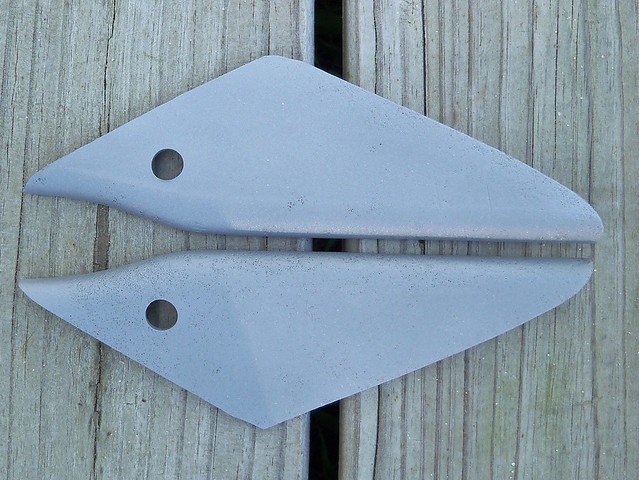
I cut off the outer parts of the mounts, but left the main inside gusset, fitting the new ones over them. With the 1/8" of the new mounts and 1/8" washers welded on, it moves the shocks out the 1/4" I needed.
100_9360

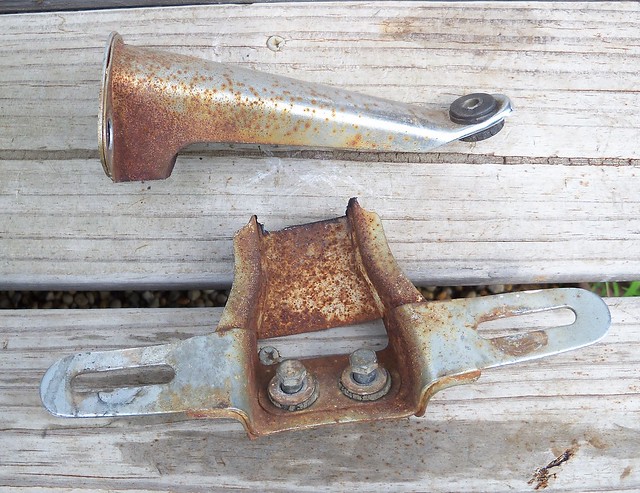
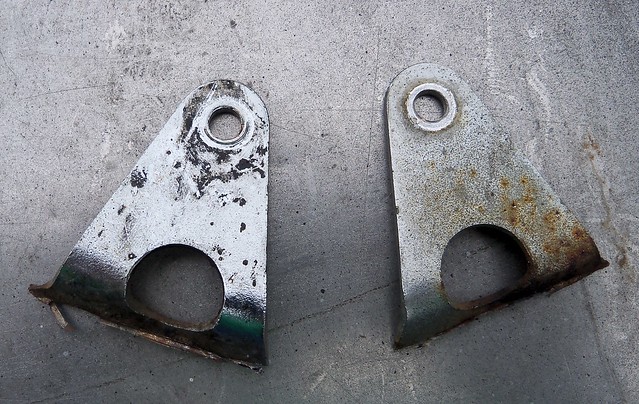
Here are the new mounts cut from the jack, and sandblasted to clean them up. The two together weigh less than 11 ounces, so not too heavy.
100_9375

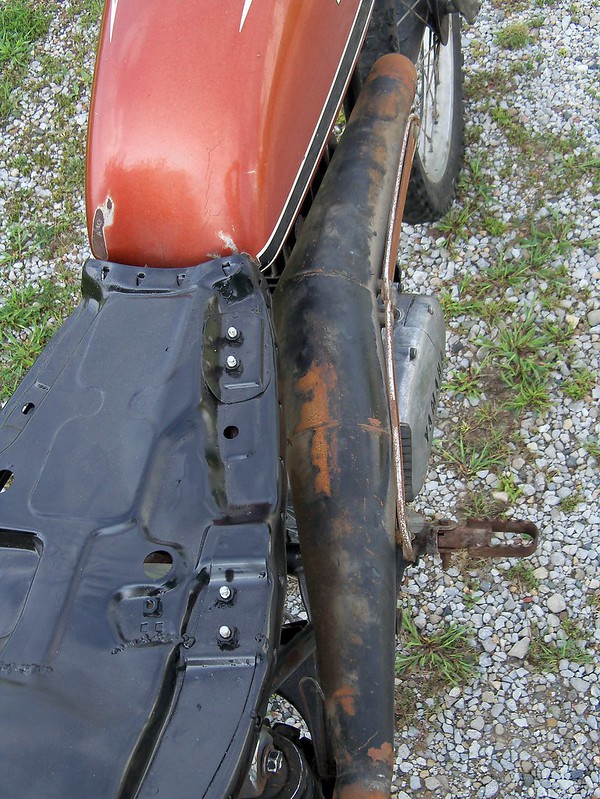
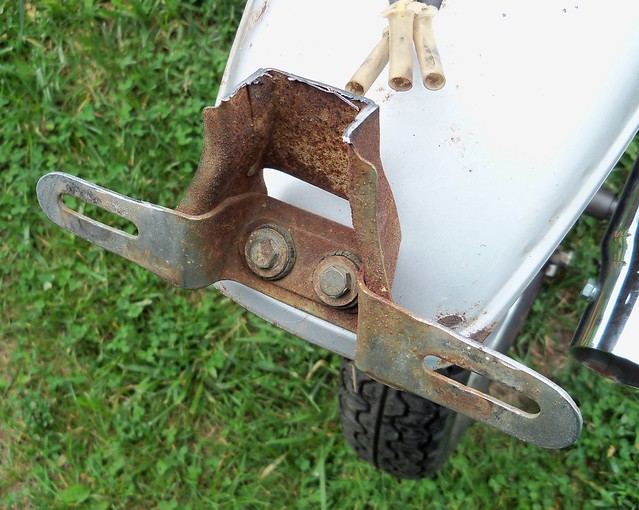
I welded them on, and then cut and welded on outer supports from a junk TT500 frame. I then put it back into a roller.
100_9386

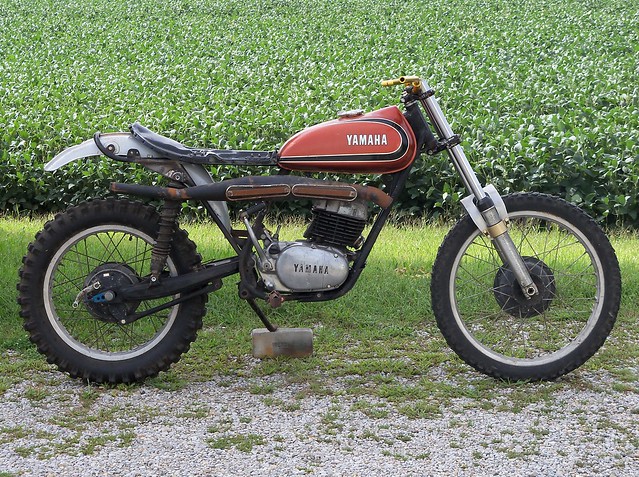
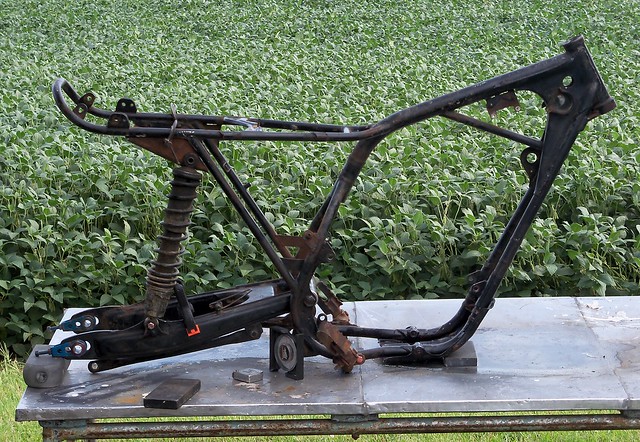
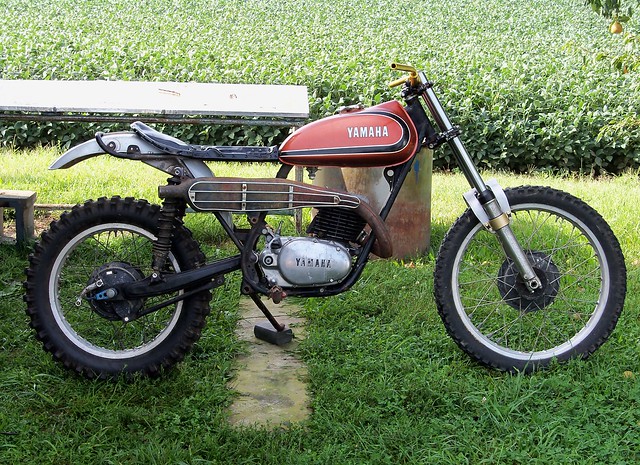
Next up is an exhaust. Here is a stock DT1 exhaust in place just to show the lowered engine cradle of the frame. Normally it would fit up into the rear upper corner of the frame in front of the upper shock mount.
100_9392

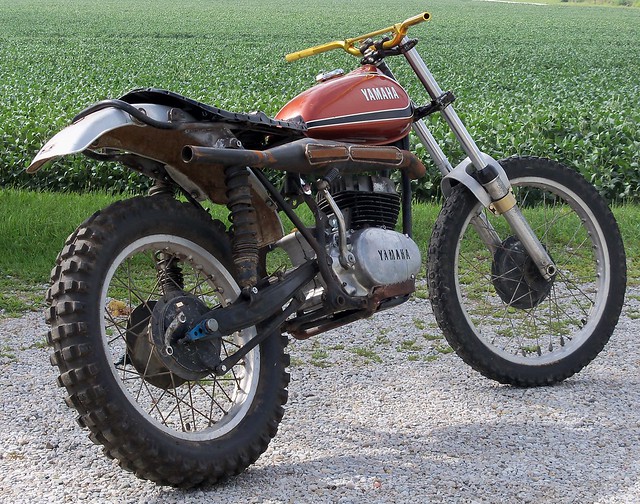
I want to use a 1970s aftermarket exhaust, so I got this Torque Engineering pipe. It is supposed to be for a Suzuki TS250, but was only $40 shipped, so I'll make it fit.
100_7984

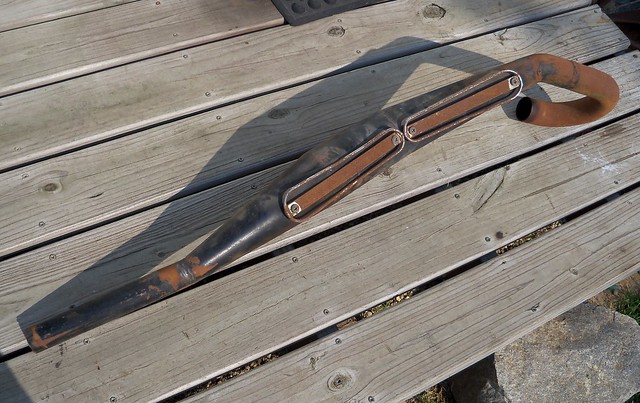
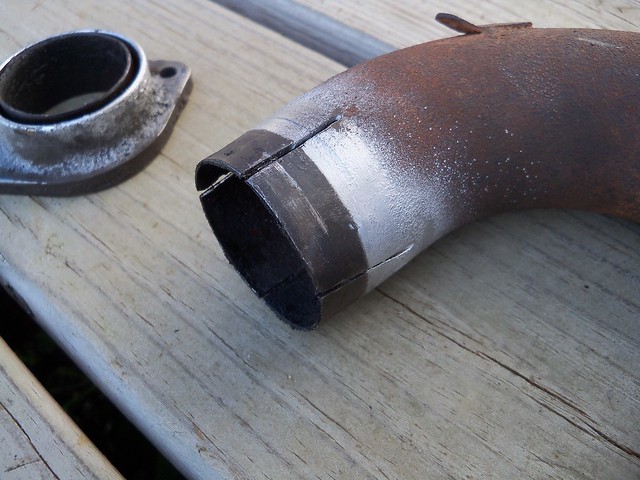
I'll need to redo the front part anyway, so went ahead and cut it off.
100_9395

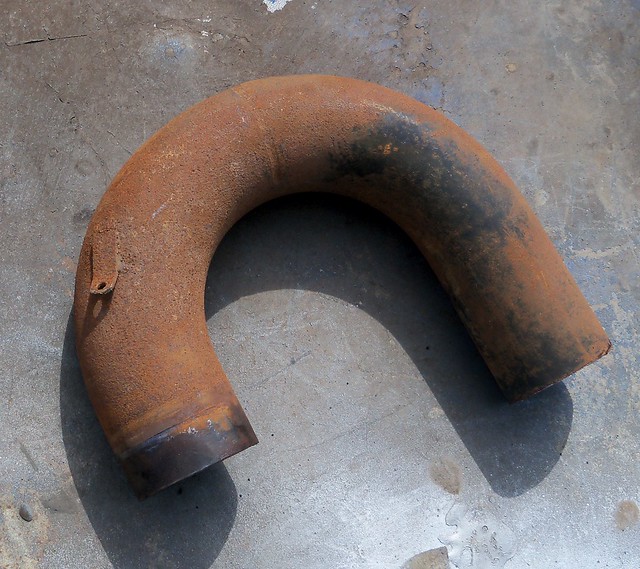
I tacked a mount on so I can decide exactly where it needs to go and what needs done to fit it, but I think I can get it to work. I'll probably go lower in the front. Once the front is done, I'll cut off and reposition the stinger.
100_9397

100_9400

100_9415

8/24/14

SR


source: http://www.wmpdt.co.jp/wm.html

today

100_9426

100_9425

100_9436

100_9429

I saw a couple of barns not too far from each other being disassembled. The first looks like it is about ready for the beams to come down, and the crew started on the second. It is sad to see so many of the old barns disappearing, but this is better than ending up neglected and collapsing like happens to a lot of them. These will likely be starting a new life as maybe someone's dream house.
100_9438

100_9440

100_9445

This is the view from the other side of the bridge.
100_9448

Lonely tree.
100_9452

100_9453

Big corn.
100_9454

8/16/14

XT500 project

I've got a few details on the XT500 mockup to work out and it will be ready for tear down and finish work, one of the details being the tail light and plate mount. I bought an aftermarket reproduction early Yamaha tail light from ebay.
100_9300

It looks great and was only $18.15 with free shipping.
100_9303

Here it is with a huge later style XS650 tail light. I'll be reworking and using the XS bracket.
100_9304

The XS650 bracket is rusty, but it will be getting sand blasted and painted anyway. This bracket is too long, the older style light won't fit it, and even if it did it would point the tail light up when mounted on the XT500 fender.
100_9308

First the reflector mounts and top of the bracket are cut off.
100_9310

I'll be using the three stock mounting holes in the XT500 fender, so bolted the bottom part of the bracket in place.
100_9312

Next is to line up the front mounting point to see what will need to be done. I also put a plate on to make sure to locate the tail light where it needs to go.
100_9316

I then cut off the tail light mounts from the top bracket.
100_9321

For the new tail light mounts I'm using the old reflector mounts.
100_9323

Here the top and bottom parts of the bracket are tacked together, and the old reflector mounts are being fitted to attach the tail light. It'll be finish welded off the bike.
100_9329

Here it is on the bike, looking just like what I had in mind.
100_9334