1/30/13

XS650 project

Before rebuilding and painting the calipers I wanted to sort out a way to simplify the brake lines. The stock '75 XS650 front brake line goes from hose to hard line, then the junction block and pressure switch, hose again and then back to hard line at the caliper.
100_8568

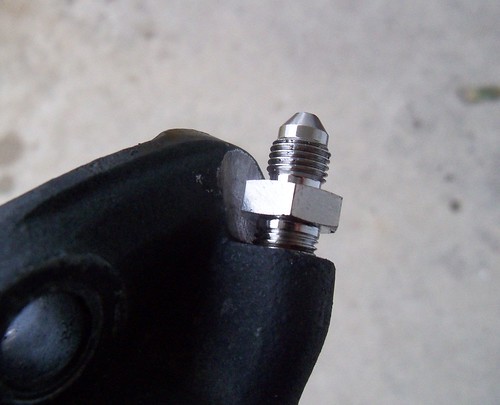
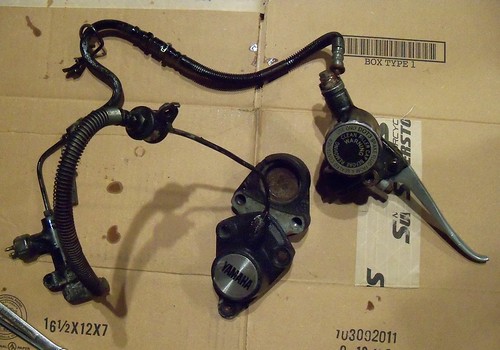
Since the early two piston caliper doesn't use a regular banjo fitting, I'm using Russell adapters part # R41431 at the calipers. These come 2 to a package.
100_8543

100_8590

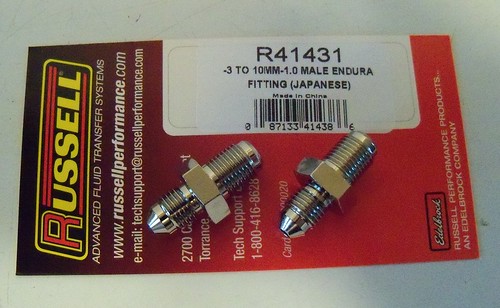
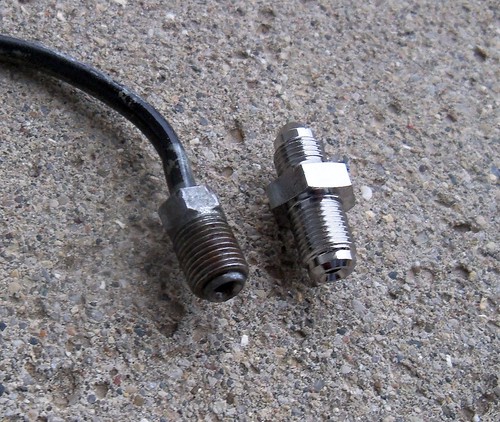
The nut portion of the adapter is bigger than the stock brake line and makes slight contact with the caliper.
100_8579

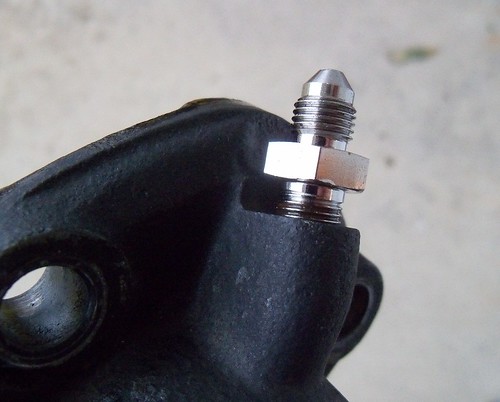
The little ridge is where it touches...
100_8573

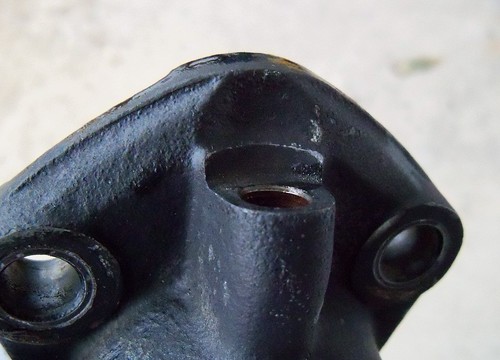
...so just needed hit with a die grinder.
100_8582

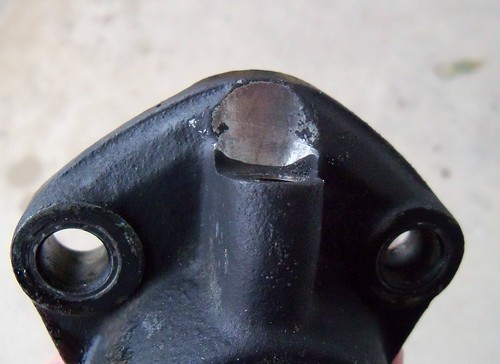
Now it fits without contact. This will let me use a standard braided brake line with 10mm banjo fittings at one end and -3 AN female at the caliper, eliminating the hard line. The stock single caliper master cylinder is 16mm, and the European market twin disc models are 22mm. These calipers have 48mm pistons, and according to the Vintage Brake chart it looks like 19mm(3/4") should be a good choice. I need to get one with the brake light switch built in, which will get rid of the pressure switch.
100_8586

1/26/13

Yamaha twin piston brake caliper disassembly

I'm rebuilding the front brake calipers for my '75 XS650 project. They are the early Yamaha two piece twin piston calipers used on the '76 and older TX and XS 34mm forks, and also on some RD models. Removing the pistons can be a little tricky. Mine weren't seized, but sticky enough that compressed air wouldn't do it. Here is the method I used to get the pistons out. First separate the caliper halves by removing the four fasteners, leaving the bleeder screw in place.
100_8515

The fluid crossover ports are in the center of the two smaller bolts.
100_8518

Flip one around and bolt them together like this.
100_8522

Then hook up a master cylinder.
100_8525

Get two C-clamps (which don't need to be as big as the ones I used) and pump up the master cylinder. The clamps keep the pistons from popping out as pressure builds. Let one come out far enough that fluid leaks out from around the piston, and then push it back in just enough so it seals again. Then pump the other piston completely out. Remove the clamps, and the first piston should be free enough to just wiggle it out by hand, or use a rag (to protect the piston) and channel lock pliers if necessary.
100_8533

Both calipers apart and ready for rebuilding.
100_8536

1/19/13

XS650 project

My '79 XS650 has Shinko 712 tires, and I really like them, so I'm using them on the '75 also. I ordered them from the Motorcycle Superstore on Sunday, and received them Tuesday, so very fast free shipping, and an excellent deal at $46.99 a tire.
100_8466

I'm using a 100/90-19 front, and 110/90-18 rear.
100_8468

Ready to spoon on the tire, the first side can usually be done by hand without tools. Then the rim strip and tube, putting the blue line on the outside so it is easy to see that the tube isn't twisted. The valve stem nut is just started so the tube can move up and out of the way when spooning on the tire. The red mark is the lightest point of the tire and is aligned with the valve stem.
100_8481

I cut up a plastic coffee can for rim protectors, and a q-tip and soapy water for lube where needed.
100_8497

Mounted and set to go. The shine is mold release compound, and why you need to take it easy on new tires for a few miles until it wears off. Some XS guys use a 120/90-18 rear, but the 110 is a better fit on the stock rim, and has a less ballooned sidewall, so I think it looks better and should handle better.
100_8508

100_8510

1/12/13

XS650 project

I'd bought a set of Parts Plus 27-1016 fork seals for the '75 XS 34mm forks from MikesXS, but ended up not using them. They were going to be way too tight of a fit, so I used All Balls fork seals instead which fit fine. I also used All Balls tapered steering bearings.
100_8421

I decided to use gaiters on the front end, and went with 5twins method of using truck shock boots on the XS650 forum. I got a pair of Tuff Country boots part #69127 from Summit Racing's ebay store. At $5.95 a pair, it was under $11 shipped, so a good deal.
100_8413

What you get.
100_8417

I shortened them the way 5twins shows, which just takes a couple minutes.
100_8433

100_8439

Done.
100_8443

To clamp them on the bottom I'm using a radiator hose clamp rather than the included zip ties. A quick tip on making hose clamps less visible is to use some electrical heat shrink tubing.
100_8446

100_8448

Forks on the bike, and next up will be mounting tires.
100_8455

100_8457

They fit pretty good at the top, so I didn't use any clamps there.
100_8463

1/1/13

early 2013 Indiana events

World of Wheels - February 8-10 - Indiana State Fairgrounds

Progressive International Motorcycle Show - February 15-17 - Indianapolis

Indiana Motorcycle Expo - February 22-24 - Indiana State Fairgrounds

AMA Supercross - March 16 - Indianapolis

Vintage Motorcycle Swap Meet - March 17 - Boone County Fairgrounds