12/31/13

form and function...

...it says so right on the box.
100_4936

100_4928

100_4930

100_4932

100_4934

12/30/13

National Museum of the US Air Force

One of my favorite places to visit is the National Museum of the US Air Force in Dayton, Ohio, so we paid a visit over the holidays. The museum currently has three buildings, but a fourth will be started in 2014 with plans to open in late 2015. The new section will include the Presidential aircraft and research and development among other displays. I've been going to the museum for years, but it is always just as impressive as the first time.
100_5414

100_5017

100_5032

100_5038

100_5068

100_5078

100_5077

100_5081

100_5097

100_5111

100_5121

100_5127

100_5137

100_5136

100_5144

100_5146

100_5165

100_5169

100_5197

100_5207

100_5205

100_5210

100_5401

100_5279

100_5332

100_5321

100_5237

100_5241

100_5229

100_5258

100_5268

100_5299

100_5324

100_5353

100_5364

100_5391

100_5390

12/27/13

SR400

source: http://sa-i-re-n.blogspot.jp/

XS650

 source: http://trgarage.blogspot.jp/

Moto On Ice - Cedar Lake, Indiana

for more info:
http://www.flattrack.com/index.php?option=com_kunena&view=topic&catid=3&id=180236&Itemid=0

other projects

I finalized and tacked the gas tank mounts on the XT500 project. The tank is from a '73 LT3.
100_5006

I've also done some rough mock-up on the '67 YR1 with a '68 YR2 tank. I picked up another '73 DT3 engine, and think I'll make it happen.
100_4994

DT1 flat track project

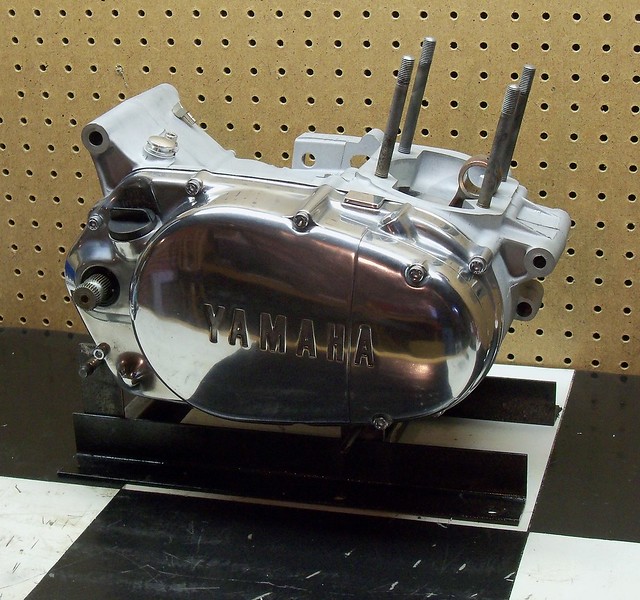
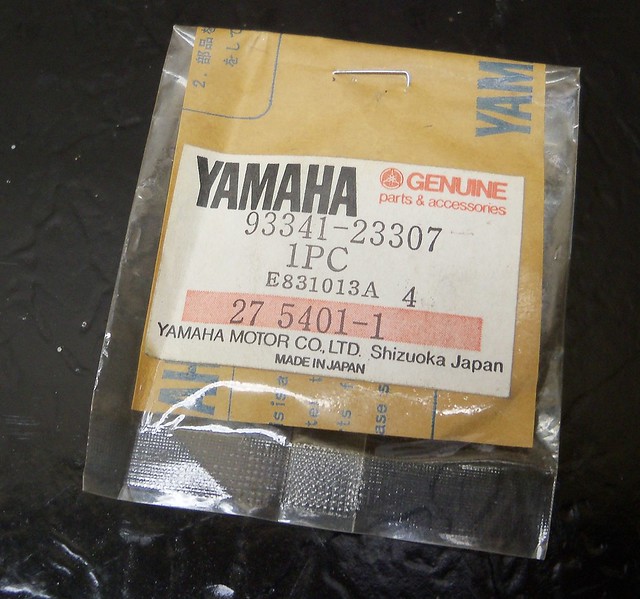
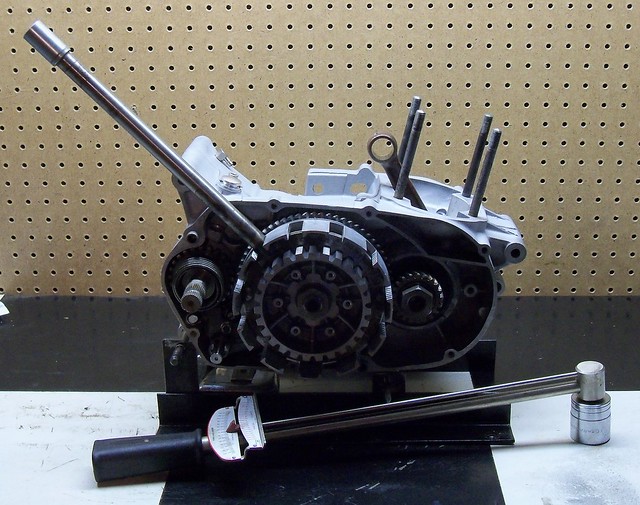
The new clutch flat bearing came in, so I can button up the bottom end.
100_4960

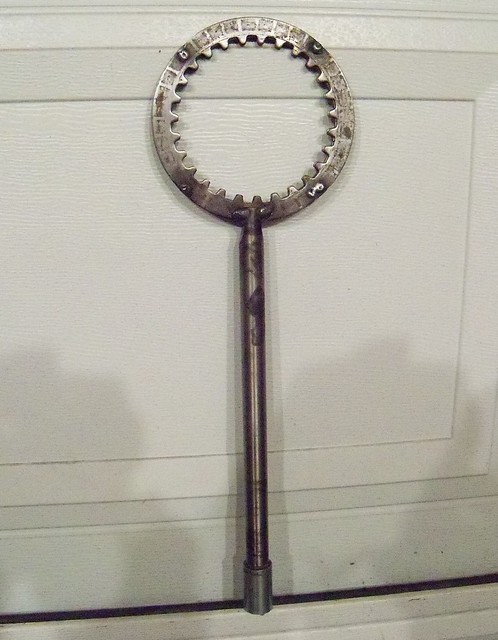
A impact gun works for disassembly, but I needed a clutch hub tool to properly torque the hub nut. I took two old clutch plates, drilled four holes in one, and spot welded them together. I then notched an axle to slip over the plates and welded it on. I then narrowed the axle where it fits between the fingers of the clutch basket.
100_4956

100_4959

I needed block-offs for where the oil pump cable and oil lines entered the clutch cover. For the cable, I took the old adjuster part and cut it off and welded the nut to it, then smoothed and painted it. To replace the rubber grommet where the oil lines pass through I started with a piece of aluminum and used an angle grinder with a cut-off wheel to freehand cut slots to fit the cover, then polished it.
100_4968

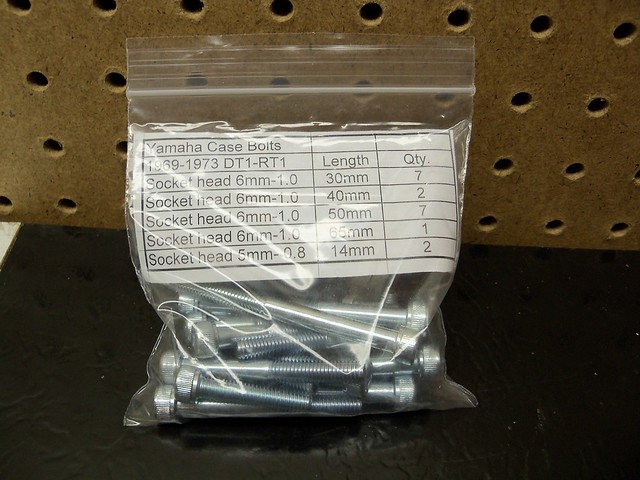
The side cover bolts I'm using are from ebay seller motodad24. Sometimes he doesn't have any items listed, so you need to keep an eye out for when he does.
100_4971

Now to get busy on the top end.
100_4972