7/30/16

XS650 enduro project
Before buttoning up the wiring I need to mount the turn signals. I'll be using some small Emgo signals, which I really like. They are classy, discrete, and inexpensive. For the rear I'll be using stock XS650 mounts (shown here). The Yamaha signals are 8mm, so the rear mounts just need drilled to 10mm for the new ones.

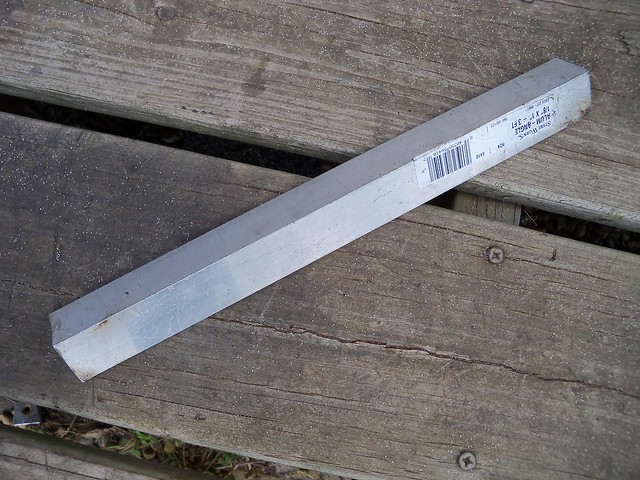
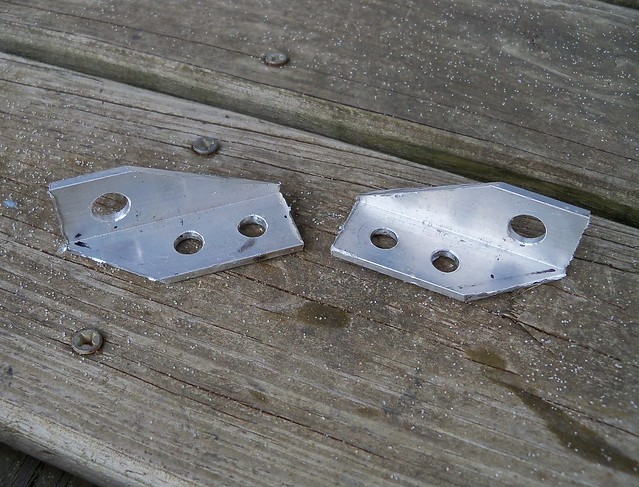
For the front I'm going to whittle some brackets from a piece of aluminum angle stock to mount them on the lower fork clamp.
I first drilled the two 8mm holes for the clamps, and the 10mm hole for the signals.

I then cut the pieces off to begin shaping them.
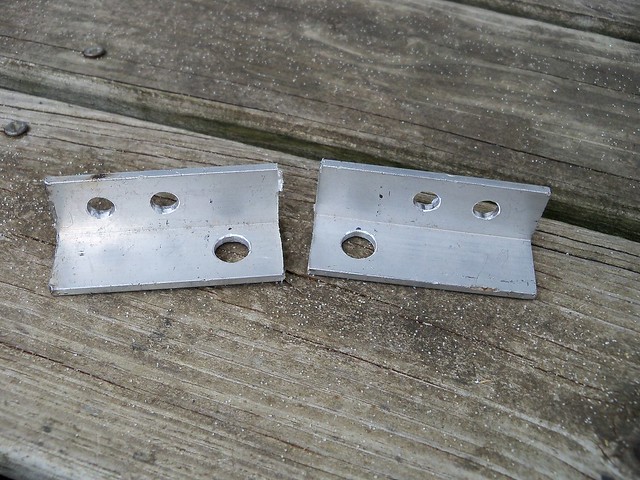
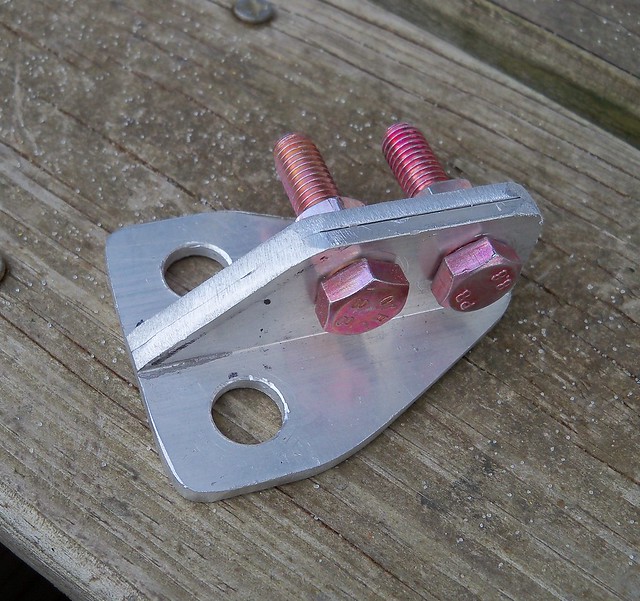
I used a cut-off wheel to remove the bigger parts.
I then bolted them together and used an angle grinder with a flapper disc to shape them.
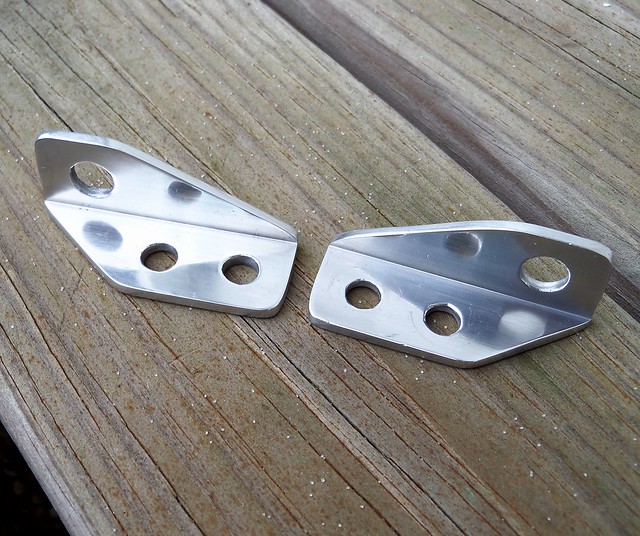
Next was wet sanding with 220 grit paper using a Meguiars backing pad to remove the sanding scratches, and then 400 grit. Then some Autosol polish and they are done.
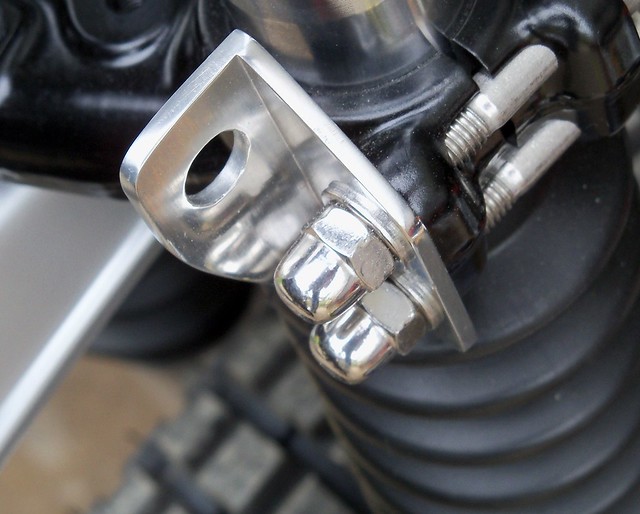
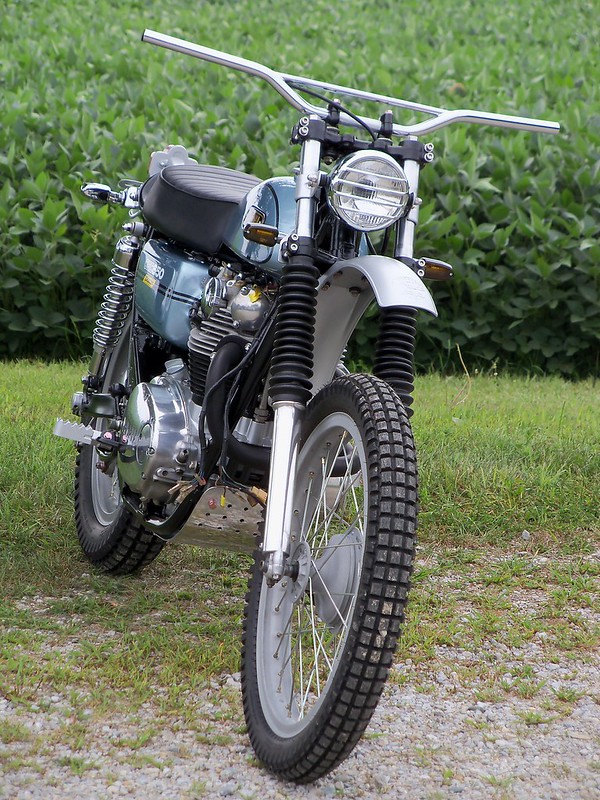
Here is one bolted in place.
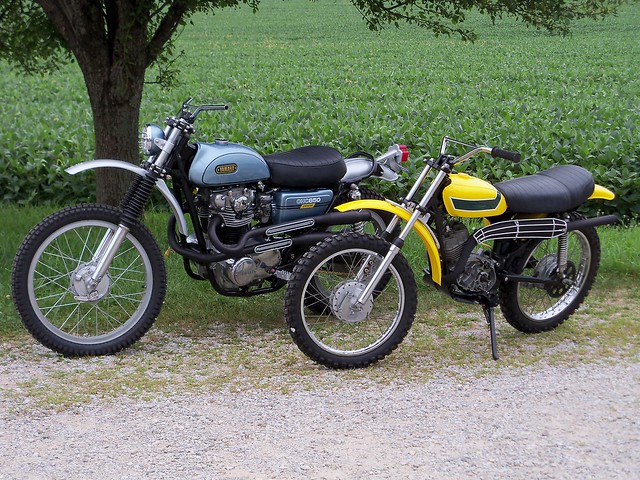
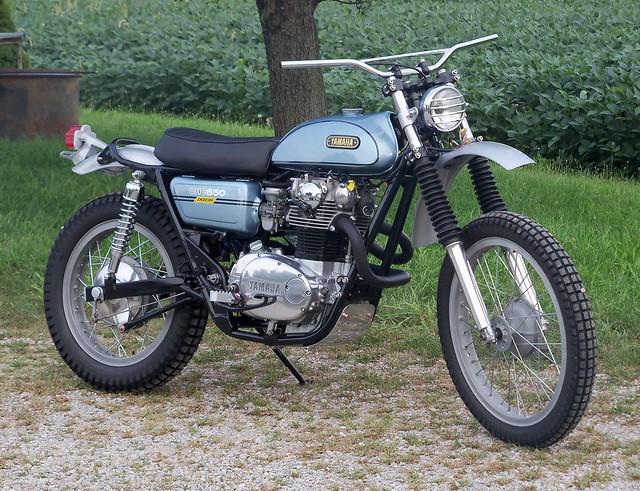
Here are all four signals mounted.
For the front I'm going to whittle some brackets from a piece of aluminum angle stock to mount them on the lower fork clamp.
I first drilled the two 8mm holes for the clamps, and the 10mm hole for the signals.
I then cut the pieces off to begin shaping them.
I used a cut-off wheel to remove the bigger parts.
I then bolted them together and used an angle grinder with a flapper disc to shape them.
Next was wet sanding with 220 grit paper using a Meguiars backing pad to remove the sanding scratches, and then 400 grit. Then some Autosol polish and they are done.
Here is one bolted in place.
Here are all four signals mounted.
7/28/16
XS650 enduro project
Multitasking.
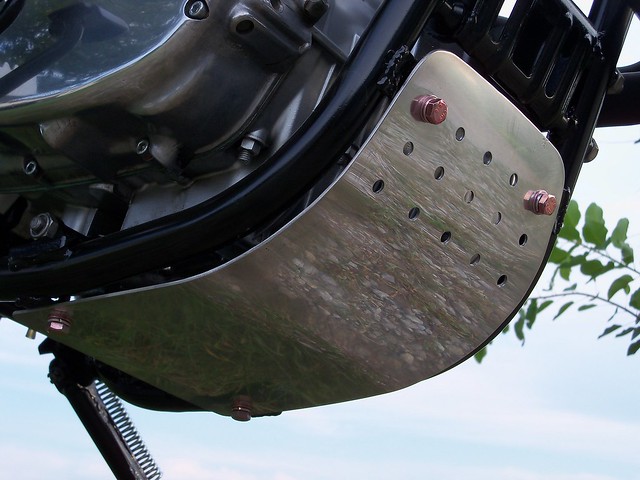
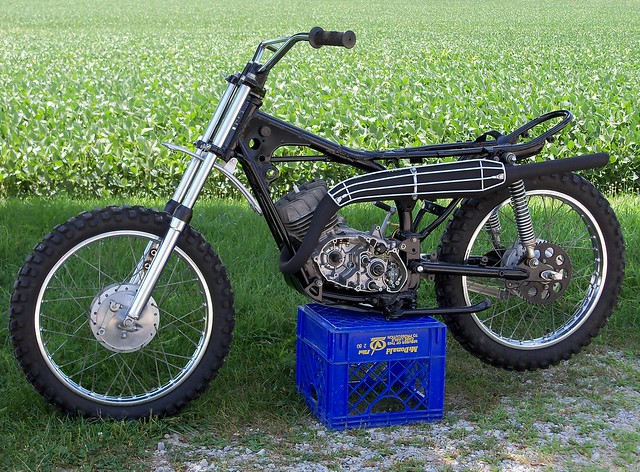
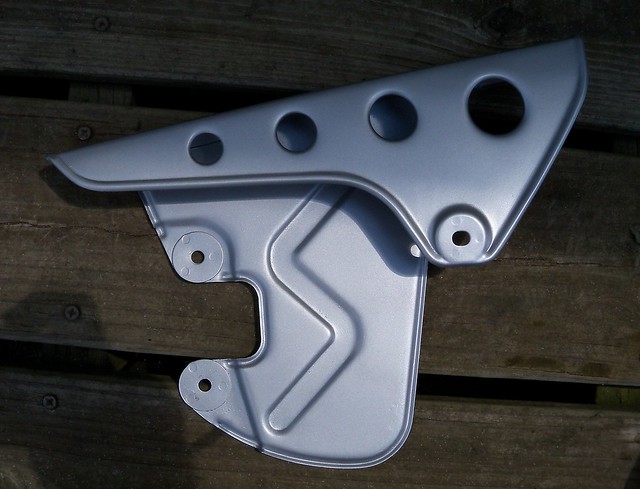
I finished up and mounted the skid plate this evening.
It does offer a fair amount of protection. From a function standpoint I think the side stand relocation was one of the better mods I did on the bike. It leaves a nice smooth underside, and decent ground clearance while keeping the ride height close to stock. I'll probably pick up some stainless button head cap screws to replace the bolts on the skid plate.
TC90 project
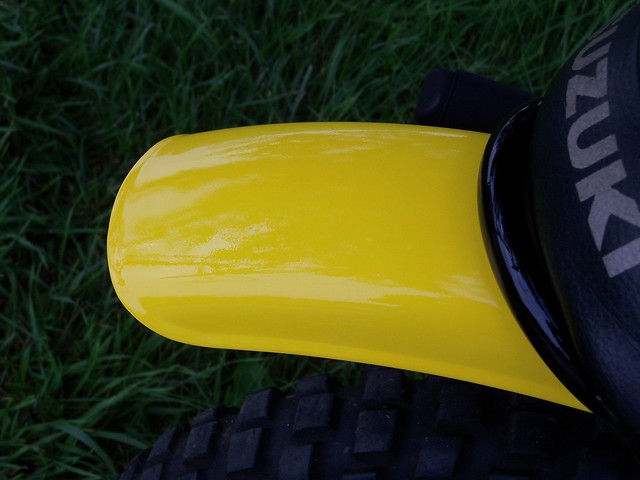
I bolted on the fenders, and I'm super happy with how the rear fender mod looks.
TC90MX.
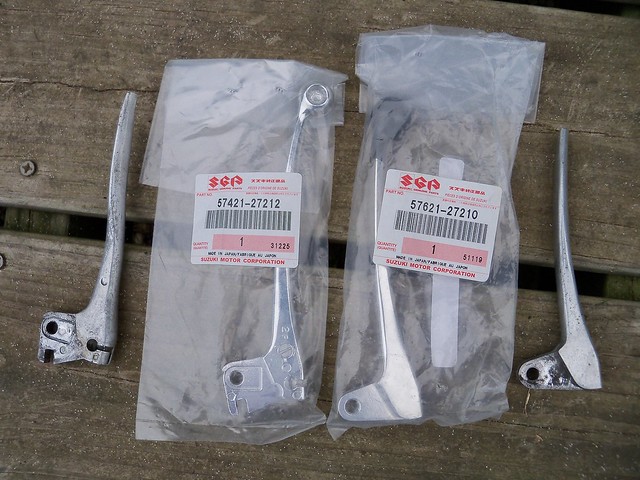
I've been going through the rest of the parts and seeing what I'll need to get. Most of it is in good shape. The levers were bad, but are still available from Suzuki, so I bought a set.
TC90MX.
I've been going through the rest of the parts and seeing what I'll need to get. Most of it is in good shape. The levers were bad, but are still available from Suzuki, so I bought a set.
7/27/16
TC90 project
I wanted to get the paint work done on the '71 TC90. It's pretty much just nuts and bolts stuff after this. The exhaust is VHT flat black header paint, and the heat shield and front fender mount are Dupli-Color aluminum engine paint.
The chain guard chrome was badly pitted, so it also got blasted and the aluminum engine paint. This part shows one reason vintage bikes are so neat; being designed by a person and pencil they made even mundane parts look cool. On a modern bike a chain guard is a CAD designed afterthought.
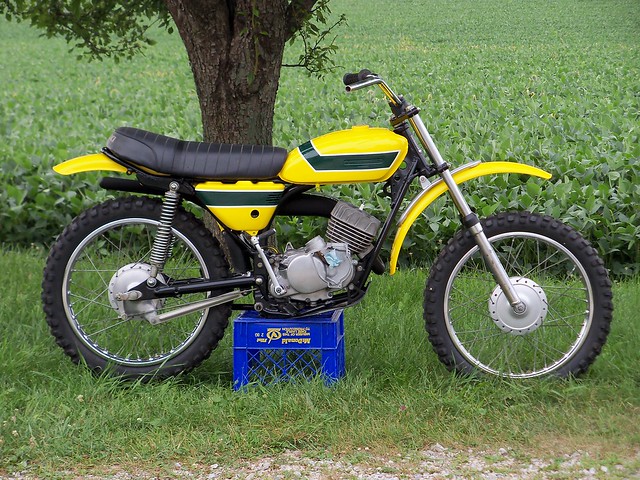
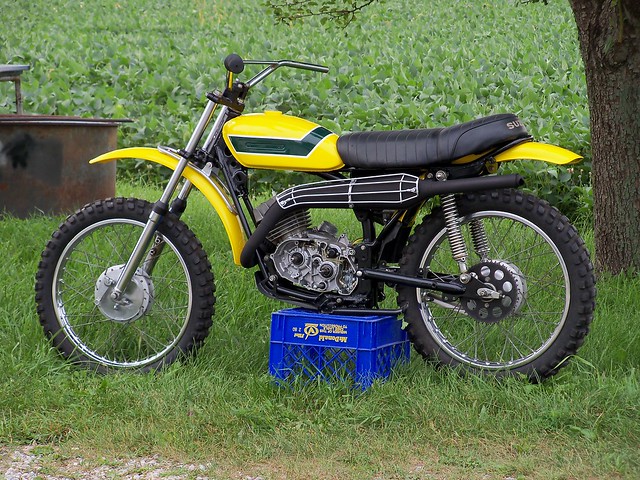
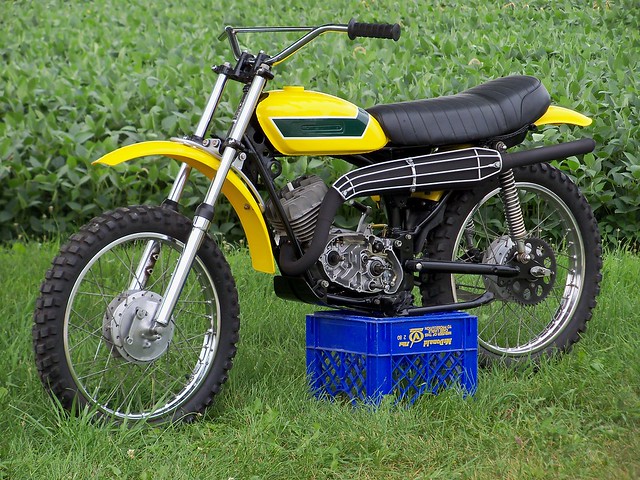
Pretty neat, the TS90MX.
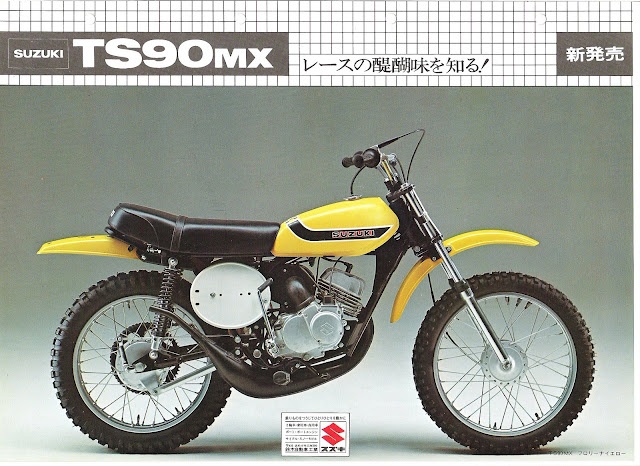
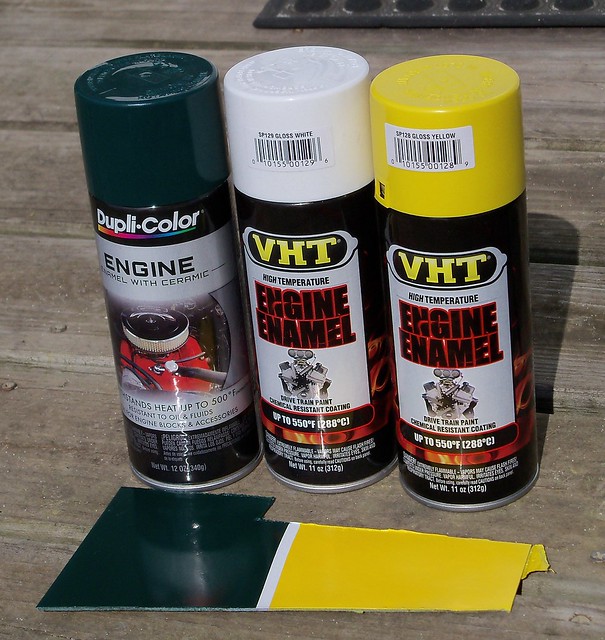
I'm doing the 1973 style stripes, but keeping the tank badges. I'm using Dupli-Color racing green, VHT gloss white, and VHT gloss yellow. I did a test piece on some scrap to see how they'd look. Maybe not exactly Suzuki colors, but close enough for me.
First sandblasting, and then hand sanding to look for areas that need bodywork. Doing this shows even shows the wrinkles at the rear of the tank from when the steel was stamped. I only had a couple dings to fix.
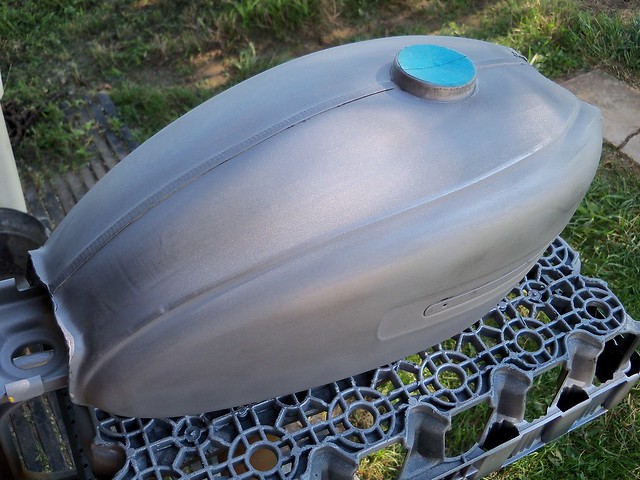
'70 and '71 had different tank badges. Here you can faintly see the shape of the '70 badges above the '71 badge area, I'm guessing from where they modified the stamping dies.

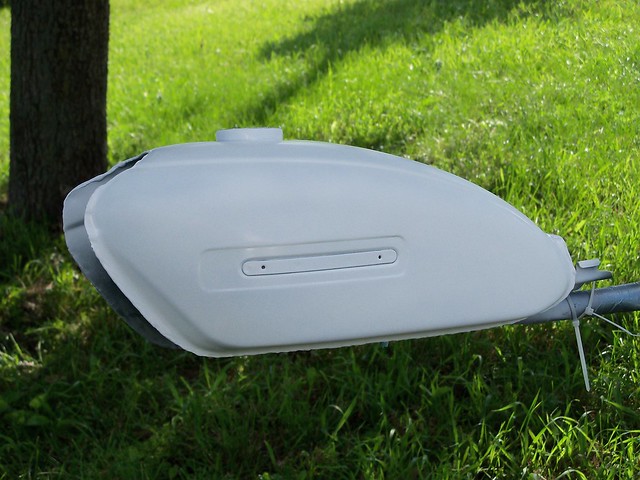
After bodywork, Dupli-Color self etching primer and then the gloss white. This gets wet sanded, and plenty of dry time so it won't wrinkle up when top coated.
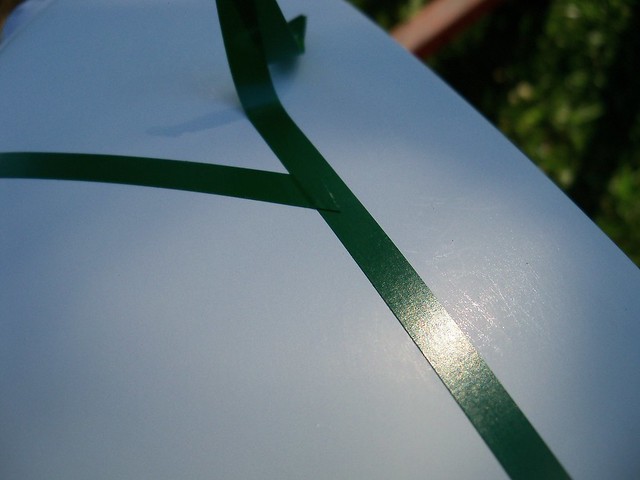
I began laying out the stripes with 3M fine line masking tape. Corners can be a little tricky to get just right. I'm not sure how the pros do a corner, but this is how I did it. I cut the top piece of tape so it ends anywhere on top of the bottom piece.
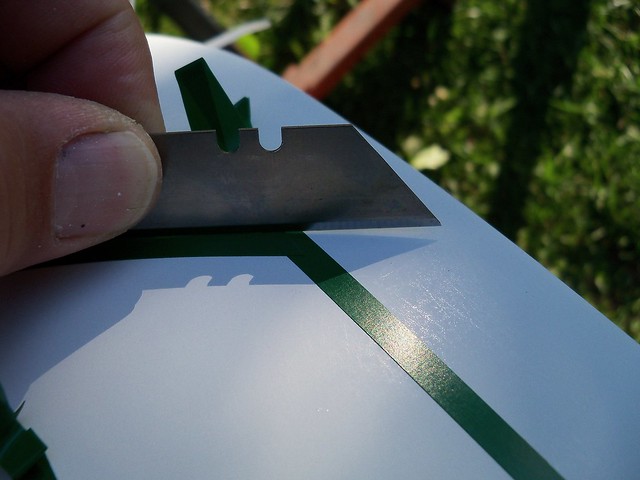
Then I used a new utility knife blade, and using the blade to line up with the top piece of tape carefully scored the bottom piece to cut it.
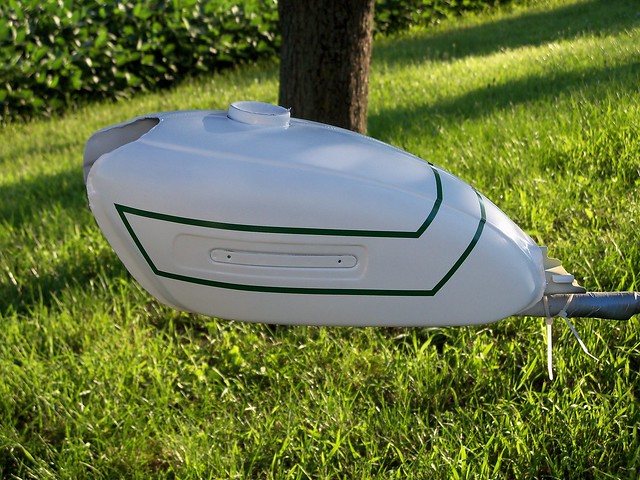
Here is the tank with the white stripe masked off. The reason for doing the entire tank white is that the other colors will cover much better and more evenly than if I'd just sprayed the stripe area.
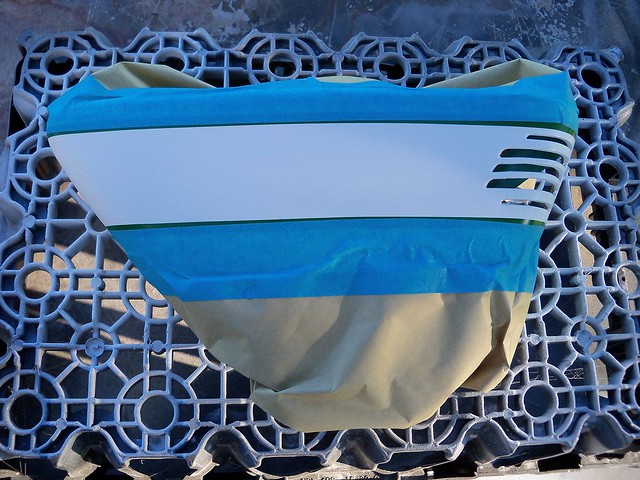
Here is the side cover ready to go.

I masked the areas that will be yellow.
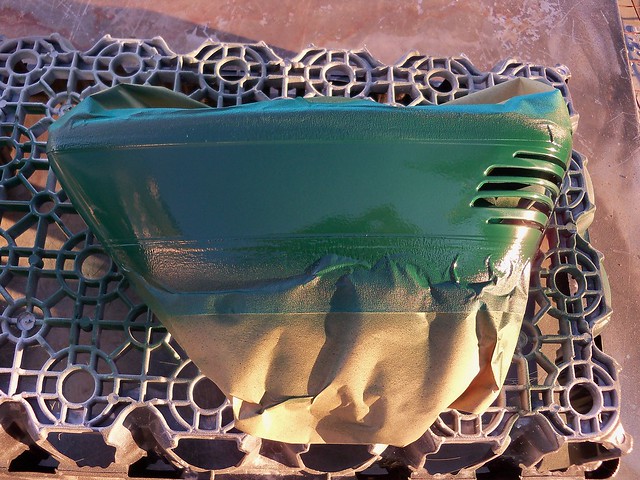
First the green. When the green is dry it will be masked and the yellow goes on. You can see lots of orange peel in the green. This will be wet sanded out. I leave the 3M fine line tape on for most of the wet sanding. I only peel it after I'm sure I won't need to respray anything.
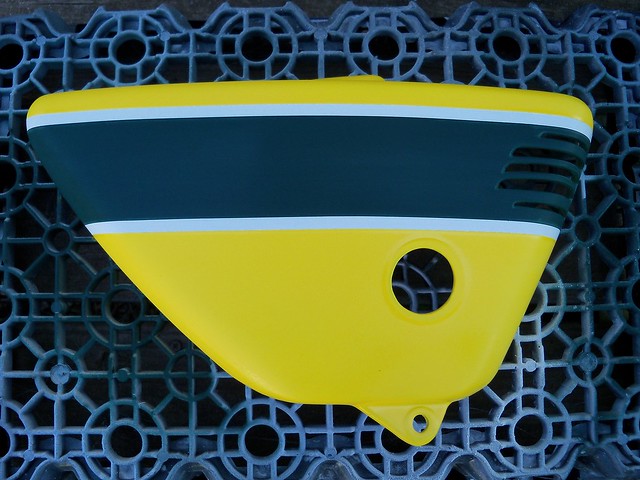
Here it is after wet sanding.
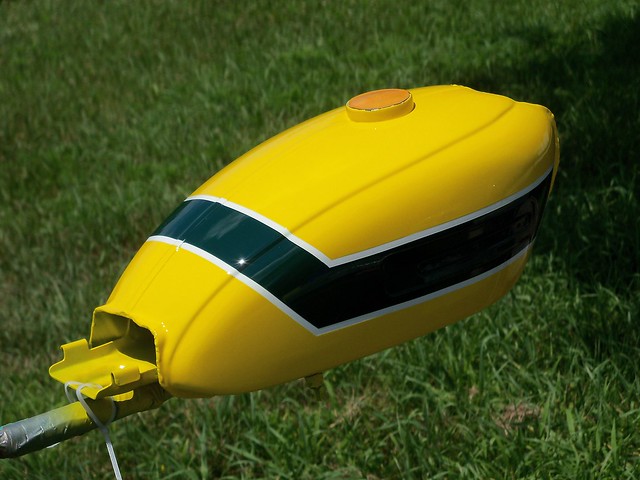
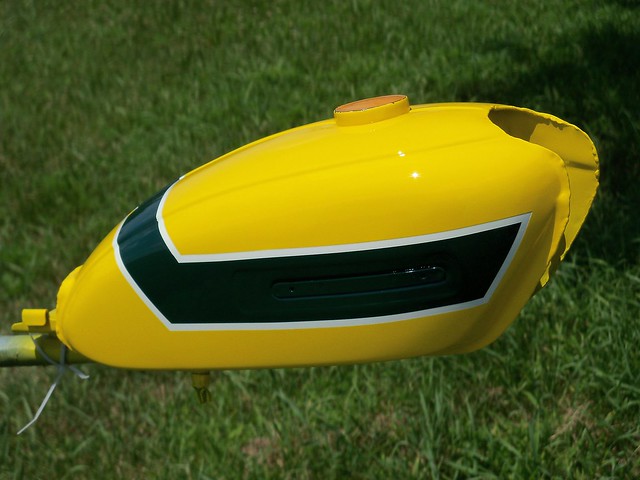
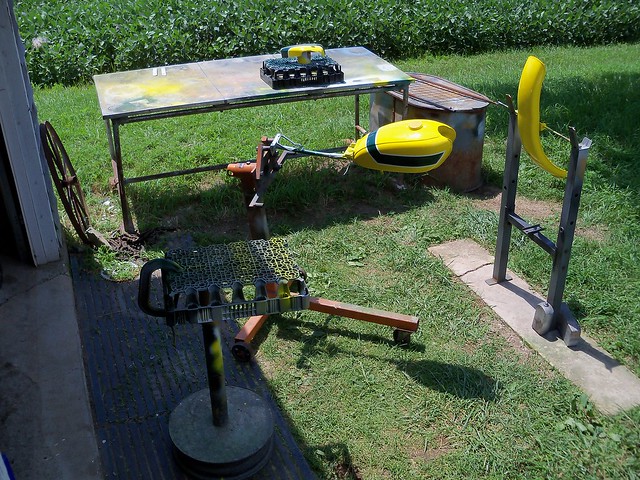
Then I used Spray Max 2K clear. I painted outside, which isn't ideal. If you do have a bug land in the clear when it is still wet, the best way to get it out is fold a piece of tape and capture the bug with the tape. You can then spray more clear and it'll usually flow out and won't leave a trace. It tack dries in a few minutes. Once it's tacky anything like dust or bugs will just sit on the surface and once it dries will hand buff out.
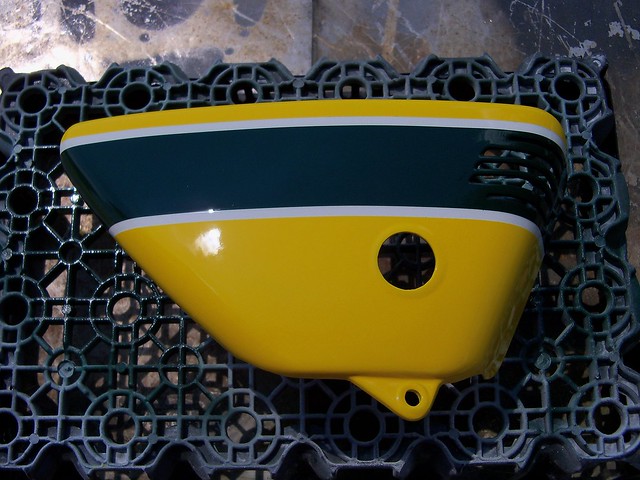
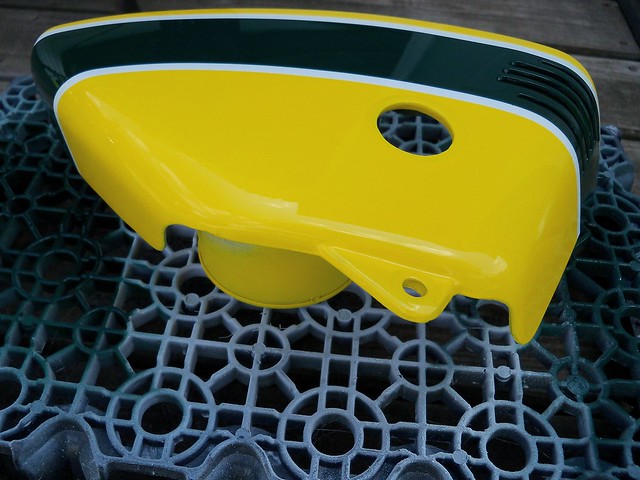
The colors look great.
The chain guard chrome was badly pitted, so it also got blasted and the aluminum engine paint. This part shows one reason vintage bikes are so neat; being designed by a person and pencil they made even mundane parts look cool. On a modern bike a chain guard is a CAD designed afterthought.
Pretty neat, the TS90MX.
I'm doing the 1973 style stripes, but keeping the tank badges. I'm using Dupli-Color racing green, VHT gloss white, and VHT gloss yellow. I did a test piece on some scrap to see how they'd look. Maybe not exactly Suzuki colors, but close enough for me.
First sandblasting, and then hand sanding to look for areas that need bodywork. Doing this shows even shows the wrinkles at the rear of the tank from when the steel was stamped. I only had a couple dings to fix.
'70 and '71 had different tank badges. Here you can faintly see the shape of the '70 badges above the '71 badge area, I'm guessing from where they modified the stamping dies.
After bodywork, Dupli-Color self etching primer and then the gloss white. This gets wet sanded, and plenty of dry time so it won't wrinkle up when top coated.
I began laying out the stripes with 3M fine line masking tape. Corners can be a little tricky to get just right. I'm not sure how the pros do a corner, but this is how I did it. I cut the top piece of tape so it ends anywhere on top of the bottom piece.
Then I used a new utility knife blade, and using the blade to line up with the top piece of tape carefully scored the bottom piece to cut it.
Here is the tank with the white stripe masked off. The reason for doing the entire tank white is that the other colors will cover much better and more evenly than if I'd just sprayed the stripe area.
Here is the side cover ready to go.
I masked the areas that will be yellow.
First the green. When the green is dry it will be masked and the yellow goes on. You can see lots of orange peel in the green. This will be wet sanded out. I leave the 3M fine line tape on for most of the wet sanding. I only peel it after I'm sure I won't need to respray anything.
Here it is after wet sanding.
Then I used Spray Max 2K clear. I painted outside, which isn't ideal. If you do have a bug land in the clear when it is still wet, the best way to get it out is fold a piece of tape and capture the bug with the tape. You can then spray more clear and it'll usually flow out and won't leave a trace. It tack dries in a few minutes. Once it's tacky anything like dust or bugs will just sit on the surface and once it dries will hand buff out.
The colors look great.
Subscribe to:
Comments (Atom)