4/28/13

XS650 project

To finish up the ignition I got new points from MikesXS, and new plugs and a condenser from Autozone. I set the points gap and used the ohm meter method to set the static timing.
100_9686

It rained all morning, but cleared up enough to roll it out and have a try. I ran some fuel line from my SR500, and after a few kicks it started right up without drama.
100_9692

It starts easily and sounds great, although the audio from my camera isn't the greatest.


The exhaust is perfect; fairly quiet, but with a great sound. Now I've got to tidy up the wiring, cables, hoses and all that stuff. I'll need to recheck the cam chain tension and valve clearances, and time it with a light now that it is running. It's all good!

4/21/13

XS650 project

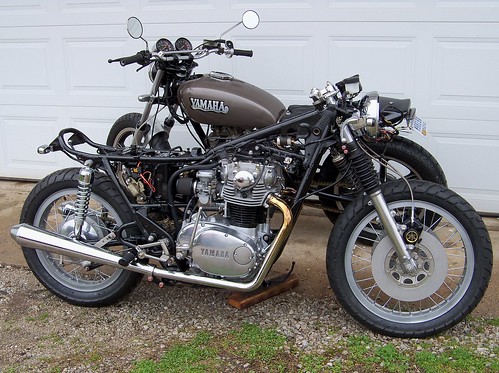
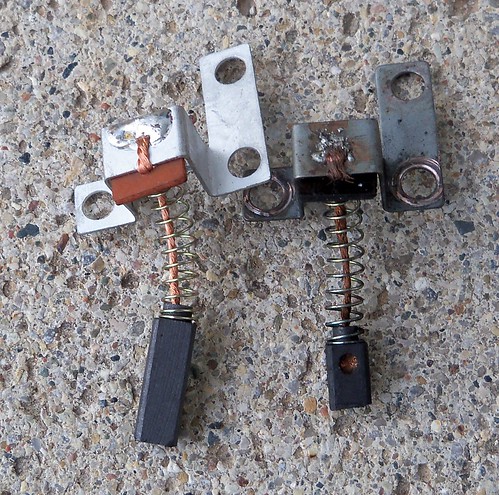
I'm getting fairly close to starting up the '75 and see if it runs (or if I screwed anything up!). Lots of little things to do like replacing the alternator brushes, one of the old ones here with the new one.
100_9602

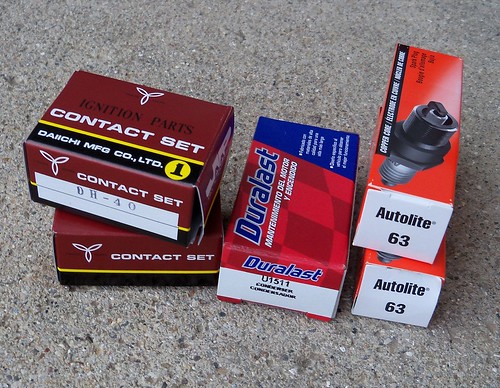
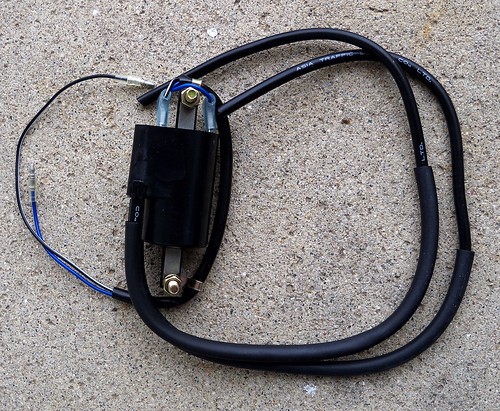
For ignition I'm using the stock dual points with a single dual lead coil, MikesXS part #17-6822. Both points get wired together with a single condenser. This is called a "wasted spark" system since both plugs fire at the same time. This coil has likely triple the voltage of the stock coils.
100_9599

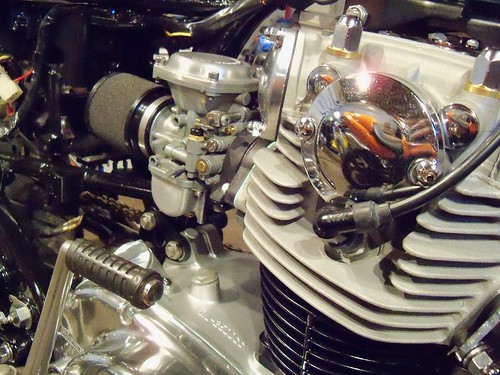
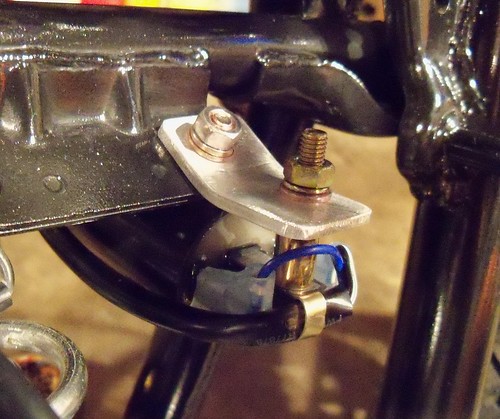
I made two aluminum brackets that mount the coil sideways using the front two stock coil mounting points.
100_9610

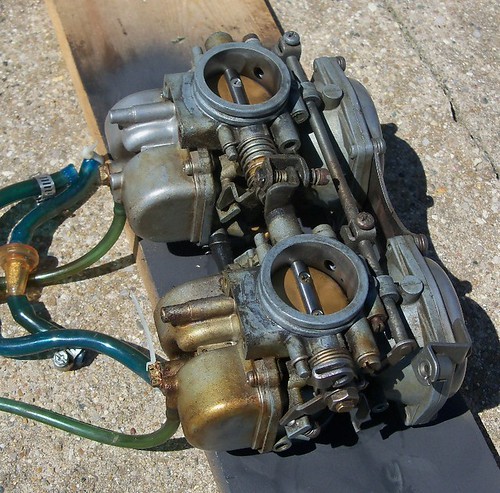
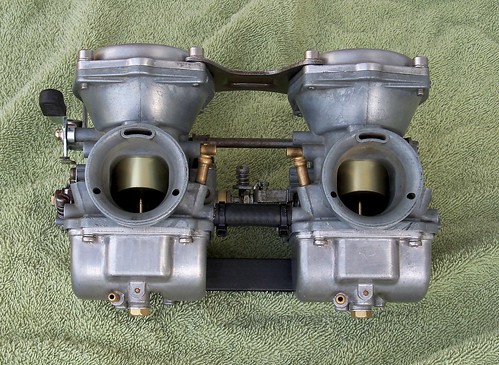
1975 had unlinked BS38 carbs using two throttle cables. When I bought mine it had a linked set using one cable, so I knew they had been swapped at some point. Before ordering parts I needed to identify what year they were. They turned out to be '76-'77 carbs, which use some different parts than the '78-'79. They were in decent shape but missing the choke lever and the lower link bar. The link bar is just steel angle stock, so I made one to fit.
000_0422

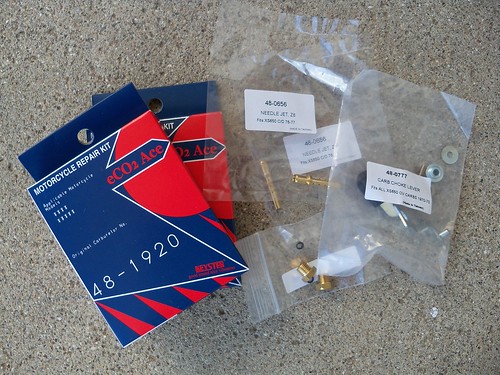
Some new parts from MikesXS, rebuild kits, drain plugs,  Z-8 needle jets and o-rings, and the choke lever. My carbs had the stock '76-'77 25 pilot and 122.5 main jets, so I went up two sizes on each to a 30 pilot and 127.5 main, which should get me close enough to start with.
100_9634

The slide diaphragms looked crusty. 
100_9629

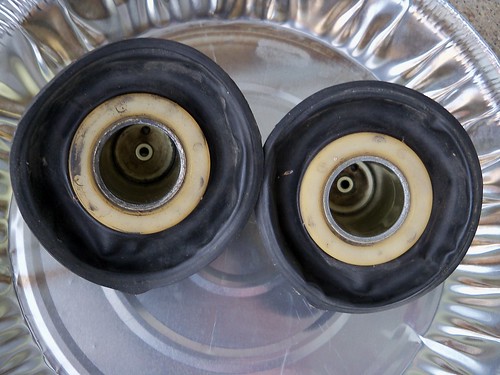
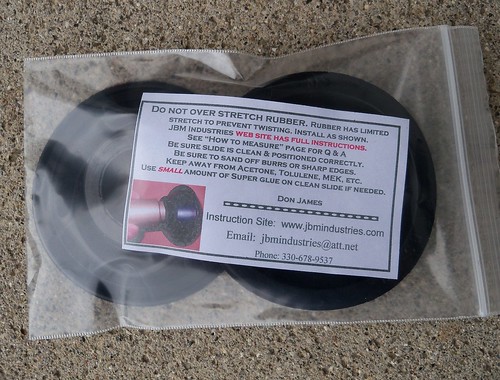
I bought new diaphragms from JBM Industries. These are excellent quality, and a huge money saver compared to what replacement slides cost. It use to be people would junk a set of carbs with bad diaphragms since they were so expensive, which is likely what happened to the originals on my '75.
100_9625

First cut the old plastic retaining washers off, and clean the slides. On the JBM website they show snips being used to cut the rings, but I did it a different way since my cutters just wanted to slip off. I first cut as far as I could with a small cut-off wheel, stopping before getting to the slide. I then used a sharp utility knife, just using a rocking action to cut the small remaining part. 100_9633

The diaphragms are a very snug fit on the slide, but I did use one drop off super glue to prevent the slides from rotating, as the website says it doesn't hurt to do so.
100_9639

Ready to go back on the bike.
100_9651

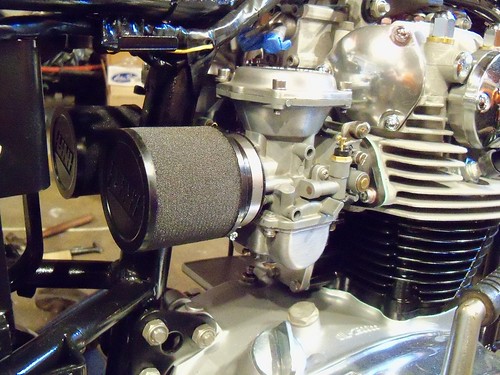
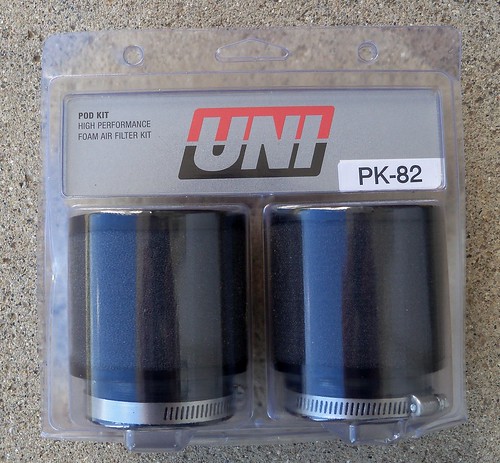
I bought a Uni filter kit part #PK-82. These are 3" long, but 4" would have cleared the battery box.
100_9641

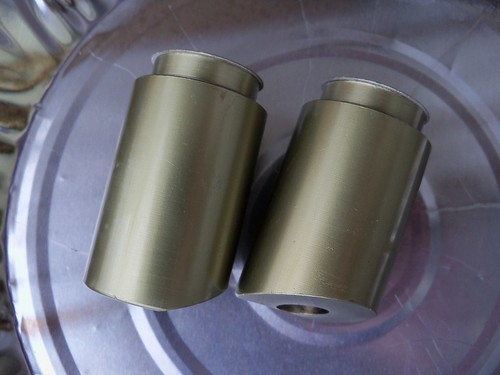
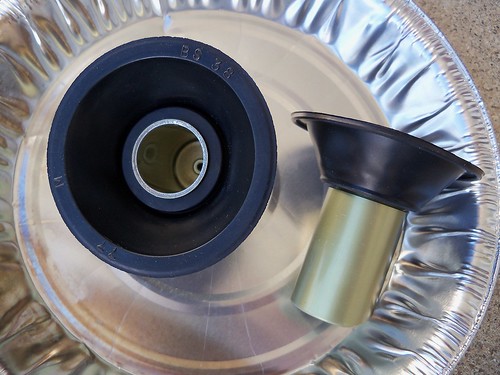
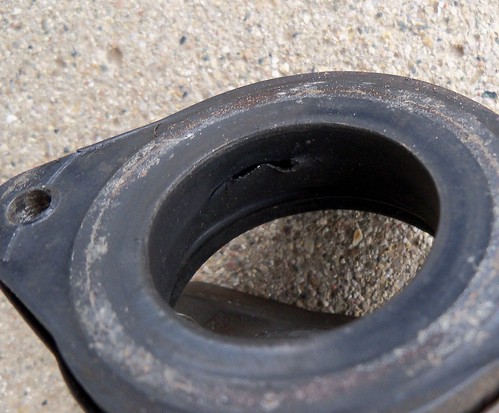
The stock carb holders were ready for retirement.
100_9622

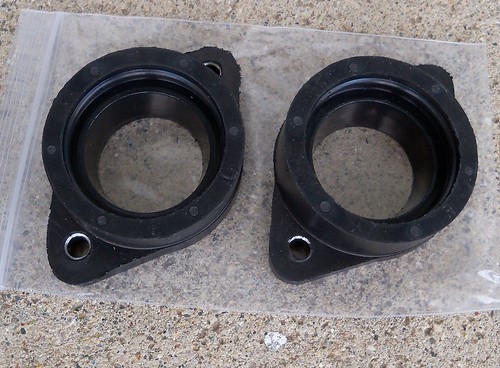
The new replacements are also from JBM Industries. Like the diaphragms they are designed to withstand ethanol blend fuels, and also made to be used with unsupported carbs when not using the stock airbox.
100_9624

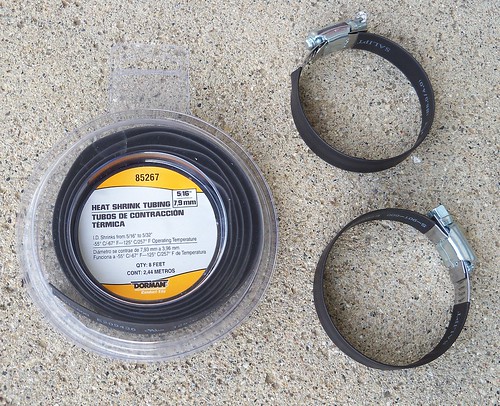
They use automotive hose clamps, which I covered in heat shrink to make less visible.
100_9643

The '75 cam chain tensioner is huge compared to later models like my '79, so unscrewing it makes installing the carbs much easier.
100_9656

100_9664

4/13/13

XS650 project

I'd decided to try a 3/4" (19mm) master cylinder for the twin piston dual discs on the '75. I finally found a good deal on one on ebay. It is from a 2004 GSX-R600. I'm not really liking the looks of the plastic fluid reservoir, but it is functional ugly, so I can live with it. It is a "radial" master cylinder, which just means the piston goes front to back inline with the lever travel. One nice thing with a radial type is the fluid outlet is on the bottom rather than the end.
100_9567

The '75 used a pressure switch for the brake light, and I'd rather use a regular switch, so this will fix that. The fluid outlet has two alignment tabs, shown here. I ended up cutting one off to get the lines ran where they needed to go.
100_9575

I'm running separate lines from the master to the calipers, rather than a single line going to a junction block and splitting from there. This means only one banjo bolt and two brake lines, as opposed to three or four banjo bolts and three brake lines. The new double bolt, with the single shown here.
100_9566

The brake lines are 27" from Russell, with 10mm banjo on one end and -3 AN on the other.
100_9560

Here is the -3 AN end with the adapters at the calipers.
100_9593

The adjustable lever will be nice.
100_9586

4/7/13

today

This week marks 10 years since I bought my Sportster, hopefully another 50 or so to go!
100_9514

100_9523

100_9525

100_9524

100_9532

100_9540

100_9544

100_9546

100_9550

100_9556

100_9559

4/2/13

XS650 project

I'm getting closer to having the '75 riding, so took some time to set some of the bodywork in place and see if there are any changes to make before finishing.

The first thing I noticed is the area where the seat meets the tank. I'd seen this in mock-up, but it didn't stand out as much. The seat upholstery will come down over the sides of the seat pan, so this will be an easy fix to correct the body line. I'd thought of doing the white and red Yamaha racing colors, and I'm thinking of it again. The silver is just a spray can paint job, so not a big deal if I decide to redo it. I'll probably get it running first even if a decide to re-paint.

Much of what I like about it stems from it being more of a 'resto-mod' project and also a low budget project. Overall I couldn't be happier with it so far. 100_9501

100_9509