11/29/14
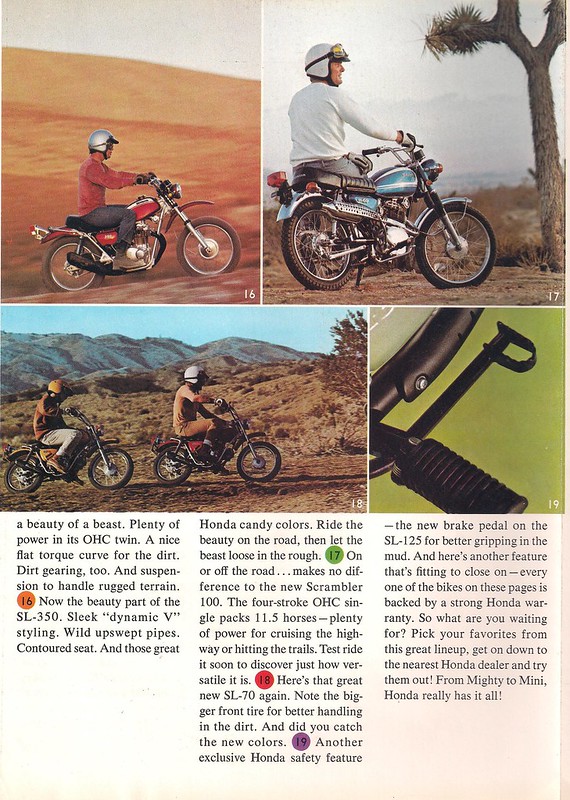
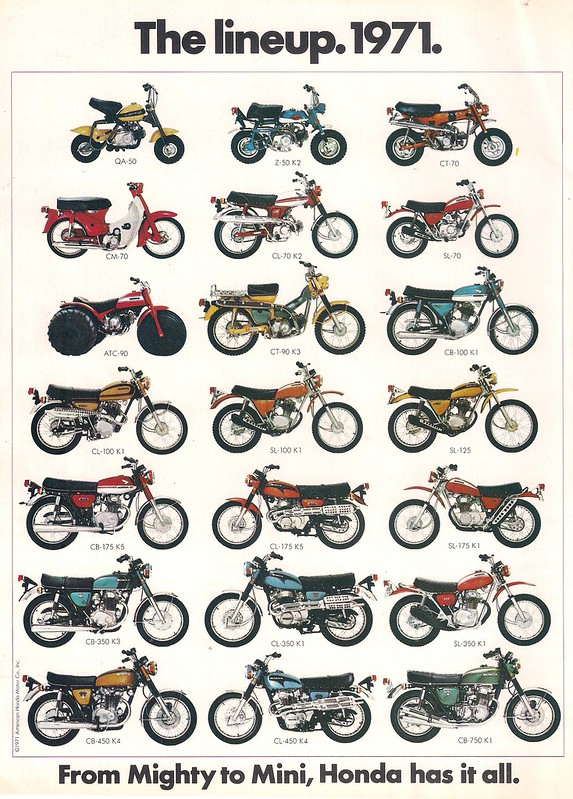
Fifty Years of Kicks
I posted this 2 1/2 years ago when it came out, but it's well worth another look.
11/28/14

DT1 MX project
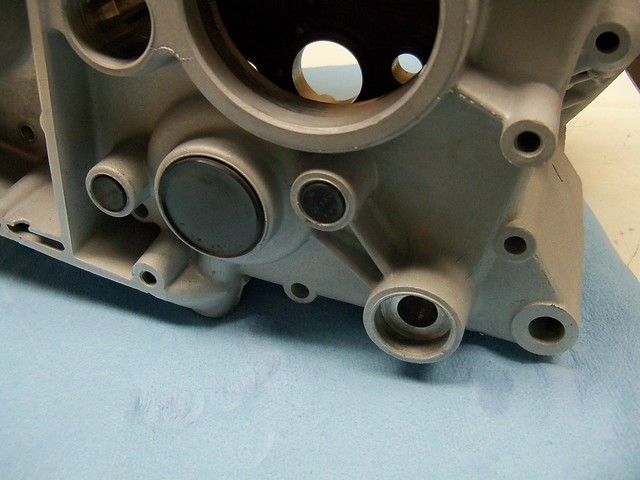
I really liked the way it looked on the DT flat tracker, so I glass beaded the cases.

Also as with the flat tracker, I tapped the transmission vent to 1/8" NPT to use a metal fitting in place of the stock plastic push-in vent.

I left the three blind plugs in place, since they were in good shape, and that area can be cleaned from the inside. The paint stripper didn't hurt them, and a taped over them for the bead blasting, although the glass beads just bounce off of rubber anyway. One thing I found the Rust-Oleum paint stripper worked great for was removing the left over case sealant between the two case halves.
Also as with the flat tracker, I tapped the transmission vent to 1/8" NPT to use a metal fitting in place of the stock plastic push-in vent.
I left the three blind plugs in place, since they were in good shape, and that area can be cleaned from the inside. The paint stripper didn't hurt them, and a taped over them for the bead blasting, although the glass beads just bounce off of rubber anyway. One thing I found the Rust-Oleum paint stripper worked great for was removing the left over case sealant between the two case halves.
11/27/14


DT1 MX project
I wanted to remove the base gasket before heating the cases. Soaking it with ATF for a few days helps to soften and loosen the gasket. There will still be some scraping, but this makes it come off easier.
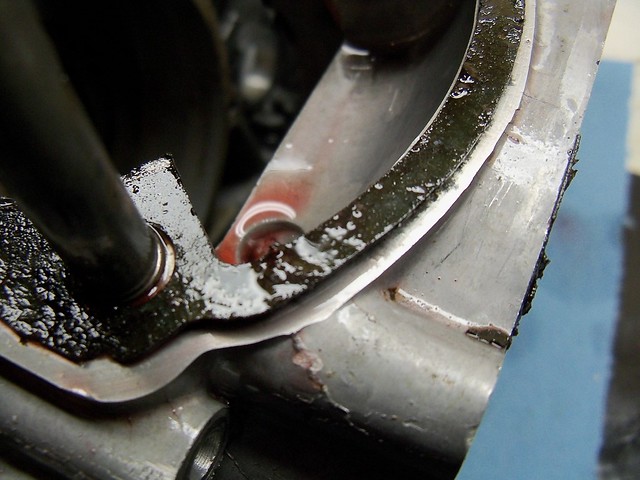
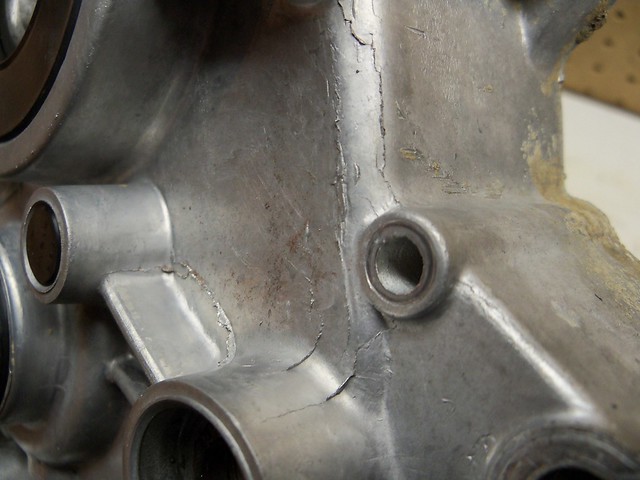
You'll see a lot of casting flash that can appear to some to be cracks at a quick glance. These are normal.
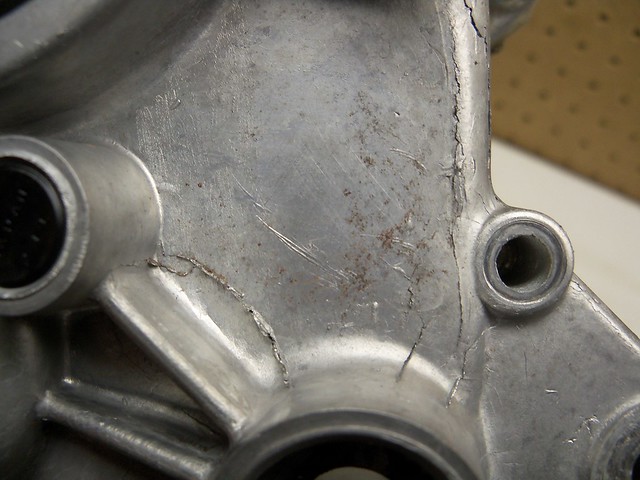
This angle shows it better. If doing a concours type restoration you want to leave these, but I'll be sanding most of it off.
One of the best tools in the shop is the digital camera, so take lots of pictures. You never know what might come in handy later on during assembly.
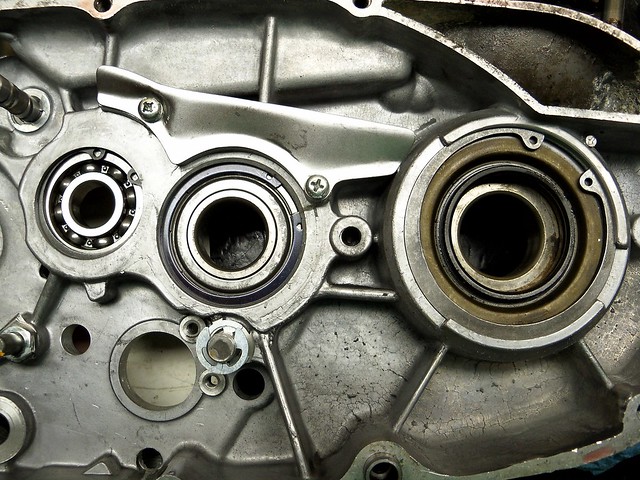
Many of the circlips need to be positioned a certain way or they will block oil passages, so take note of those.
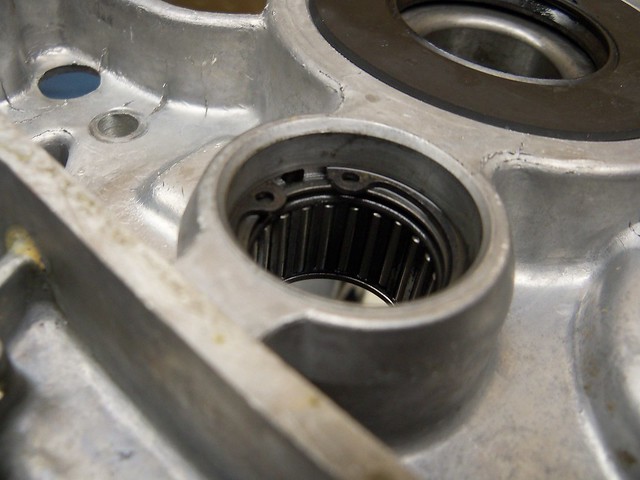
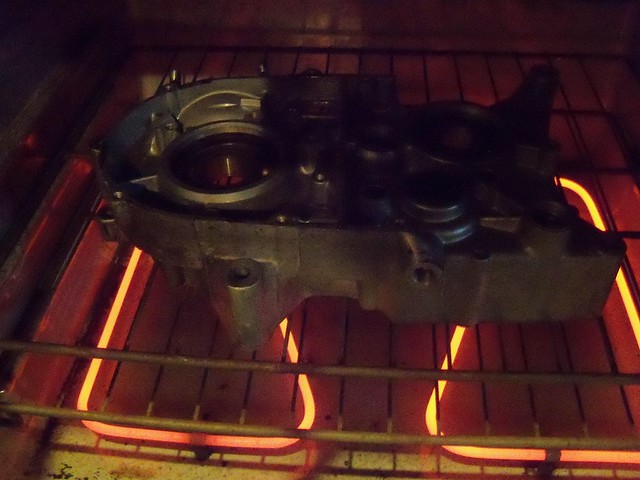
To remove the bearings I first gave the cases a quick wash to remove any oils. I then got out the sockets I'll need to drive out the bearings. I heated them to about 200 degrees F. I then lay the cases on some plywood to protect the mating surfaces, with any dowels hanging off the edge so the cases don't warp, and drove out the bearings.
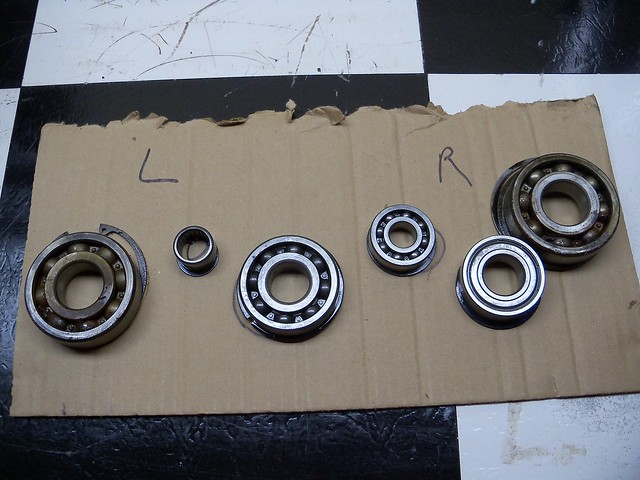
I save the old bearings so I can measure and compare them with the new ones.
Now I need to do the final cleaning and detailing on the cases, and they will be ready for the new bearings.
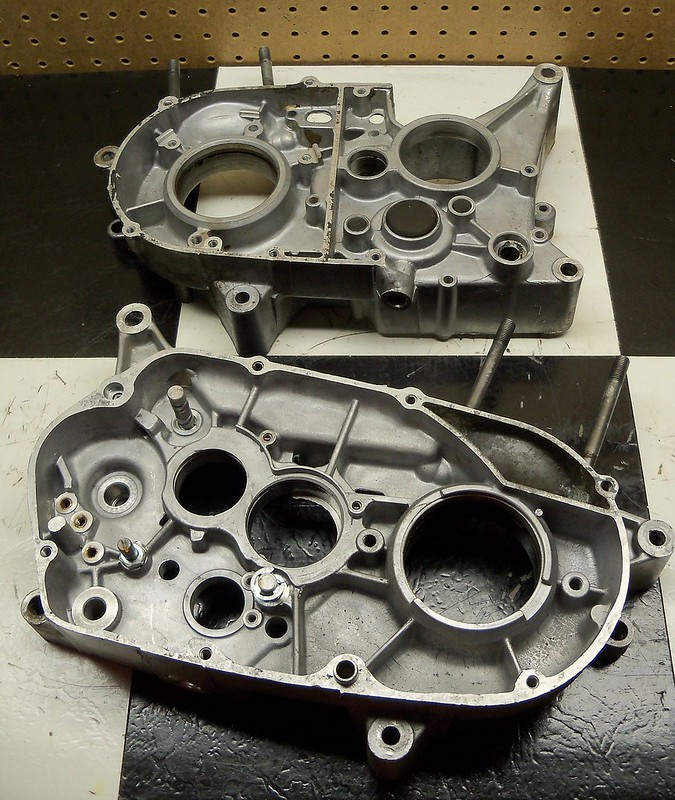
You'll see a lot of casting flash that can appear to some to be cracks at a quick glance. These are normal.
This angle shows it better. If doing a concours type restoration you want to leave these, but I'll be sanding most of it off.
One of the best tools in the shop is the digital camera, so take lots of pictures. You never know what might come in handy later on during assembly.
Many of the circlips need to be positioned a certain way or they will block oil passages, so take note of those.
To remove the bearings I first gave the cases a quick wash to remove any oils. I then got out the sockets I'll need to drive out the bearings. I heated them to about 200 degrees F. I then lay the cases on some plywood to protect the mating surfaces, with any dowels hanging off the edge so the cases don't warp, and drove out the bearings.
I save the old bearings so I can measure and compare them with the new ones.
Now I need to do the final cleaning and detailing on the cases, and they will be ready for the new bearings.
11/23/14

DT1 MX project
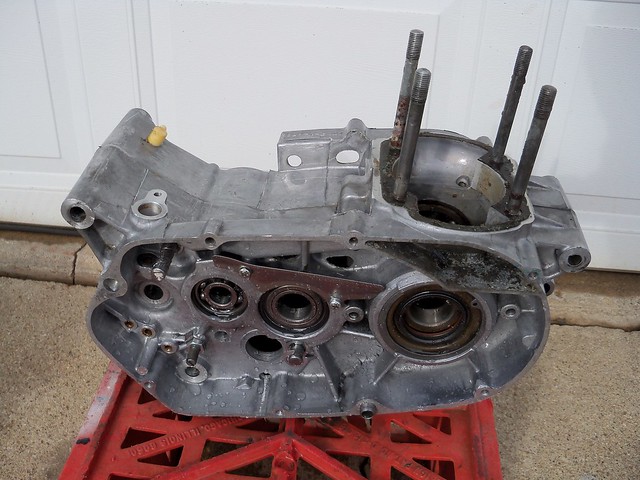
For the engine on this bike I'm starting with a bare set of '73 DT3 cases I bought on ebay. They are dirty and ugly and had been painted black at some point, but look to be damage free. I need to get them cleaned up a bit before they go in the shop oven to heat them up and remove the bearings. I've got a '72 DT2 engine with damaged cases that I'd used during mockup on the flat tracker, so plan to salvage some of the internals for this engine.
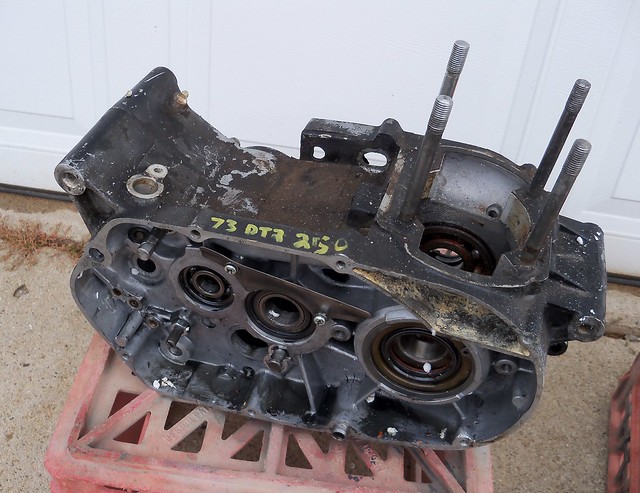
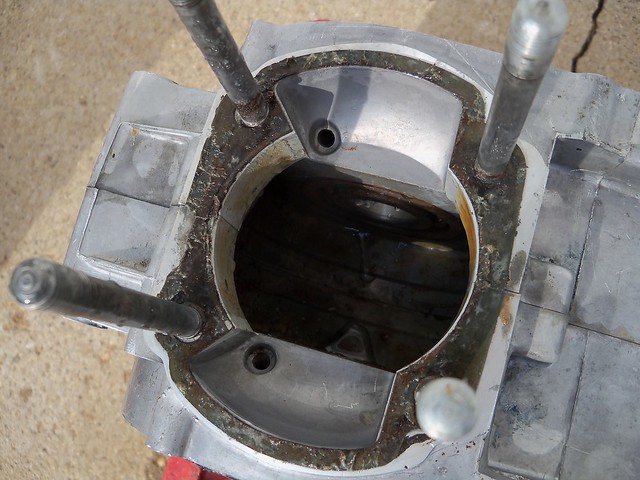
Here you can see the evidence of the cause of death of many 2 strokes that have sat unused, a rusty crankshaft and main bearings. On a 2 stroke they don't sit in a bath of oil like a 4 stroke, so are particularly prone to damage from moisture.

I needed to do the initial cleaning outside, and it warmed up this weekend, so I figured I get this knocked out.
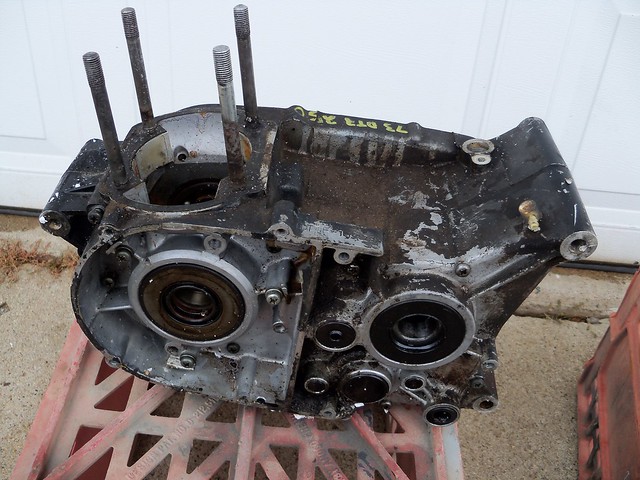
I used Rust-Oleum aircraft stripper and a pressure washer. No scrubbing at all yet, and it looks much better.

Most of the rust staining inside came off with the pressure washer. White vinegar should clean off the rest.
Next I'll remove the bearings and inspect the cases, and then they will be detailed and get new bearings.
Here you can see the evidence of the cause of death of many 2 strokes that have sat unused, a rusty crankshaft and main bearings. On a 2 stroke they don't sit in a bath of oil like a 4 stroke, so are particularly prone to damage from moisture.
I needed to do the initial cleaning outside, and it warmed up this weekend, so I figured I get this knocked out.
I used Rust-Oleum aircraft stripper and a pressure washer. No scrubbing at all yet, and it looks much better.
Most of the rust staining inside came off with the pressure washer. White vinegar should clean off the rest.
Next I'll remove the bearings and inspect the cases, and then they will be detailed and get new bearings.
DT1 MX project
I'm using '76 TT/XT500 36mm forks that I'd picked up at the Boone County swap meet. They are basically a bigger version of the DT 34mm forks.
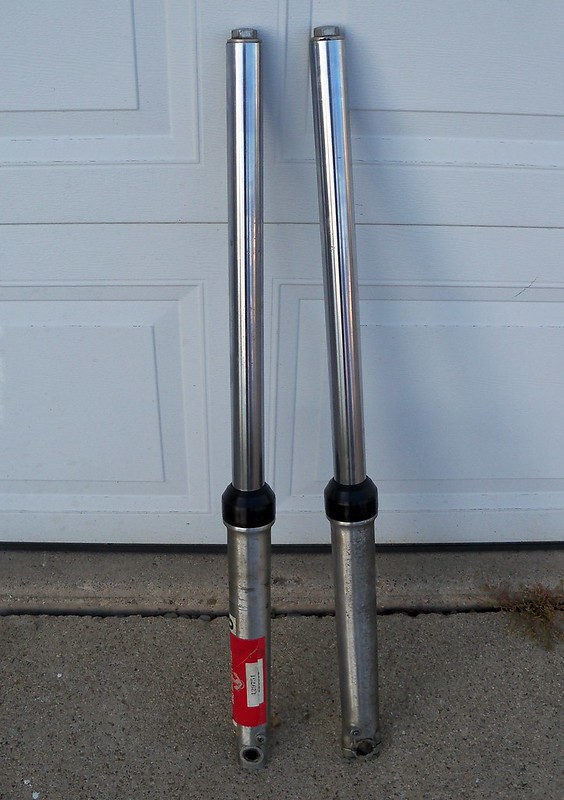
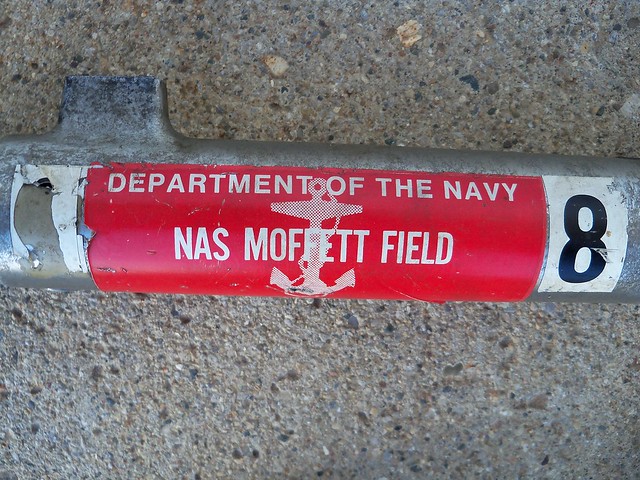
I would have left the sticker if it was in better shape.
To keep the damper tube from spinning when loosening the bottom bolt, you can make a tool to fit the top. It has flats on the sides, and you can grind 4 sides from a 12mm 6 point socket to fit.
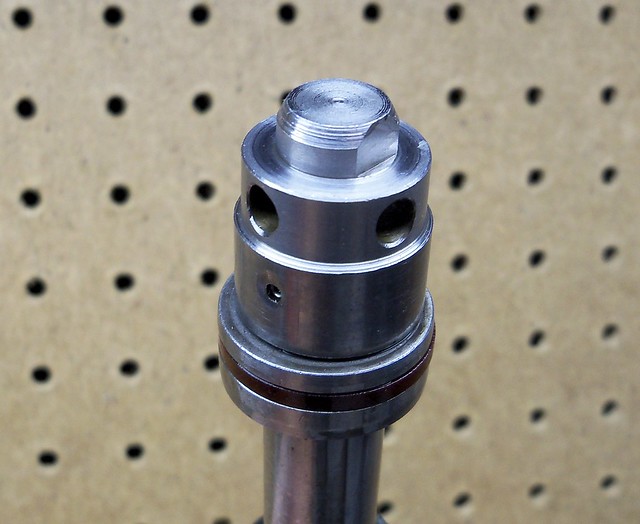
You can also leave the springs in the forks to put pressure on the tube, and remove the bolts with an impact gun.

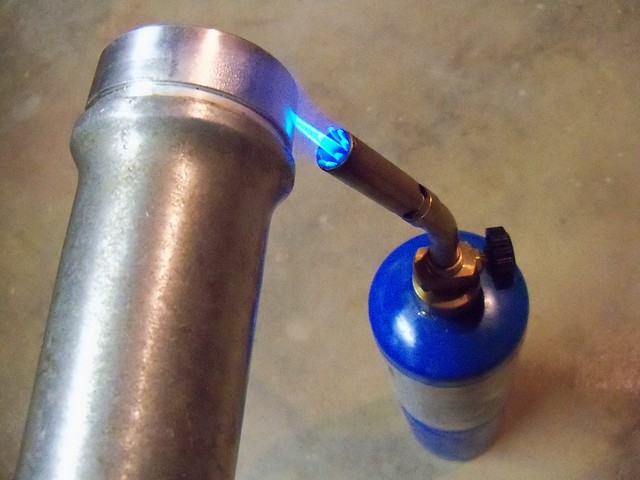
Old fork seals can really be stuck in place, but some heat usually makes them come out with little effort. I use a propane torch, and while holding the slider about half way down and turning it to heat it evenly, as soon as I can feel it getting warm I'll try to remove the seal.
To clean the sliders I first used Rust-Oleum aircraft stripper to remove the clear coat. I then used a scotch-brite pad and soapy water to clean off the oxidation that forms under the clear. Then wet sanding with soapy water first with 800 grit and then 1000, and finally rub them out with Autosol polish.
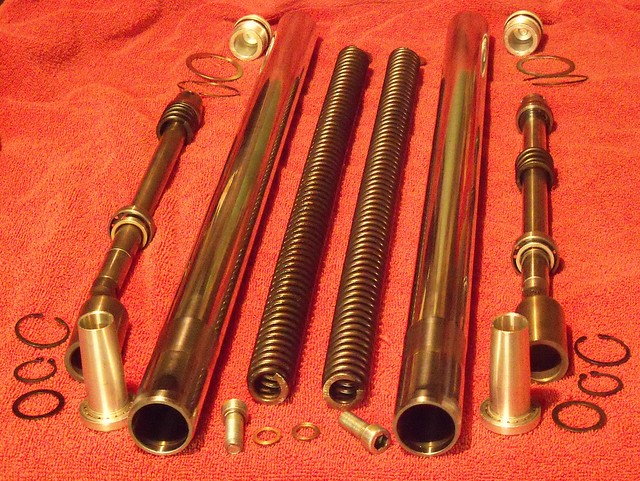
Here are the other parts cleaned and ready for reassembly.
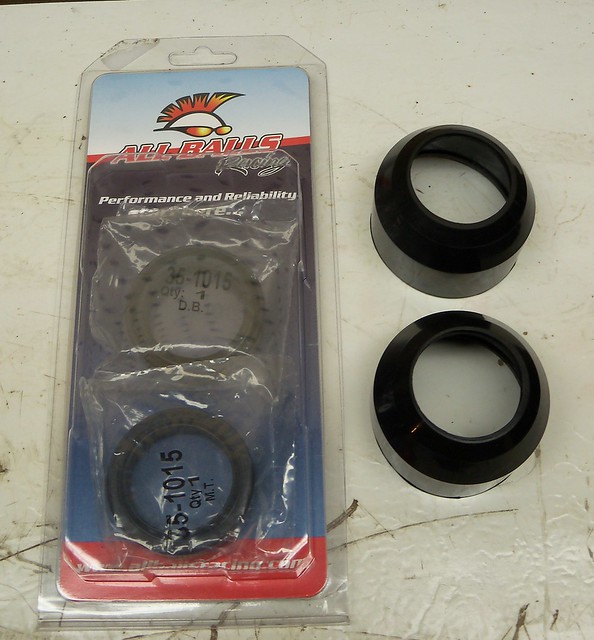
I'm using All Balls fork seals part # 55-109. The new dust wipers are from The Vintage Spoke. They look very nice and fit perfectly.
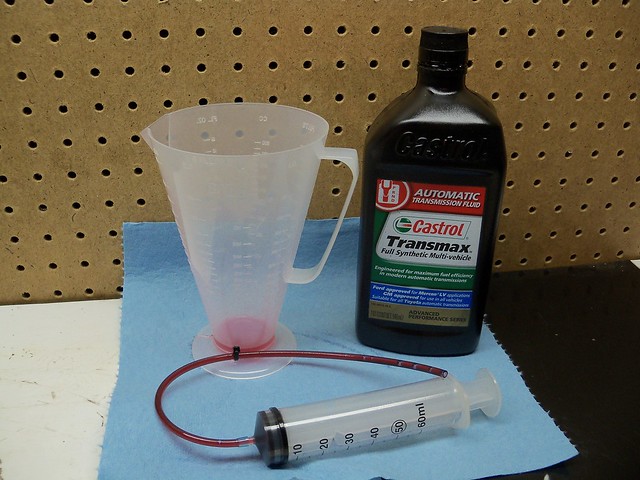
I'm using the same Castrol synthetic ATF as I used in the rear shocks. I wasn't sure where to start on oil level, but you have to start somewhere and tune from there once the bike is riding. I put 225cc in each leg, and then added just a little more to bring the level to 6 inches from the top with the forks collapsed and the spring removed.
Here they are ready to go.

I would have left the sticker if it was in better shape.
To keep the damper tube from spinning when loosening the bottom bolt, you can make a tool to fit the top. It has flats on the sides, and you can grind 4 sides from a 12mm 6 point socket to fit.
You can also leave the springs in the forks to put pressure on the tube, and remove the bolts with an impact gun.
Old fork seals can really be stuck in place, but some heat usually makes them come out with little effort. I use a propane torch, and while holding the slider about half way down and turning it to heat it evenly, as soon as I can feel it getting warm I'll try to remove the seal.
To clean the sliders I first used Rust-Oleum aircraft stripper to remove the clear coat. I then used a scotch-brite pad and soapy water to clean off the oxidation that forms under the clear. Then wet sanding with soapy water first with 800 grit and then 1000, and finally rub them out with Autosol polish.
Here are the other parts cleaned and ready for reassembly.
I'm using All Balls fork seals part # 55-109. The new dust wipers are from The Vintage Spoke. They look very nice and fit perfectly.
I'm using the same Castrol synthetic ATF as I used in the rear shocks. I wasn't sure where to start on oil level, but you have to start somewhere and tune from there once the bike is riding. I put 225cc in each leg, and then added just a little more to bring the level to 6 inches from the top with the forks collapsed and the spring removed.
Here they are ready to go.
11/22/14
11/18/14


11/15/14
Subscribe to:
Posts (Atom)