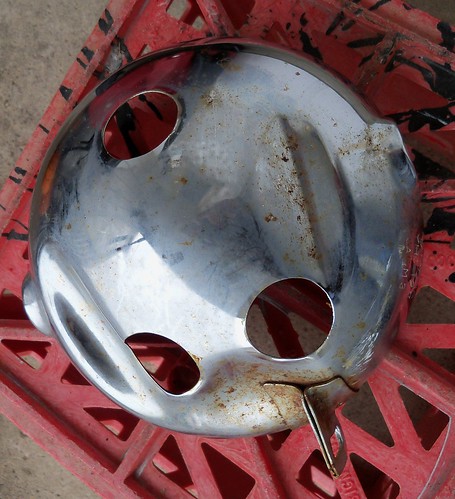
Here is the headlight bucket after washing. Rust and lots of hazy chrome. Most of this is hidden, and never gets washed, which is why it looks like this. The top and sides where it is exposed look fine. Nothing here a quick polish won't fix.
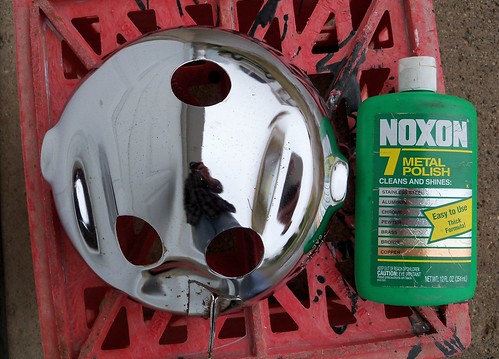
Ten minutes later and it looks much better. Any visible areas look just as good as new. You can then use clear coat touch-up paint on the pitted areas to help seal them up, then wax it and it'll look fine for years.
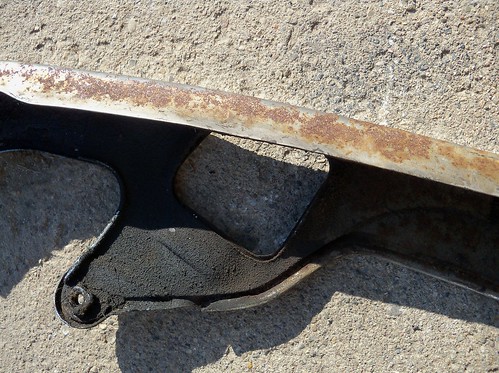
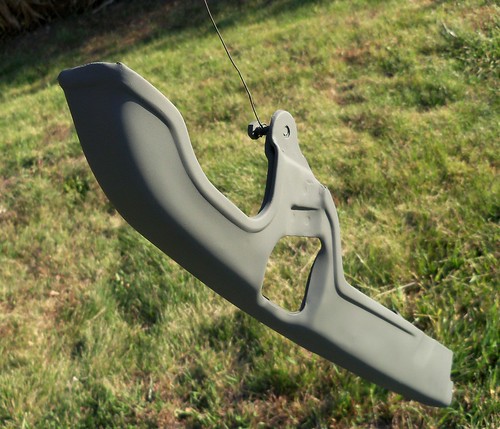
And now the chain guard. Like the headlight bucket, areas that get washed look fine, but not so much the more hidden parts.

Here is the inside. Rust like this is too far along for polishing. I decided to sand blast and paint this. The gunk buildup underneath here needs cleaned before sandblasting, or the sand tends to just bounce off it or push it around, so I hit it with my pressure washer first.
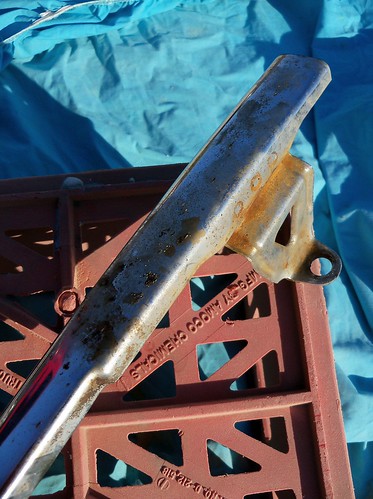
This is what sitting under a battery for 30+ years will do, and why I'll be using a sealed AGM type battery in it.
Here is what you are doing with the sandblasting, basically roughing up the chrome for paint adhesion. It feels smooth to the touch, but lets the paint get a mechanical bite in the chrome.
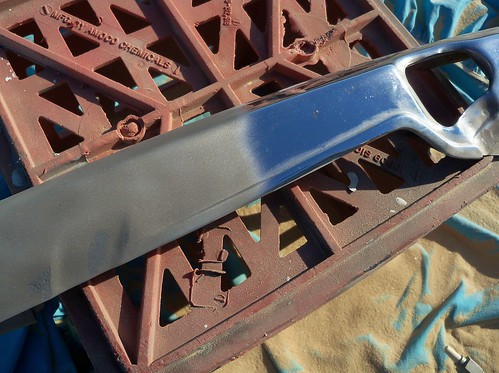
Nice and clean. The chrome around heavily pitted areas will peel away with the sandblasting, so hit these areas hard to remove any chrome that isn't firmly attached.
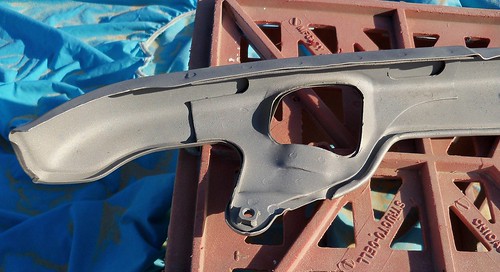
Ready for paint.
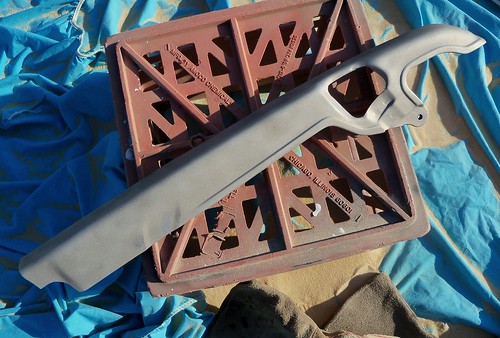
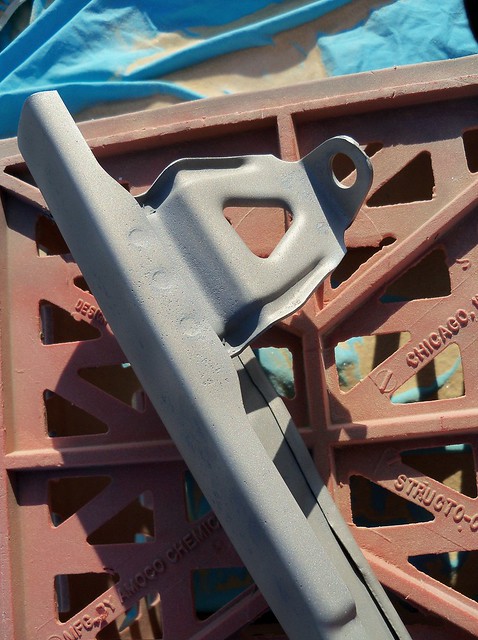
I start off with a self-etching primer for better adhesion, shown here. Next was a high build primer filler to smooth some of the pits, sanding, and then I painted it black.
No comments:
Post a Comment