7/31/11

On any Sunday

1973 DT3. More about it later. Gotta go play!
100_5306

100_5311

100_5313

100_5301

Burt Munro


source

7/30/11

Vulcan


http://www.d-club-jp.net/

XS650

The XT500 is close to being done, but I decided to do some work on my '75 XS650. I traded an old utility trailer for it last summer, but parked it when I found some cam chain guide bits in the oil filter. The engine needs to be removed to fix it, and I'm going to do some other mods at the same time. Somewhere between a roadster and scrambler is the plan so far.
100_5246

Brickyard

My 5 year old son, like most kids his age, loves the movie Cars. He'd been wanting to see some real stock cars, so I took him to this mornings Brickyard 400 practice session. I'm pretty much just a two wheel or open wheel race fan, so this was my first time seeing NASCAR stock cars also. $15 for us to get in and free parking in the infield, a visit to IMS is a bargain. I didn't take many pictures, but here's a few from today.

Two time Indy 500 winner Dan Wheldon waving the green flag to start the practice session.
100_5257

100_5283

100_5264

100_5280

7/27/11

Yamaguchi CCM


Pictures from http://shin883.com/ of the latest Sportster meet in Japan, which also has photos of previous meets going back to 2004.

7/24/11

One man's trash...

My brother-in-law had these in a box of stuff he was throwing away, a complete old Mac Tools wrench set with Sabina, Ohio markings. Lovely.
100_5227

100_5220

100_5221

SR500 tachometer repair

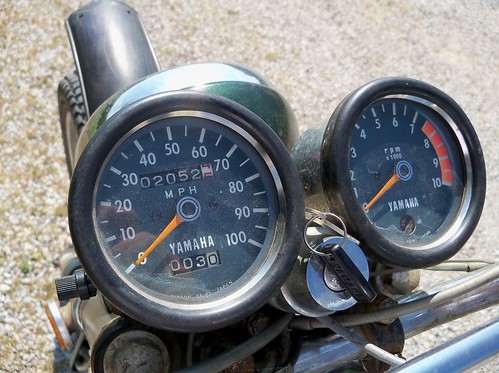
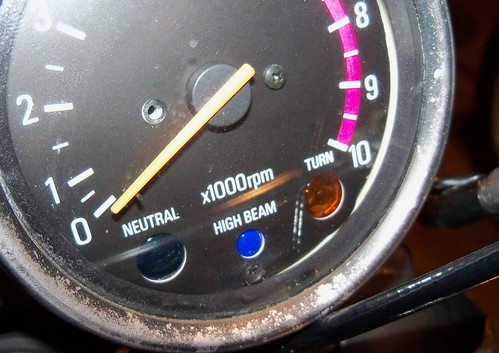
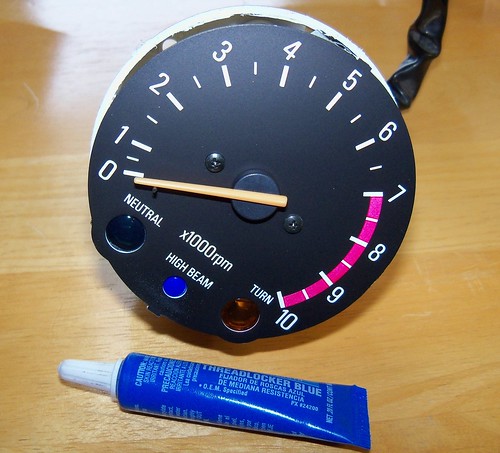
On a recent ride one of the screws holding the tachometer face on vibrated out. You can see it down by the high beam light. It seems rather common on these old bikes, so here's how I fixed it.
100_5183

Remove the headlight lens to access the two tach connections, and pull the harness out of the back of the headlight. Unscrew the tach cable from the back of the tach, and remove the two lower 10mm nuts.
100_5194


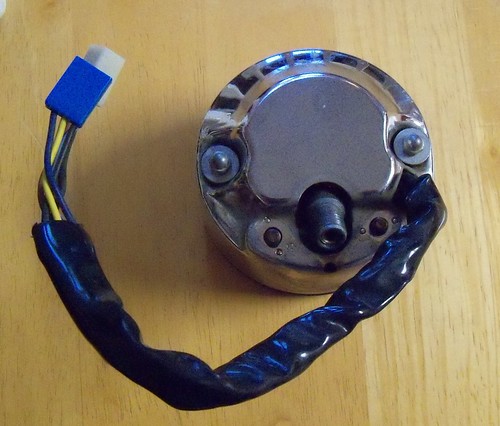
Remove the two 8mm nuts on the side and pull the tach out of the shell.
100_5197


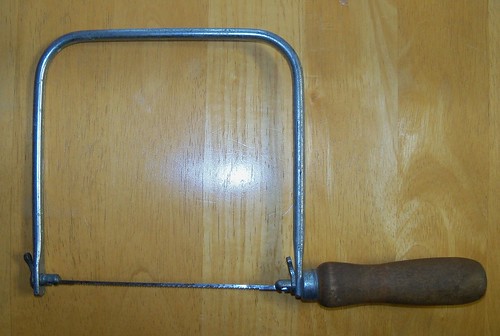
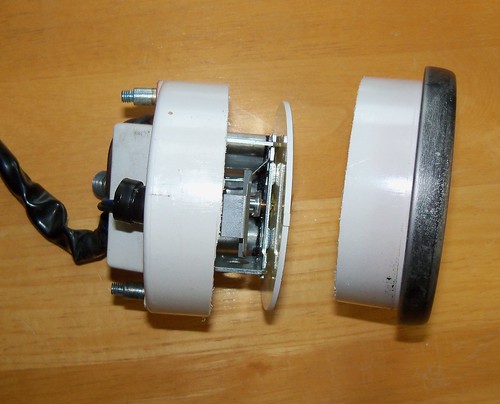
The tachs are sealed, so I decided to cut it open to fix it, using a coping saw. It cuts through the plastic easily, and makes it easy to keep from cutting too deep into the tach. I first marked a line perpendicular to the cut to help line it back up once ready to reassemble.
100_5200


Here it is cut open. I've heard of people prying the metal bezel off, but this seemed like a better way to do it. I don't know if I could have done it without causing visible damage.
100_5204


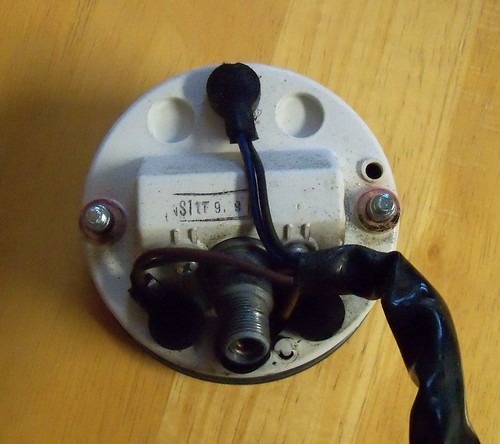
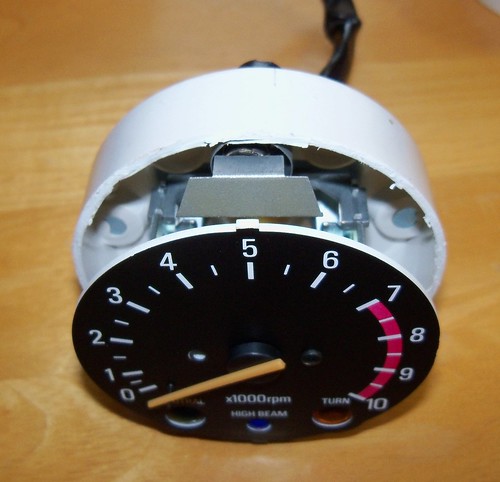
Here's the top, and one area you need to be careful not to go too deep when cutting...
100_5207


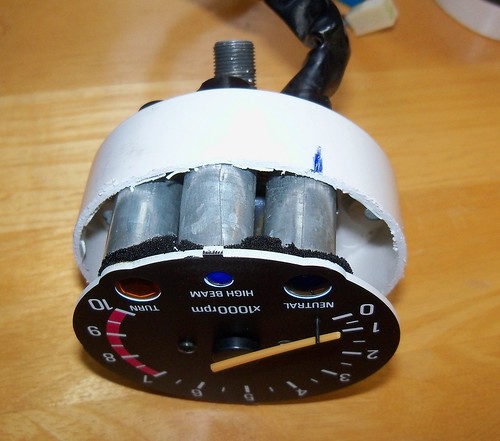
...and also on the bottom. If you need to get inside the tach to fix something, remove the two screw next to the cable drive and the whole thing will pull out. You can see one of the marks I put to line it back up.
100_5210


The screw back in, and ready to reassemble. I used just a tiny drop of blue Loctite on the screw. Be sure to carefully blow out any plastic shavings from the cutting before reassembly.
100_5211


Back together here. Lots of ways to do it, but I used a good 3M electrical tape rather than gluing it back together, in case I ever need to take it apart again.
100_5216
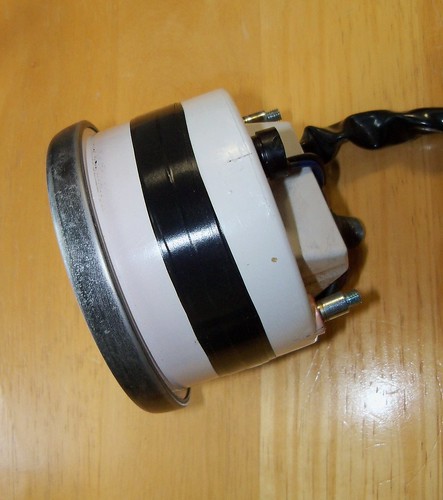
Now it's ready to stick back in the shell, and put back on the bike.

SR


http://www.bikeya-robson.com/

7/21/11

SR400


source
A lot of little details I like on this SR.

7/15/11

today

100_5167

100_5170

100_5172

...and an old one lane bridge.
100_5159

details

100_5083

100_5124

100_5098

100_5022

100_4998

100_4938

100_5072

100_5112

100_5135

100_5104

100_5096

100_5081

100_5062

100_5058

100_4991

100_5132