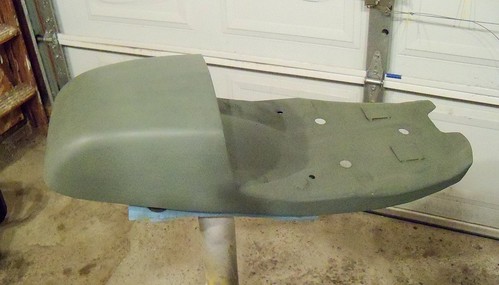
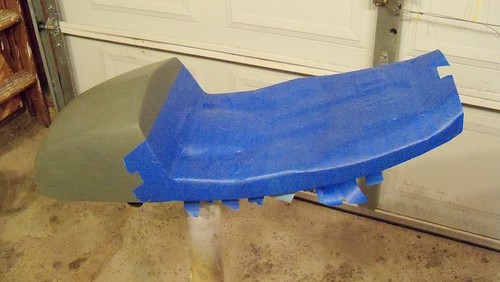
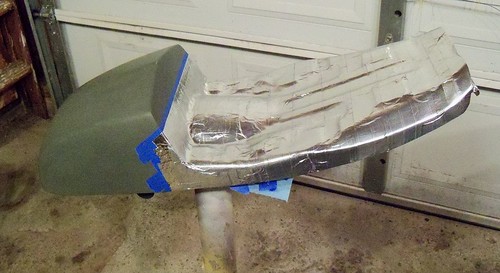
The first step is to cover the area in blue painters tape. This tape is designed to be easy to remove, and worked excellent.
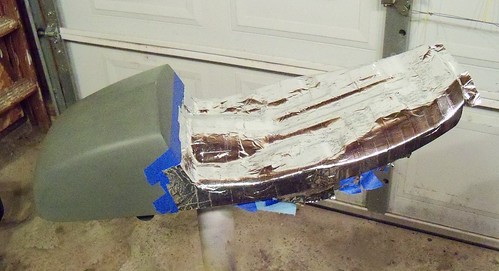
Next is aluminum furnace tape.
I pre-cut four pieces of the woven fiberglass.
Then I waxed the aluminum tape. They sell mold release compounds, but this will do the job.
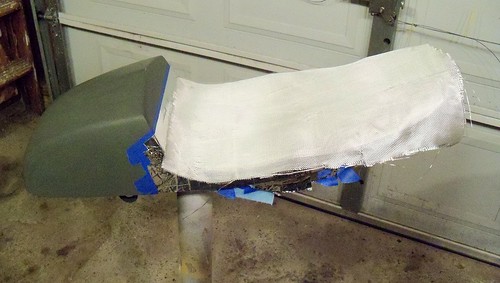
Once mixed with the hardener, the label said it would have 10-12 minutes of work time, so only mix what you think you can use in that time, and have everything ready to go. I mixed enough to do two layers. I first brushed on the resin, placed the first piece of fiberglass, then brushed resin on it, using the brush to "stomp" it down and remove air bubbles as I went, then repeat for the second layer. You want to completely saturate the fiberglass, but not use more resin than needed for that.
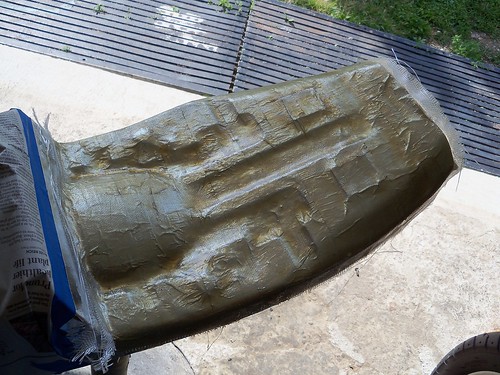
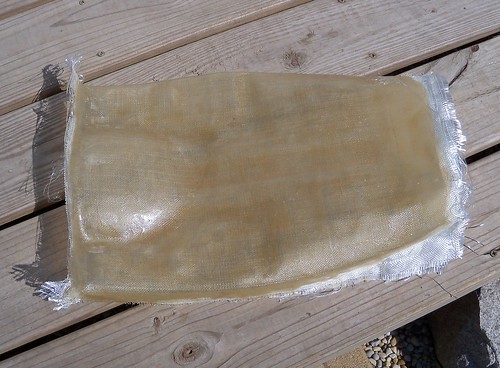
Here is the second batch just finished, with four layers of fiberglass total.
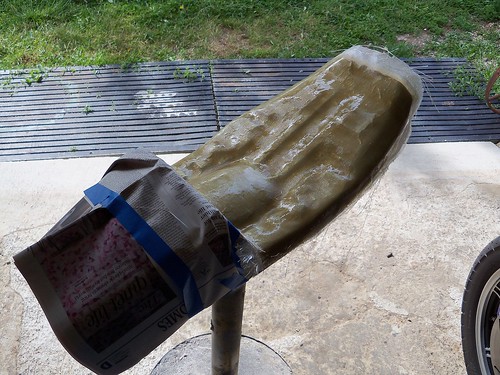
24 hours later, it is cured and ready to remove. I worked the edges and sides first, and carefully worked the rest loose.
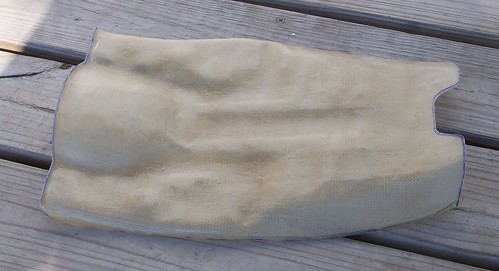
Off, and ready to be trimmed.
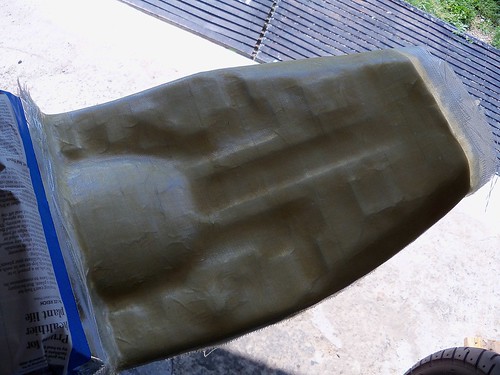
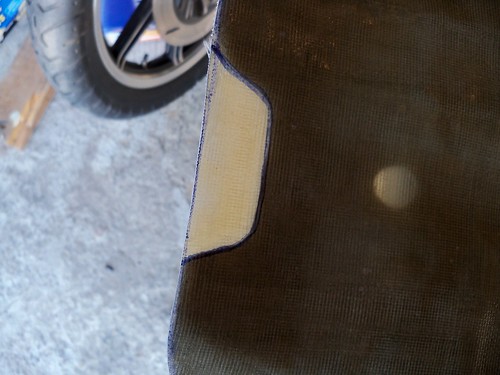
Just mark with a Sharpie and cut. I used an air cut-off wheel for most off it. This isn't the final trimming. I left extra that will be trimmed when the seat padding is done. The area next to the bum stop will end up being cut 1/8" or so later on, to allow room for the upholstery to tuck under. Basically, the pan will be trimmed slightly smaller than the padding.

More marking and trimming.
Done for now. The four layers turned out perfect, as it is plenty solid.
I also got the seat base in filler primer. The padding will be a closed cell foam, so I'll have to shape it to the pan, and figure out how I want the pan to mount to the base.
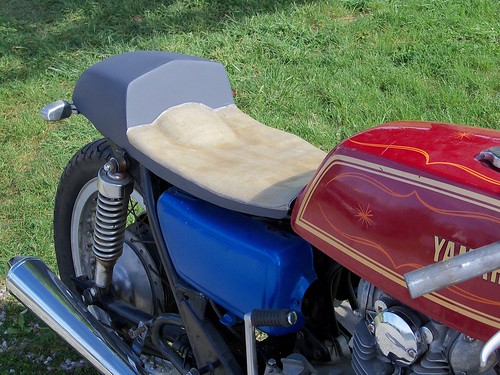
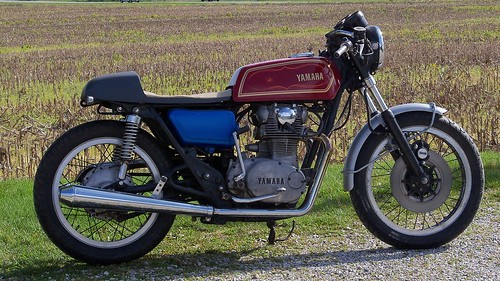
Once the foam is shaped, I need to work out the petcock clearance issue on the tank. After that it might be ready for teardown and the rebuild, as the other things don't need to be done in mock-up. I'm pretty stoked about the direction I ended up going with this bike.
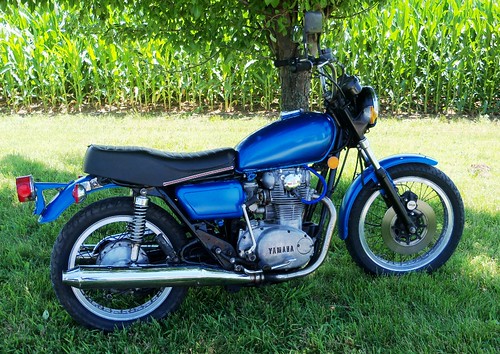
For comparison, here is the bike as I got it. It had a Special model seat on it, the cover of which I used on my '79.
1 comment:
Very nice work. I am looking at an XS650 ('79) and will most likely use your steps to create my own seat. Thanks for taking the time to share!
Post a Comment