
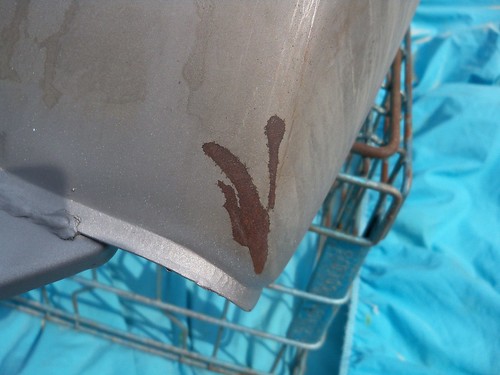
The original paint was cracked, and any area with a crack usually has rust underneath.

This is the area where the stock seat rubbed the paint off.
A light sand blasting and it looks mint.


Clean and ready to go. I had a couple small dings that I used body filler to fix.
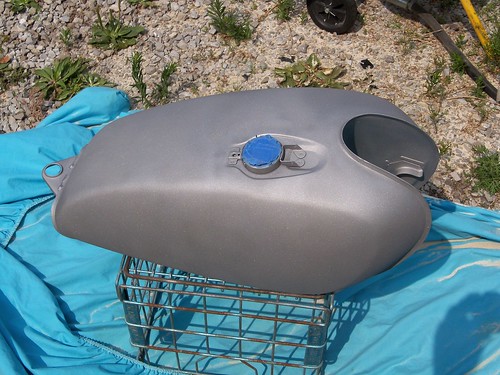
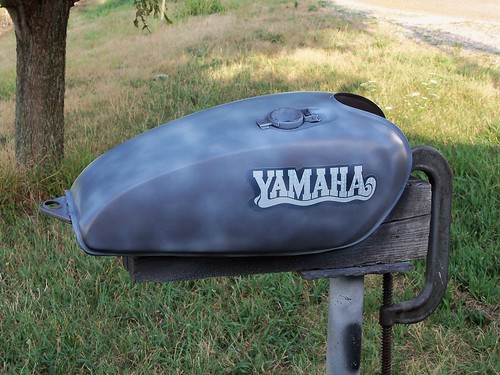
It is just a low cost and simple spray can paint job, using Dupli-Color self-etching primer, Rust-Oleum "metallic dark bronze", and covered with Dupli-Color wheel clear coat. Usually not a good idea to mix brands, but I did a test on a scrap piece of metal, and no interaction problems, so went ahead with the tank.

The Dupli-Color self-etching primer applied, and dry sanded with 400 grit paper.

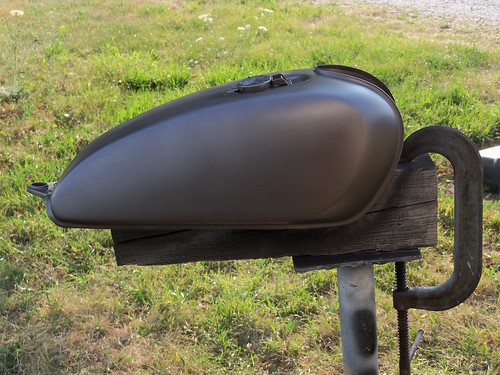
I did a couple coats of the bronze, wet sanded with 400 grit, applied another coat and wet sanded again. This paint went on very nicely.
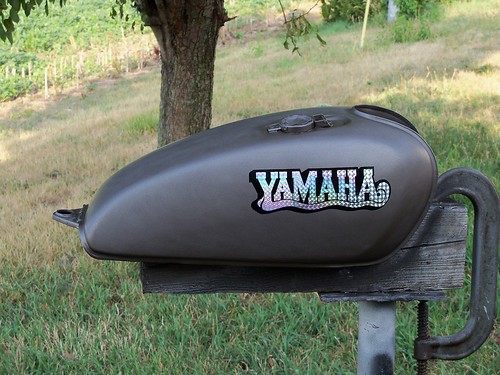
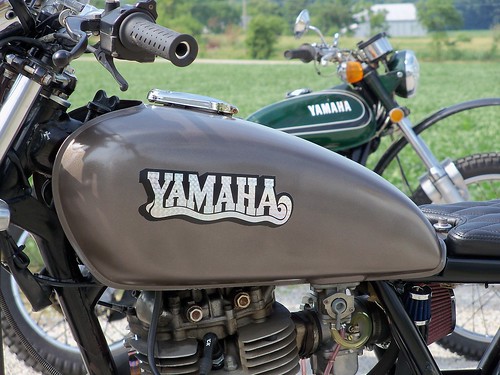
The stickers in place. Looking back, here is where I goofed up somewhat. I wanted the stickers level, so should have set the tank on the bike to apply them, but didn't. The stickers are level, but the tank isn't level on the stand, so the stickers go uphill a little on the bike, but it is not a big deal. Just something I'll keep in mind next time.
The clear goes on hazy, but clears up when it dries. I did a couple coats, and it went on nice enough that I didn't do any wet sanding, but will just wax and buff it after it cures for a week or two.
The SR500 uses the same gas cap as my '79 XS650 Special, so I ordered an extra gas cap gasket for it from Mikes XS last fall when I did the work on the XS.

I'd never noticed it leaking, but it sure looked bad.

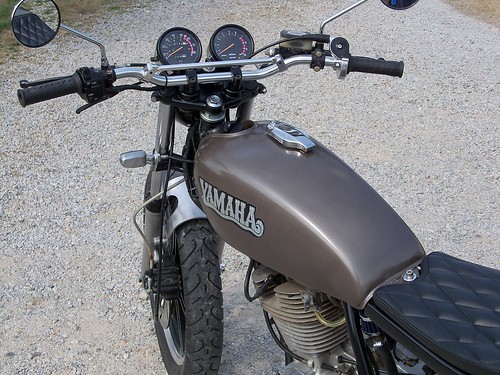
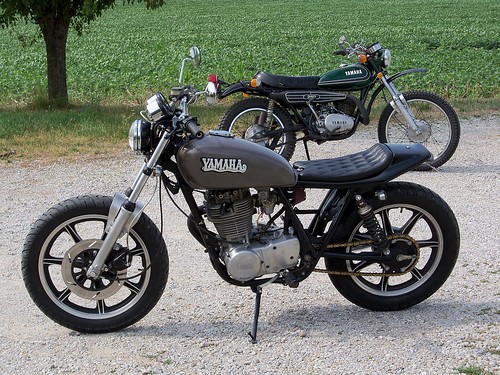
I love the color.
No comments:
Post a Comment