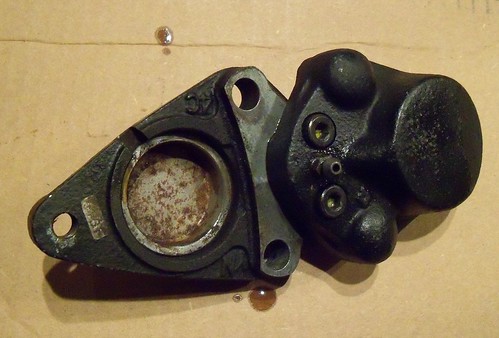
The fluid crossover ports are in the center of the two smaller bolts.
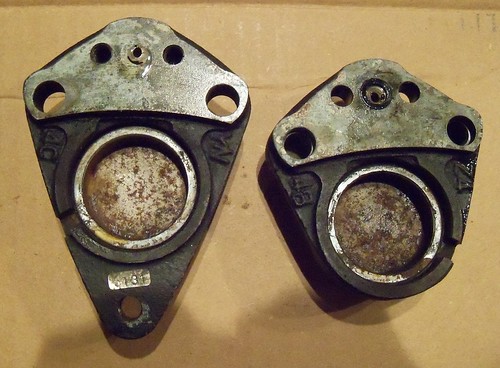
Flip one around and bolt them together like this.
Then hook up a master cylinder.
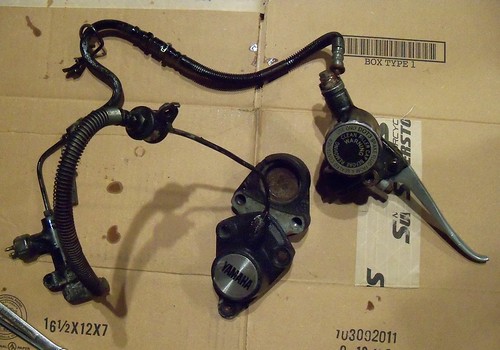
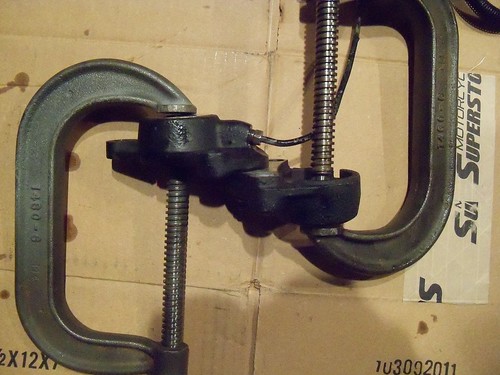
Get two C-clamps (which don't need to be as big as the ones I used) and pump up the master cylinder. The clamps keep the pistons from popping out as pressure builds. Let one come out far enough that fluid leaks out from around the piston, and then push it back in just enough so it seals again. Then pump the other piston completely out. Remove the clamps, and the first piston should be free enough to just wiggle it out by hand, or use a rag (to protect the piston) and channel lock pliers if necessary.
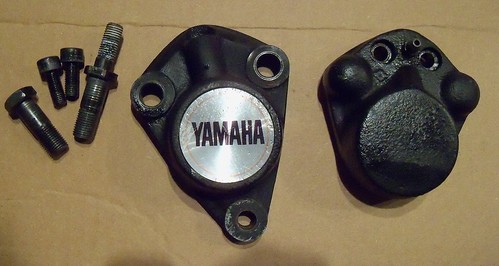
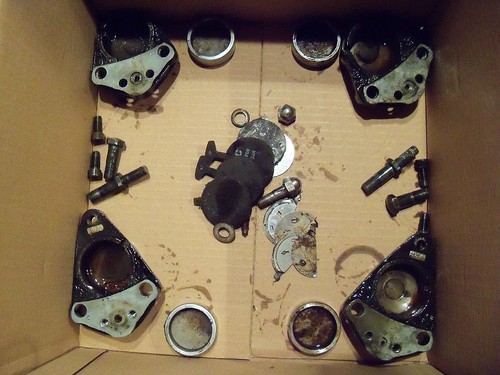
Both calipers apart and ready for rebuilding.
No comments:
Post a Comment