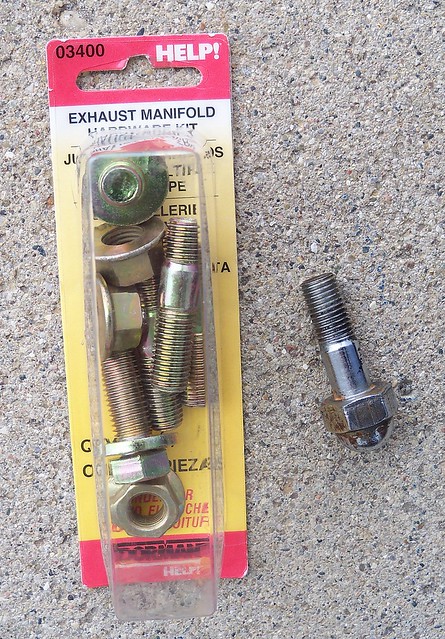
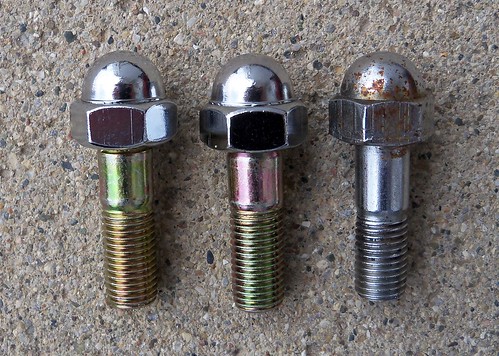
This will work. I first cut slots in the end of the studs at the nut end to be able to use a flat blade screwdriver if needed to remove the studs.
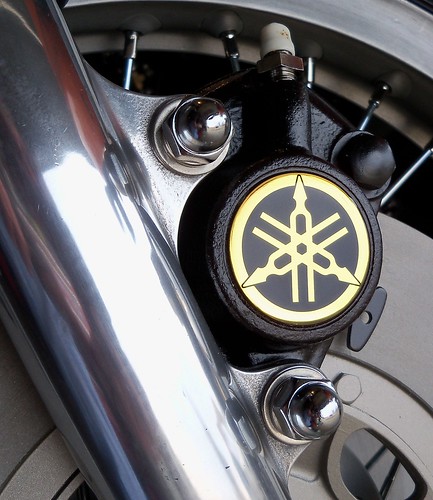
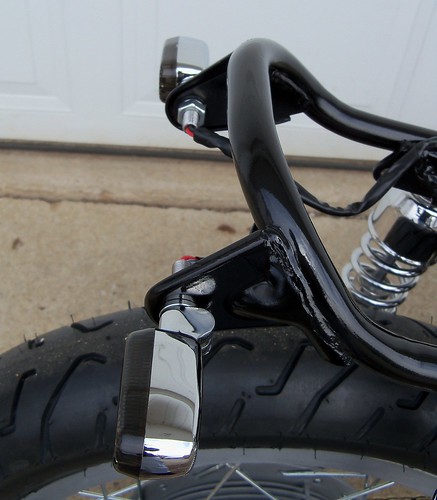
The calipers mounted. I trimmed the end of the key tab on the outside pad on the left caliper, since it looked like it might not clear the fork slider.
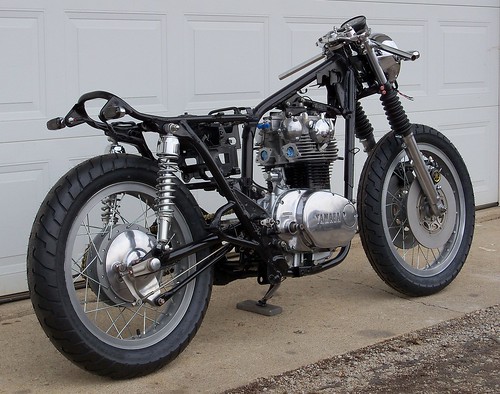
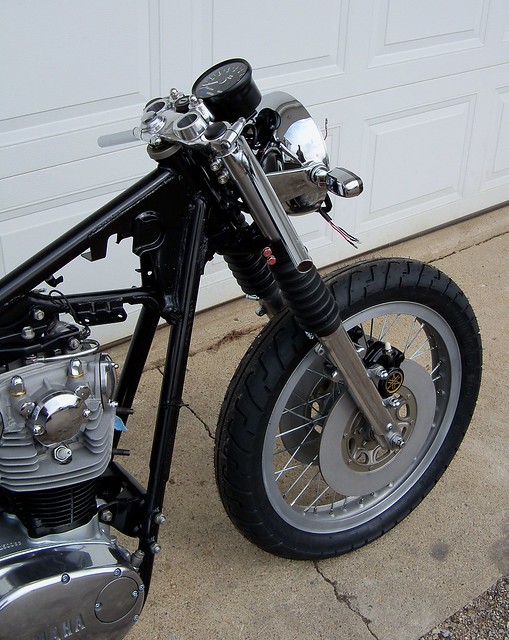
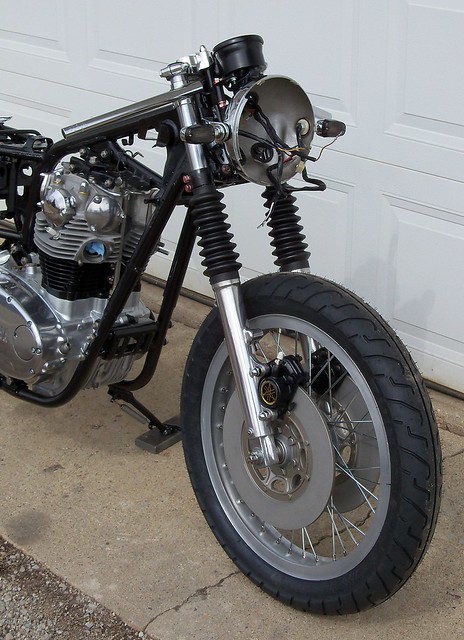
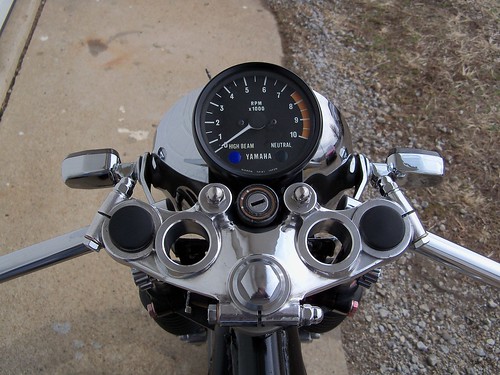
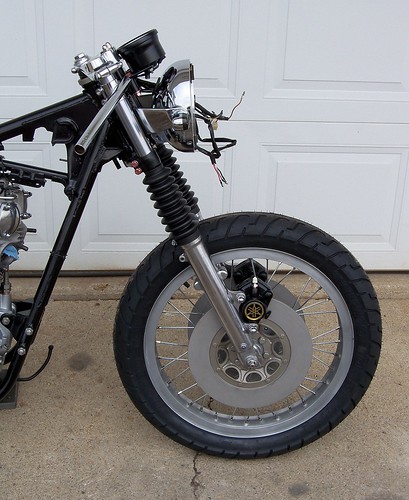
Here is where I'm at now on the bike. Next on the list is wiring. I'll be doing the Pamcopete Chrysler regulator and Radio Shack rectifier conversion.

3 comments:
Been following your build, you're doing a great job, plus the blog is nice too.
Thanks!
looking good!
Post a Comment