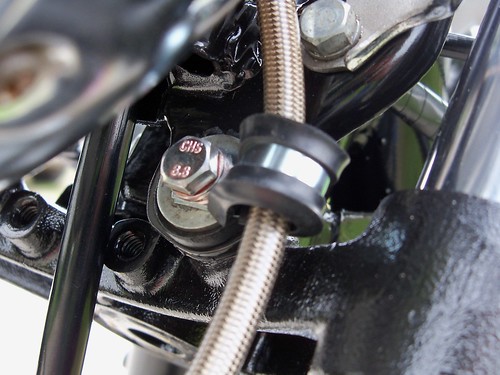
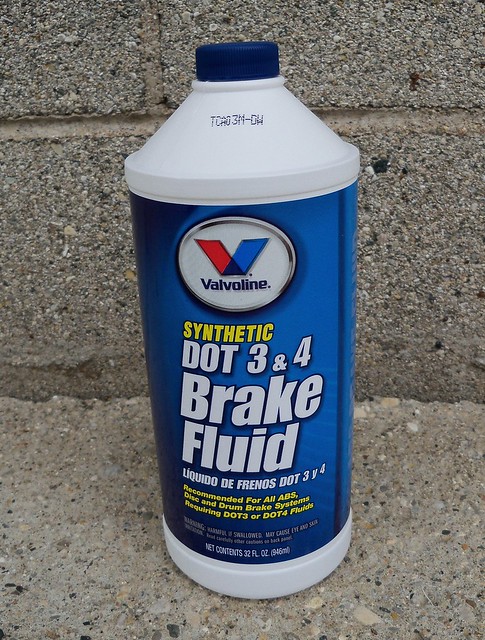
I'm using Valvoline synthetic brake fluid. The front brakes bled easily, and I think everything there will work great.
 e
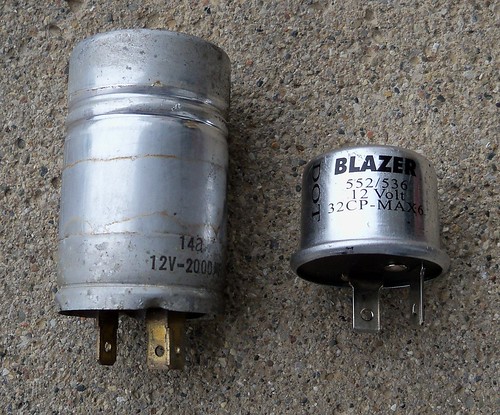
eThe turn signals didn't work, so I switched from the stock three prong flasher to a regular automotive 552 two prong part. On an old Yamaha you want to use the brown and brown/white wires. The brown wire is switched power, and the brown/white sends power from the flasher to the left handlebar switch. The remaining wire isn't used. After switching they worked fine.
A popular mod on the XS650, I'm using a power brake one way valve for crankcase ventilation.
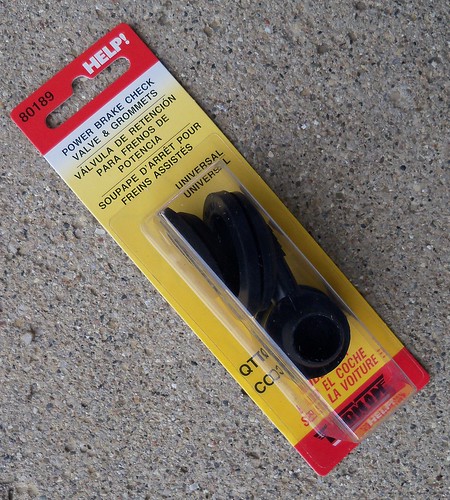
An engine displaces the same volume below the piston as above. As the pistons come down, it can pressurize the inside of the engine. With this valve it lets any pressure out, but closes to not let anything in on the pistons upstroke, in theory creating a slight vacuum, which should minimize any pressure on the next downstroke.
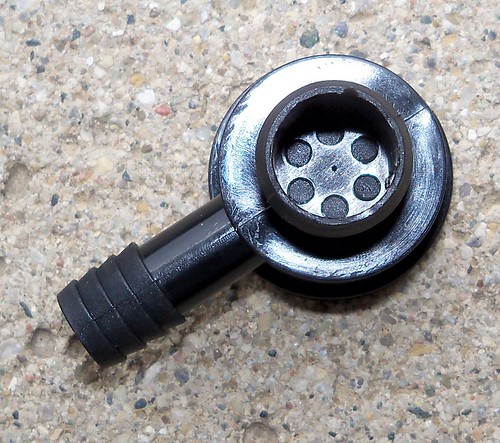
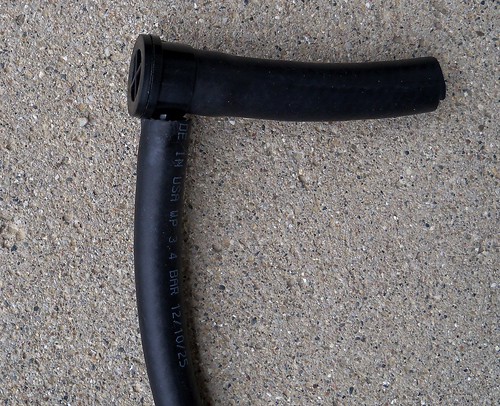
It connects to the head breather port with 1/2" hose, and then 3/8" hose exit.
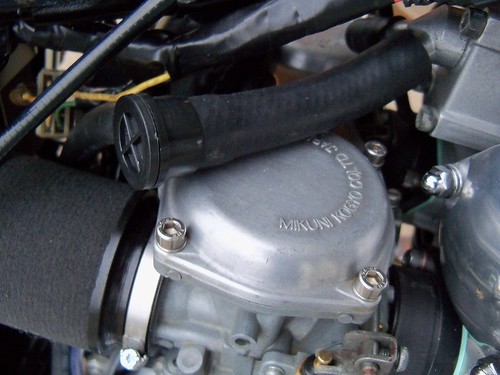
The crankcase breather housings changed over the years of XS650 production. Early bikes used both ports. The '75 originally had one port capped and one going to the front sprocket area. Later bikes just had one port.
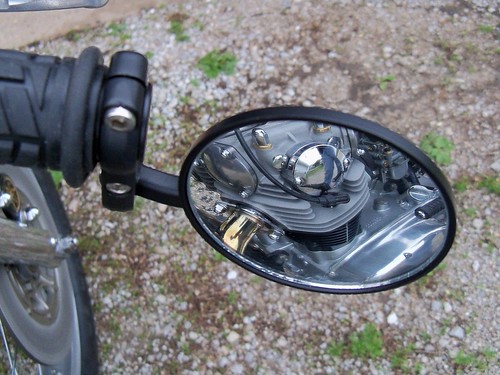
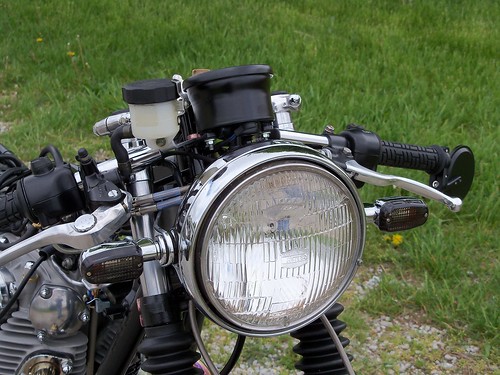
The mirrors are ebay cheapies that I've used on a couple of other bikes and really like them. I got these from seller power.freaks1 for $14.50 with free shipping, so crazy cheap price, but nice mirrors.
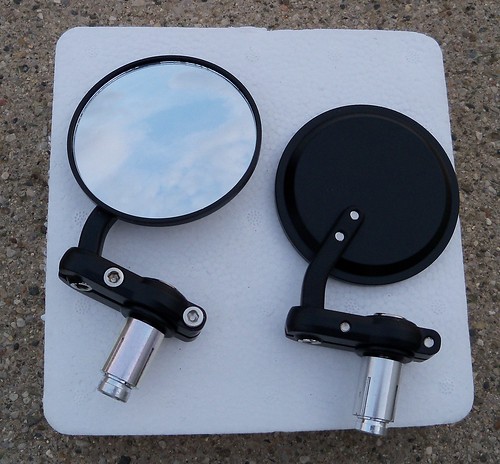
I've had a pair of these type mirrors on my Sportster for several years. Since it has 1" bars I used some old pieces of inner tube to shim them to fit. I found that handlebar vibration was greatly reduced after installing the mirrors, and also the mirror images are completely clear, so I'm doing it on the XS also even though it has 7/8" bars. I cut some small pieces of old inner tube.
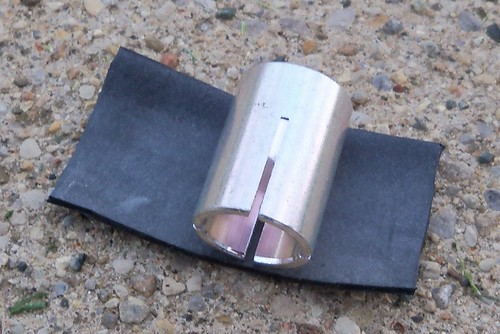
Then the inner tube rubber goes into the bar and the outer sleeve tapped into place.
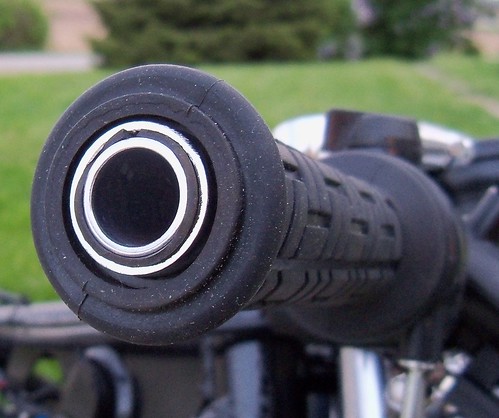
And then the mirrors installed.
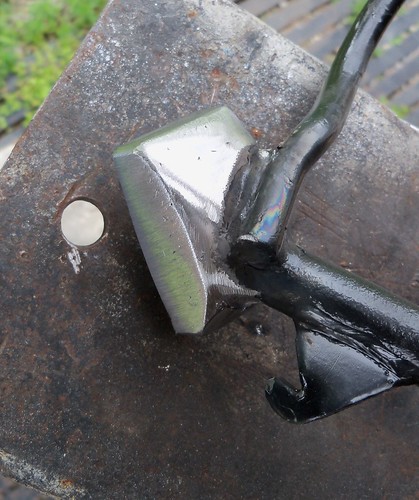
I'd figured that I might need to lengthen the side stand in mock-up, but decided to wait until further along so I'd know exactly where the ride height would be. It only needed about 3/8", so I'm just welding a pad on the bottom. I found a piece of scrap steel just right.
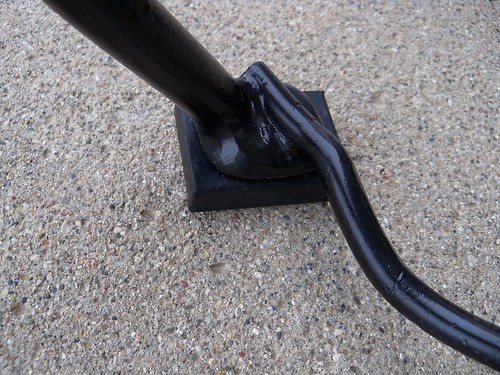
Welded and some shaping.
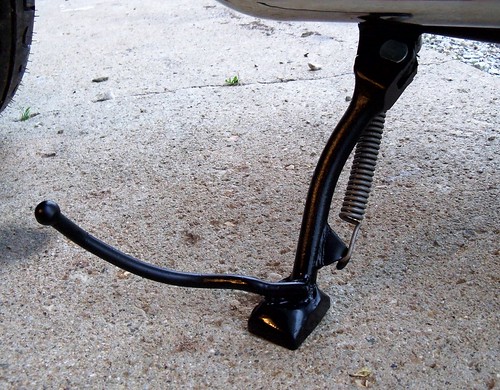
Painted and back on the bike.
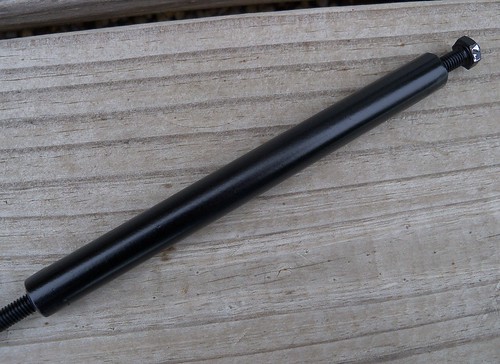
I needed to make the shift rod for my home made rearsets, so here is what I came up with. I found some 1/2" scrap steel tubing. After cutting to length I notched the ends of the tubing, and ground the corners off of a couple 6mm nuts so they just fit inside.
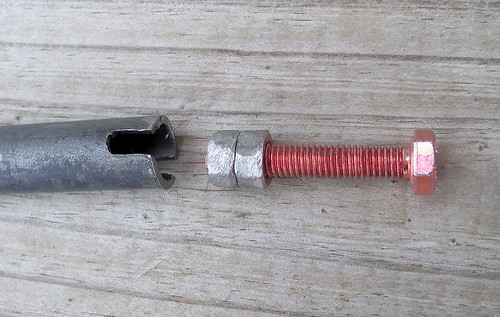
Next the nuts are put in place. The bolt is to both install them, and make sure that the nut spacing is good, basically you want the bolt to turn freely through both nuts.
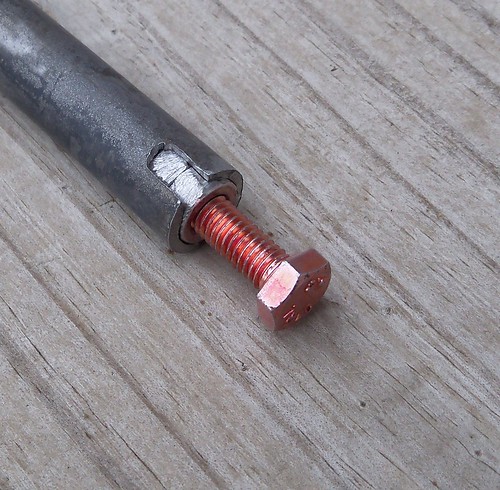
Welded, cleaned up, and painted. The bolts are left in place for painting to keep the threads clean.
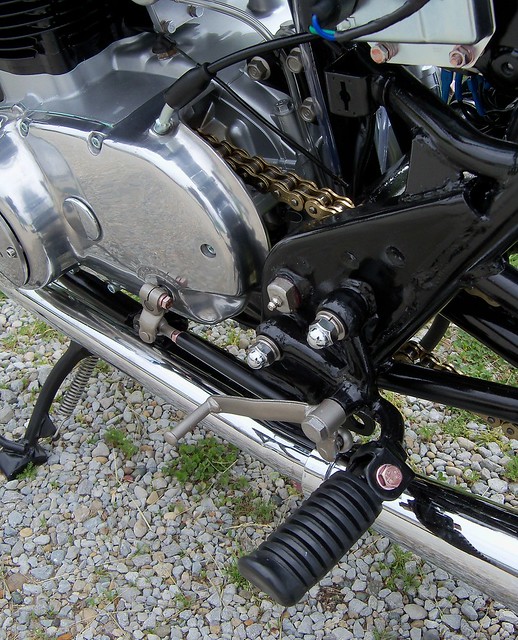
The XJ750 Seca shifter and new shift rod on the bike.

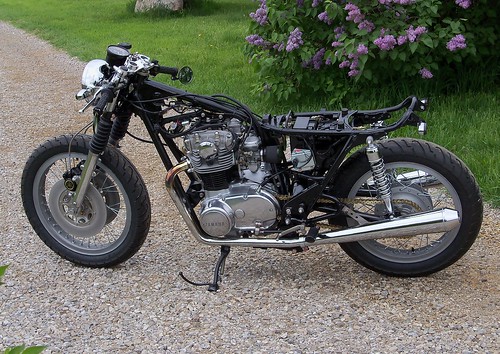
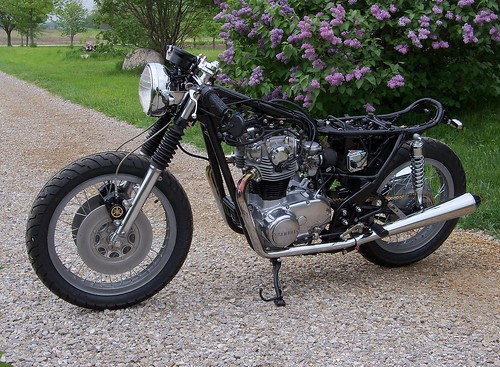
This is the same headlight as from mock-up, the original one from my SR500, left over after it got a smaller one.
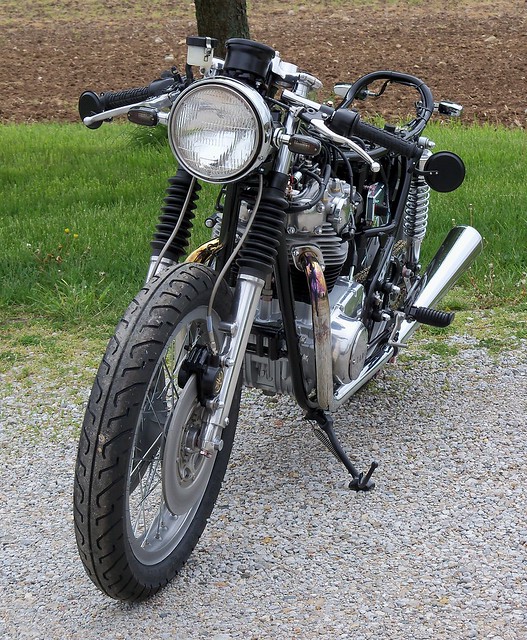
Pretty much ready for the sheet metal at this point.
No comments:
Post a Comment