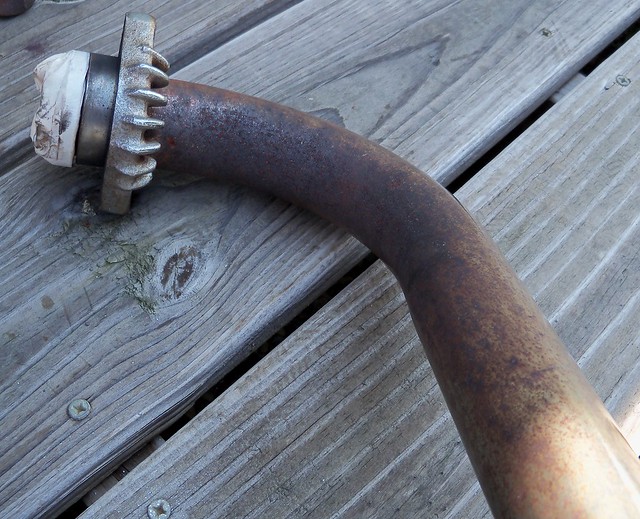
They cleaned up great with sandblasting. There is pitting from the rust in the bad areas, but it'll be fine. I also blasted the new mufflers to rough the chrome up for paint.
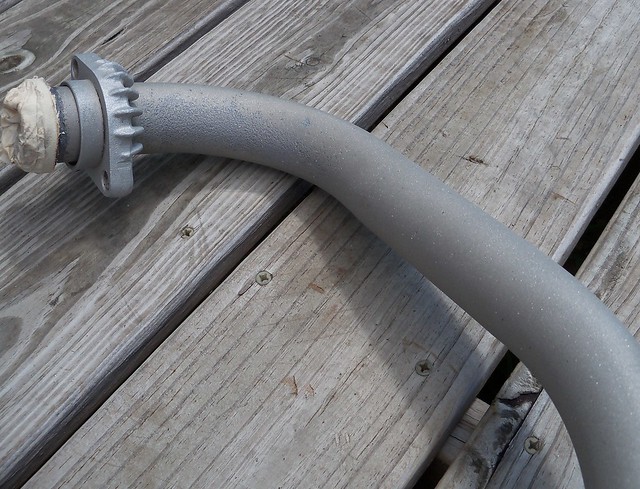
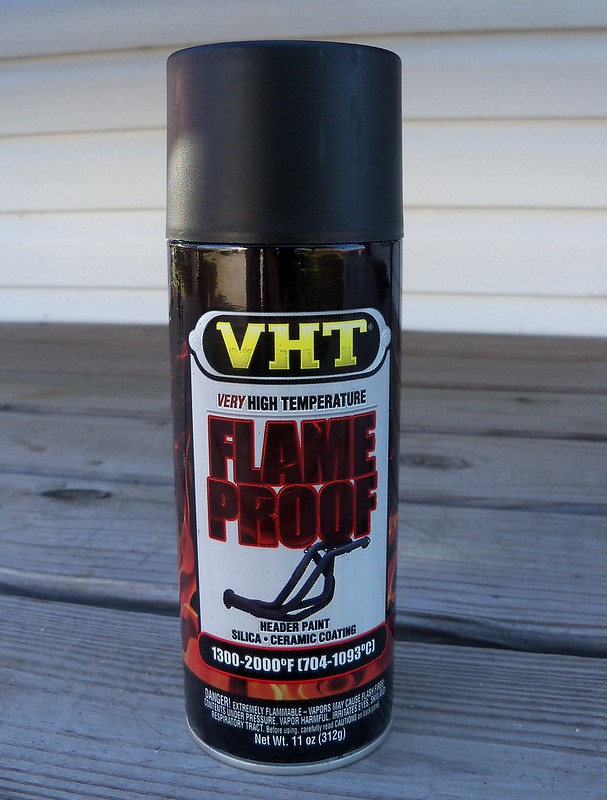
I'm using VHT flat black.
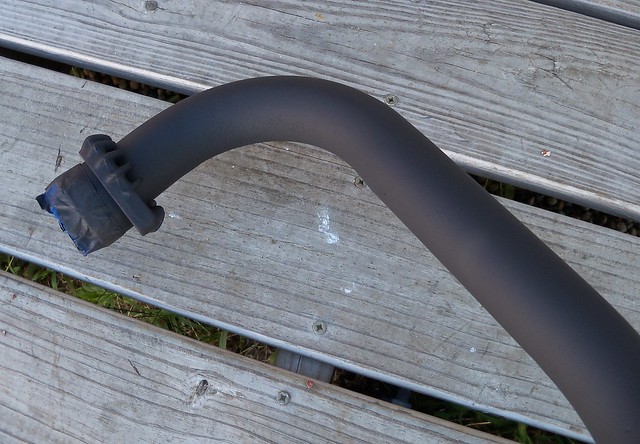
They came out very nice. I don't have a way to oven cure the paint, so just let them sit in the sun, and then they'll finish up once the bike is running. One tip on painting under the flange area, slide the collar down and paint that part of the pipe. The paint tack dries quickly (about 10 minutes), then slide the collar back up being careful to not touch the pipe. Use masking tape to hold it in place and paint the rest of the exhaust. When removing the tape to install the exhaust, make sure the collar doesn't slide down or it can leave marks in the paint.
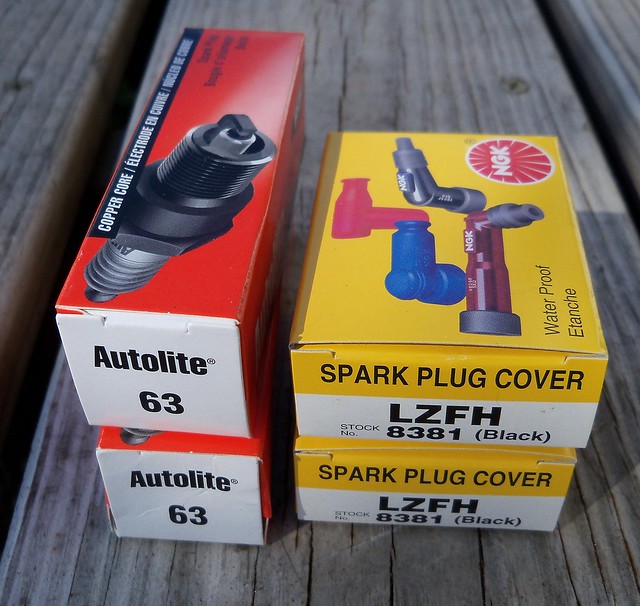
To go with the new coil, Autolite 63 plugs and NGK non-resistor caps.
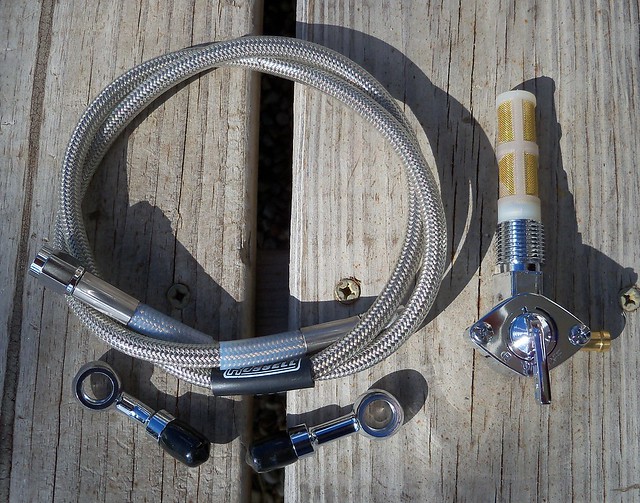
The bike had a braided front brake line when I got it, but it was too long and a two piece. Also, the new headlight mounts to where the junction block was originally. The new line is a Russell R58132S 34" line with a R4047C straight banjo for the master cylinder and a R4050C 35 degree banjo for the caliper. The new petcock is Custom Chrome part #12727.
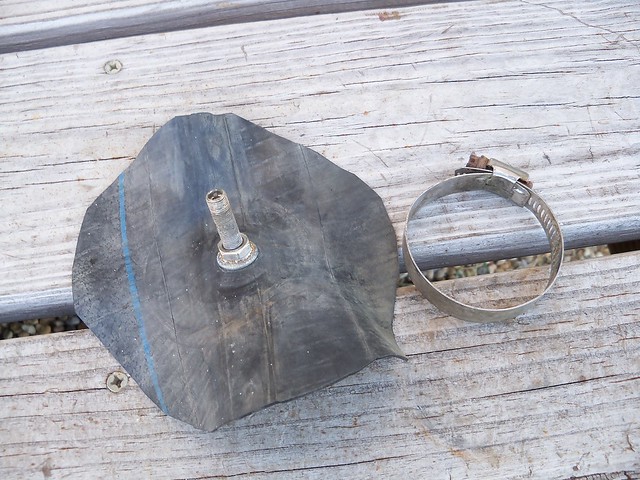
I wanted to leak test the tank where I'd welded in the new bung, and here is a simple way to do it if the tank has a raised area around the fuel filler. Cut a section of an old inner tube with the valve stem, and get a radiator hose clamp.
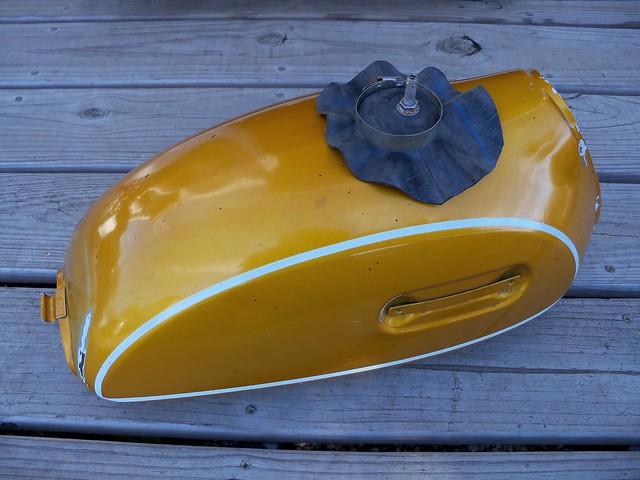
Install the petcock or a pipe plug (hand tight is fine for leak testing), and clamp the inner tube around the fuel filler. Tighten the clamp just enough to seal. You want it to be able to pop off if you use too much pressure. Preferably use a bicycle tire pump and put a few PSI in it. Then use a dish soap and water mix and apply around the area to be tested with a q-tip. If you have any leaks it will bubble up like crazy.
No comments:
Post a Comment