
It also has a broken actuator housing.
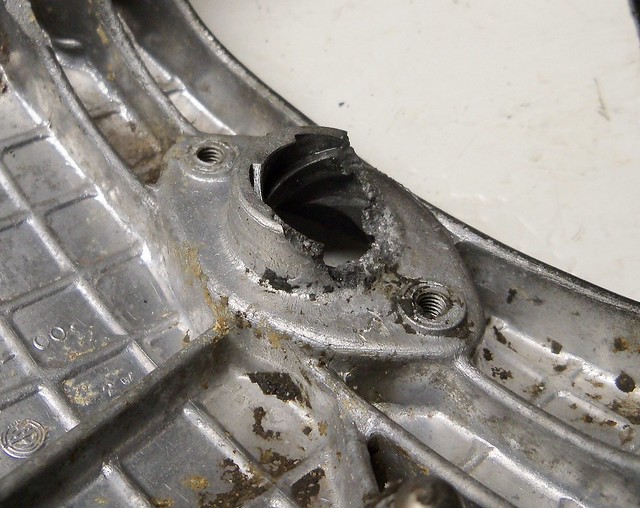
A common problem with the stock DT actuator is that the nylon worm gear cracks making the actuator eventually fail completely, and they are an obsolete part. If the clutch pull on a DT is getting hard, this is likely the problem. Yamaha Enduro forum member Deet posted a thread on converting to the steel worm gear Yamaha actuator. I'm using a used XS650 actuator, but they are also available new from MikesXS.
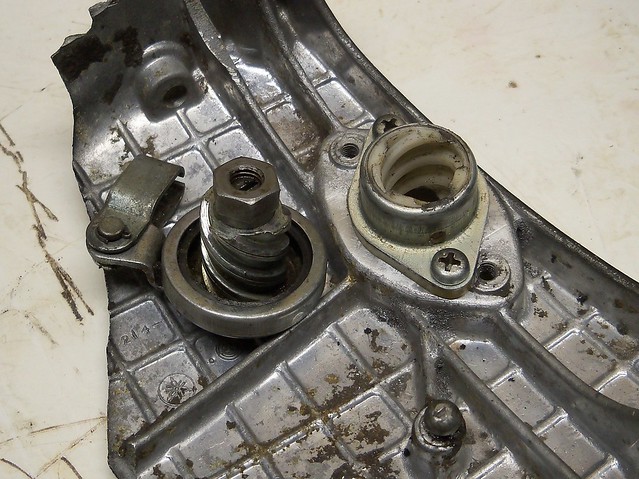
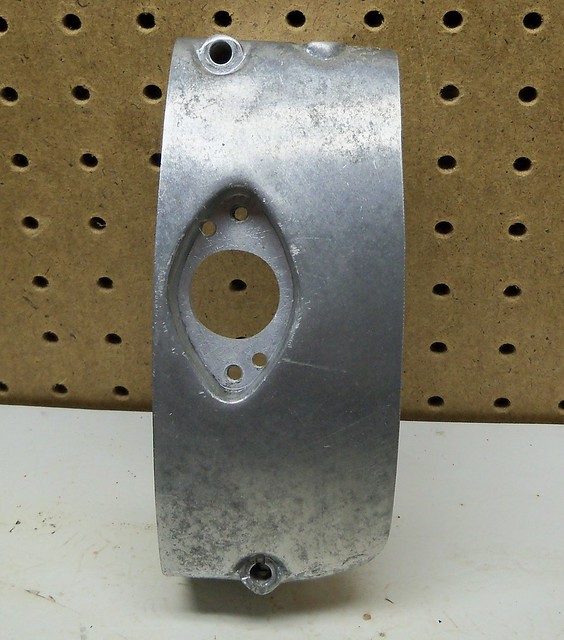
I used a cut-off wheel to remove the rest of the actuator housing, then enlarged the opening with a die grinder to fit the XS housing. Next two holes are drilled and tapped for 5mm threads. I also clearanced some of the material around the adjustment cover bolt holes.
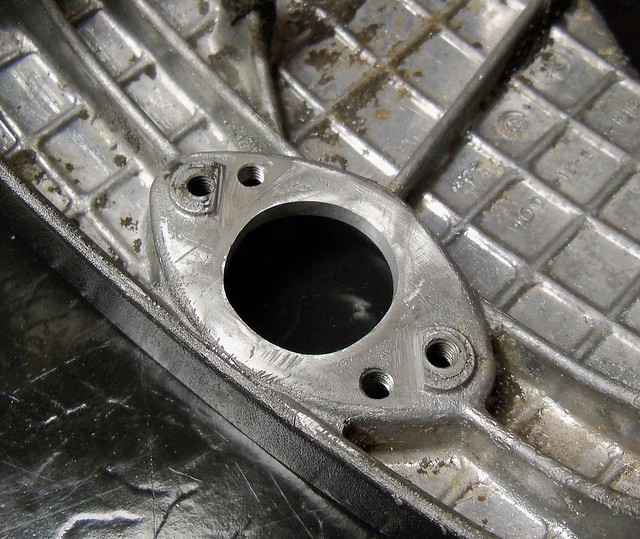
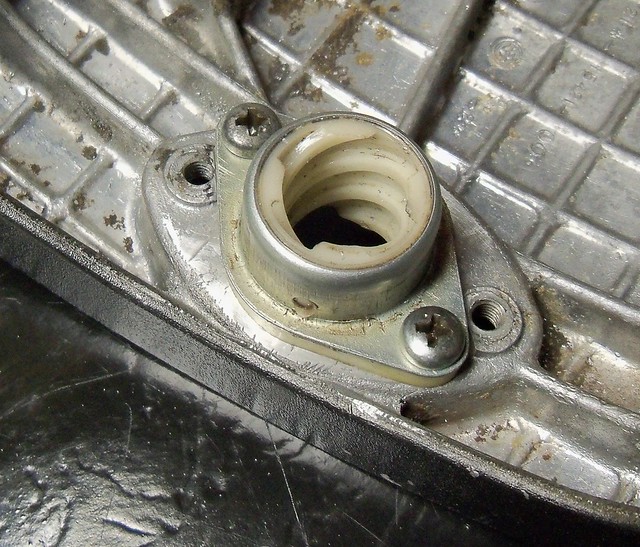
The XS650 actuator housing then fits in place.
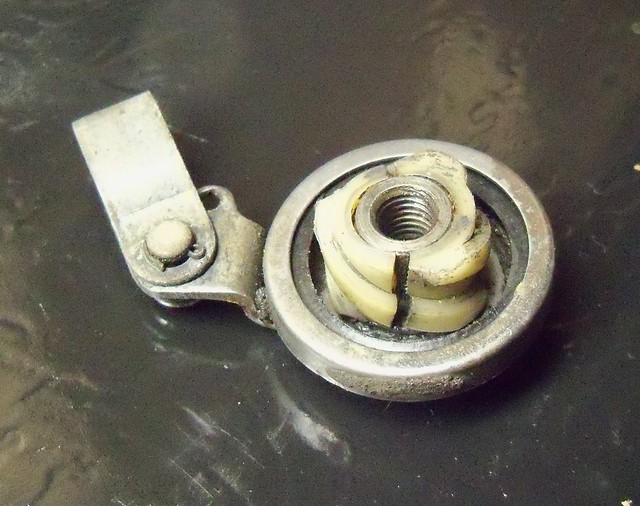
The XS actuator has a longer and differently shaped arm than the DT. I think an RD actuator might have the correct arm, but it is easy to swap the steel worm gear to the DT arm, which also allows you to put the arm just where you want it with the actuator fully retracted.
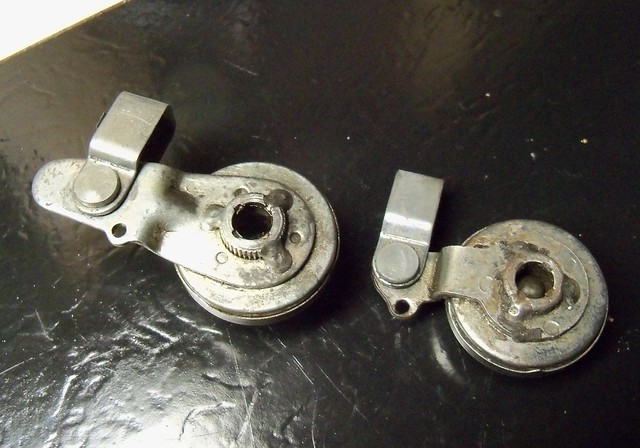
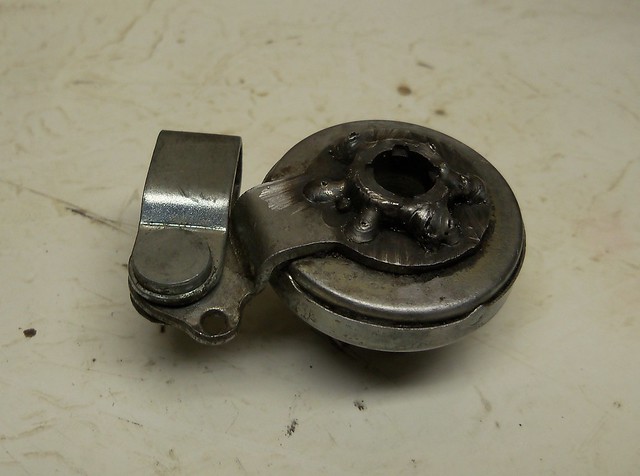
There are three parts to the actuator; the worm gear, seal housing, and arm. To disassemble the worm gear from the arm, first grind the welds. Then place the actuator in a deep well socket and tap the worm gear out from the arm, leaving the arm and seal housing together. Trying to separate the arm from the seal housing could destroy the thin seal housing. Then determine where it needs to go by test fitting it in the sprocket cover. Spot weld it in place, letting it cool between welds to not damage the seal.
The stock DT adjustment screw is used, the XS screw being too long. This is a mod I'd do to a nice sprocket cover, since it doesn't change the looks any.
I then trimmed it and used some paint stripper to remove the black paint.
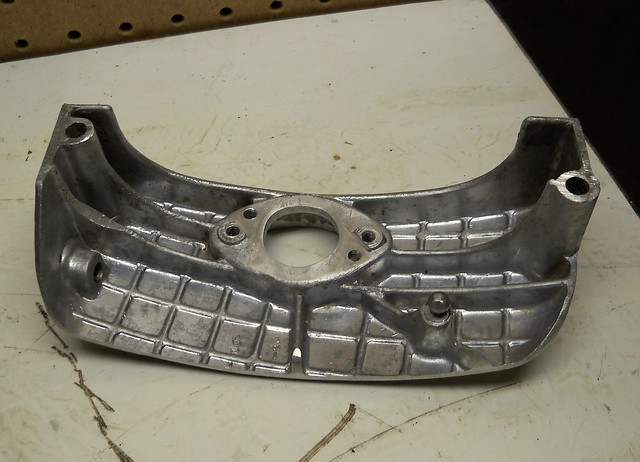
Now I just need to polish it and clean, grease, and install the actuator parts.
No comments:
Post a Comment