10/29/14
10/28/14


10/26/14


10/25/14
DT1 MX project
For the '69 DT1 I'm going to freshen up a set of Boge Mulholland shocks. These were $60 'buy it now' on ebay, and in very nice shape. Rebuilding a set of old aftermarket shocks is a good way to go on a budget project. You can save money, and have a some neat period parts at the same time. Make sure the shafts aren't rusty or worn, since new replacements wouldn't be easy or cheap to get.
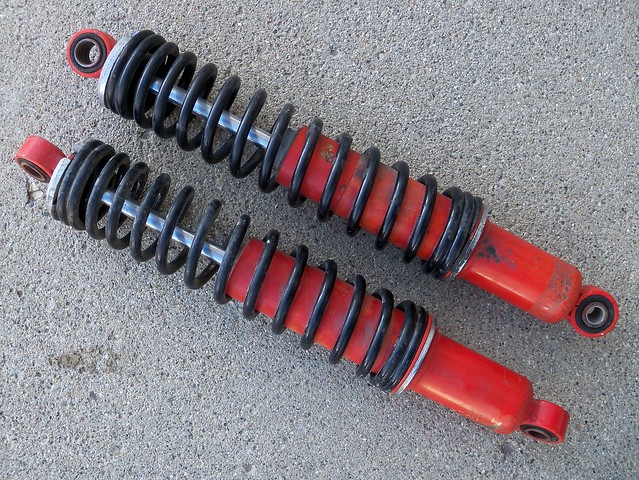
These are the MX1350 model shocks. The Junk Man's Adventures has some great information on these here: http://www.thejunkmanadv.com/boge-mulholland-shocks-info.html The MX1350 takes 110 cc of oil.
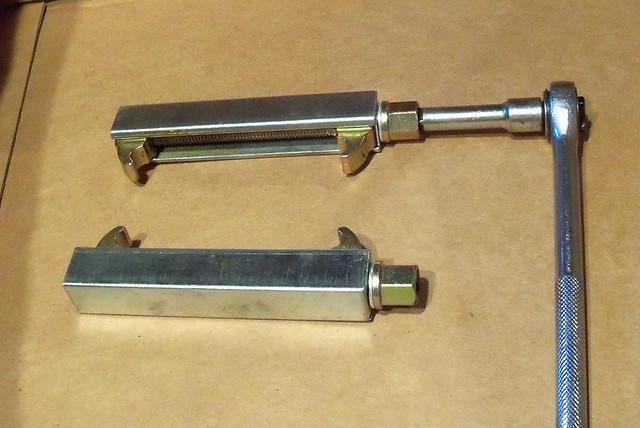
First thing is to remove the springs. I use these spring compressors. They are inexpensive and easy to use.
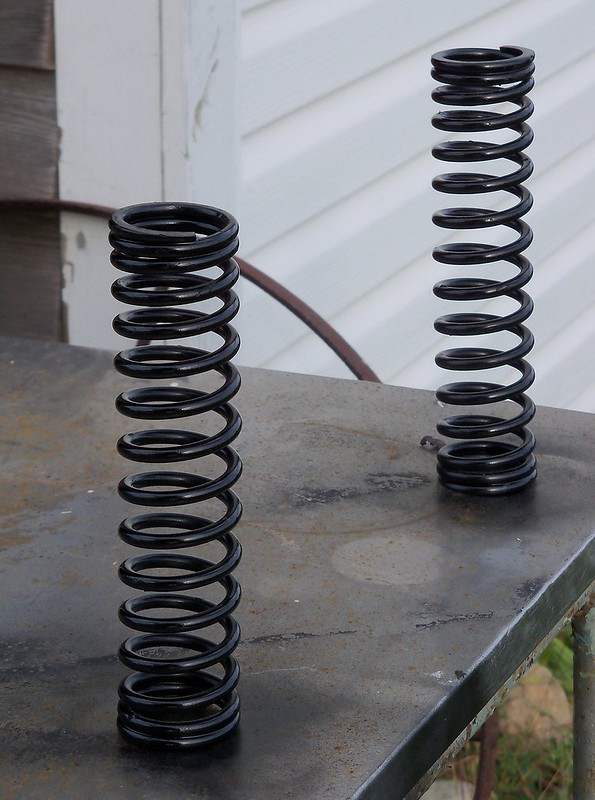
The springs were in fairly good shape. I just scrubbed them up and gave them a thin mist coat of paint. I used the same Dupli-Color black as the frame.
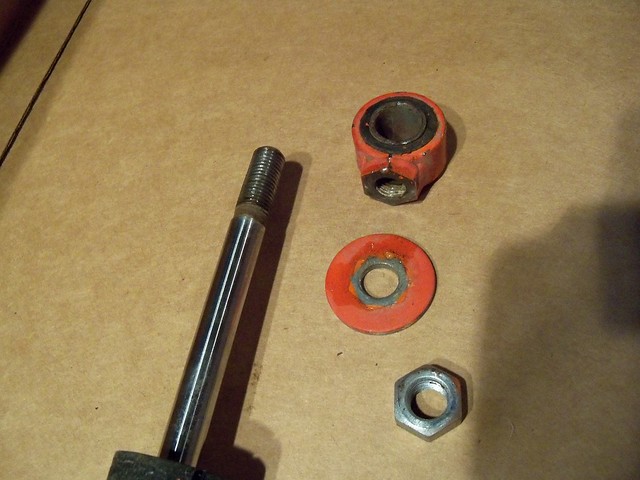
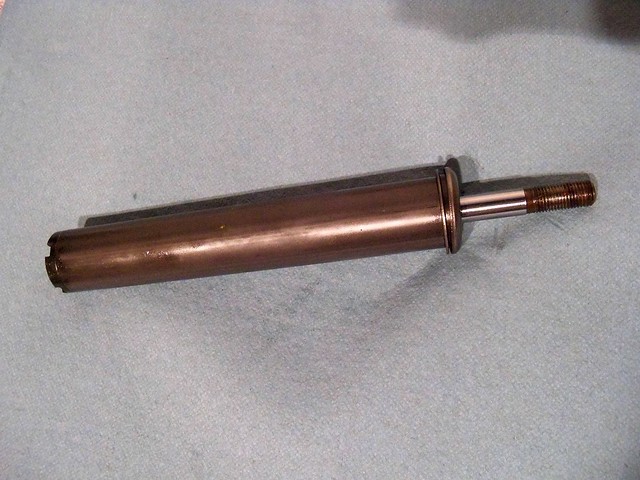
Now to the shock body. I first held the top eyelet in a vise and loosened the lock nut. I then slit some old air hose and put it over the shaft so I could hold it in a vise to unscrew the eyelet.
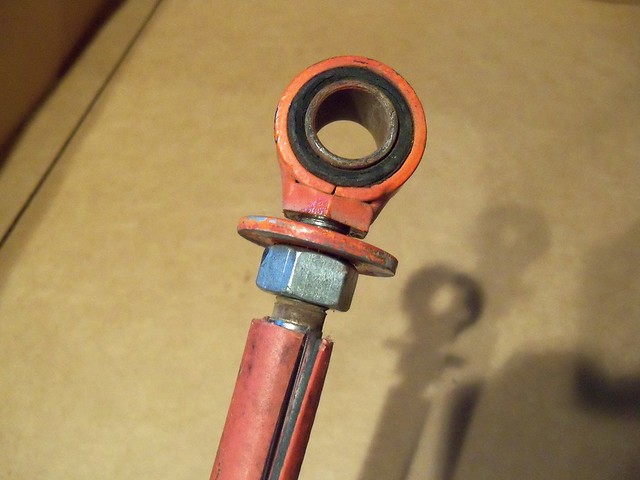
Here it is apart.
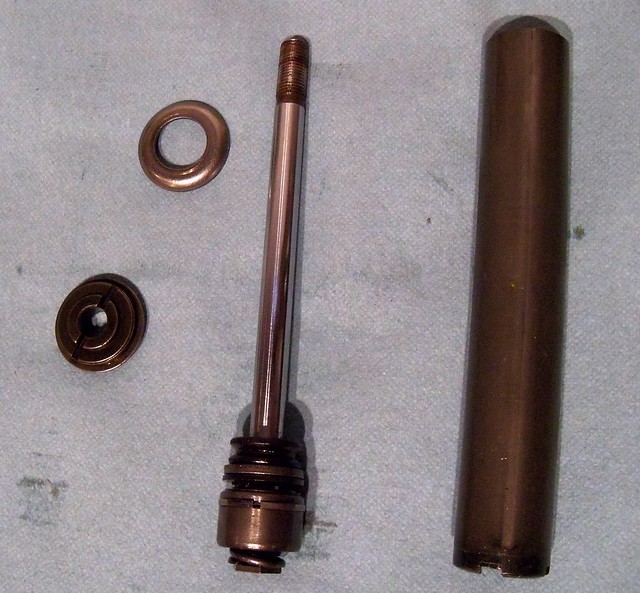
Now to remove the seal nut. This is the housing for the seal, and holds the shock internals in.
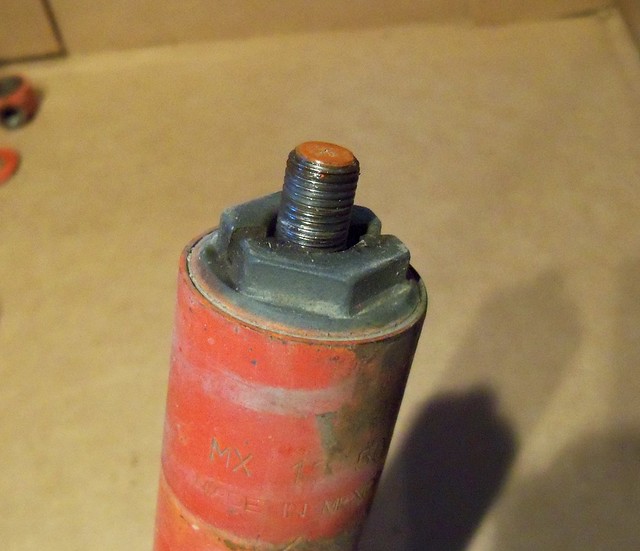
These look like they are just pot metal, and are known to break, so only use the correct 6 point socket and go slow and easy on them. I held the bottom eyelet in a vise to loosen them.
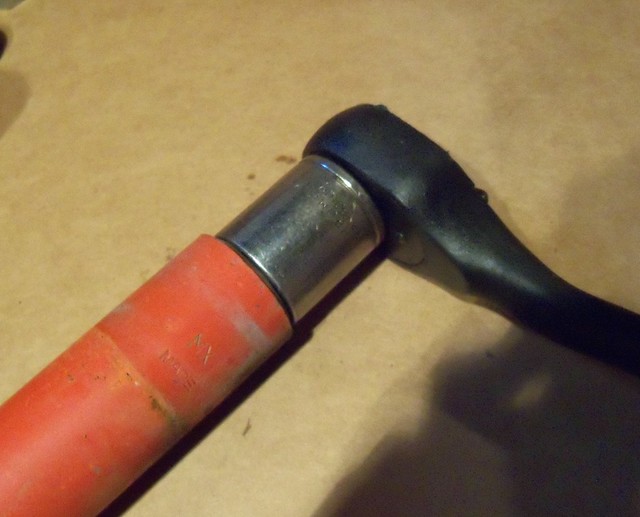
After the seal nut is off, remove the O-ring and pull out the internals.
Here are the internal parts.
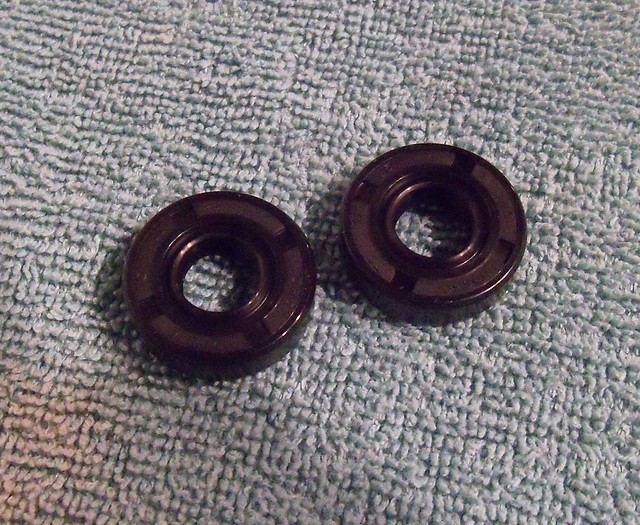
I then screwed the seal nuts back into the empty shock body to hold them so I could knock out the old seals. I bought some 11 x 25 x 7 mm double lip seals, and pressed them in.
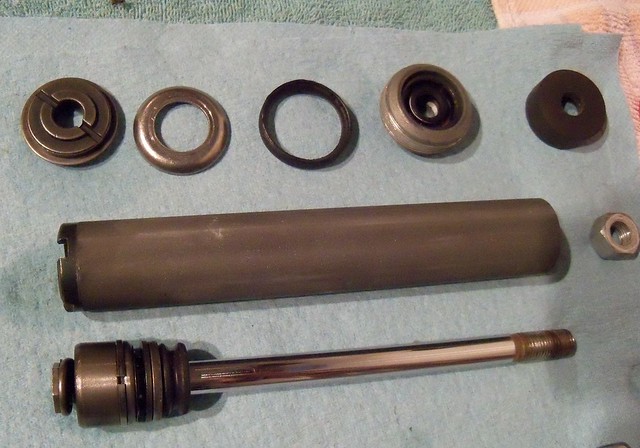
Here are the parts cleaned up, and the new seal in the seal nut.
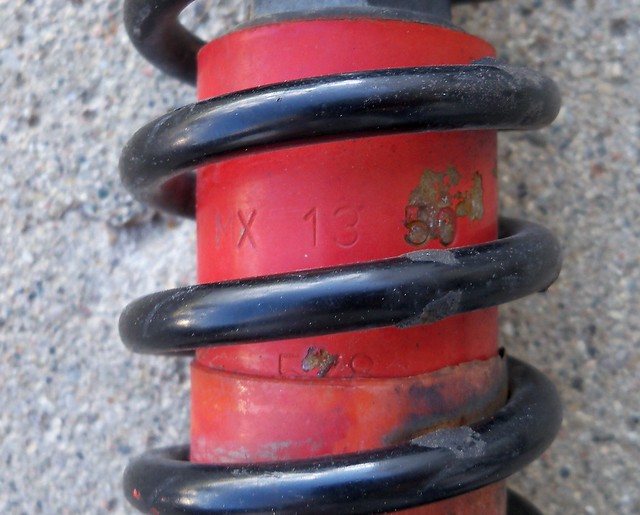
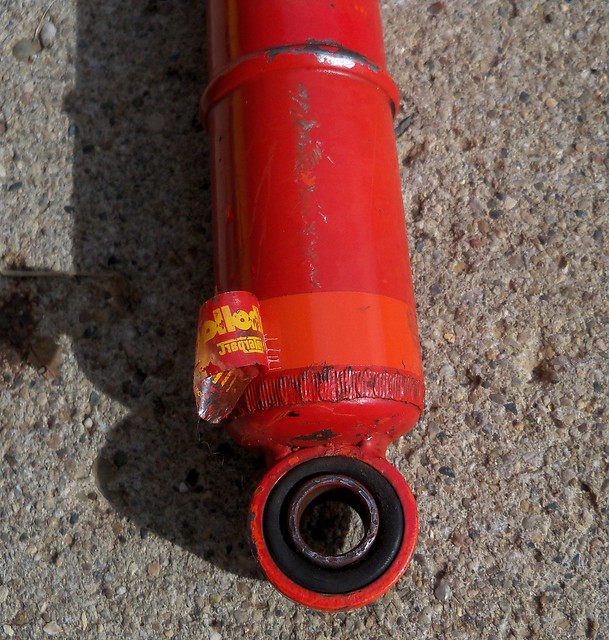
These shocks had been painted red a some point. Peeling back the label you can see the original orange.
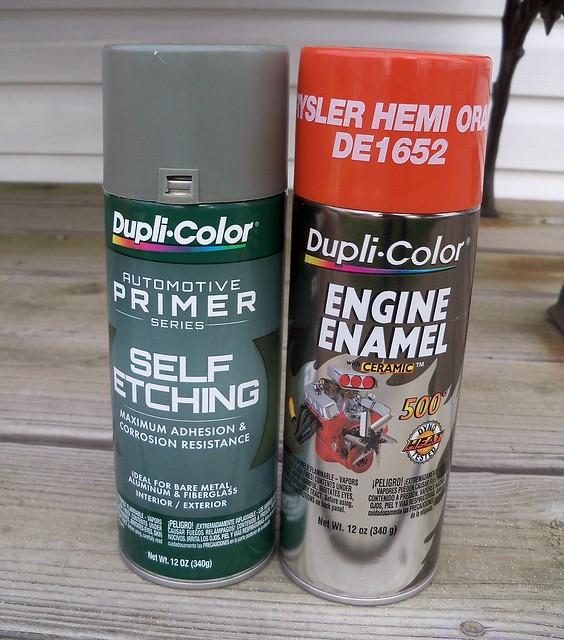
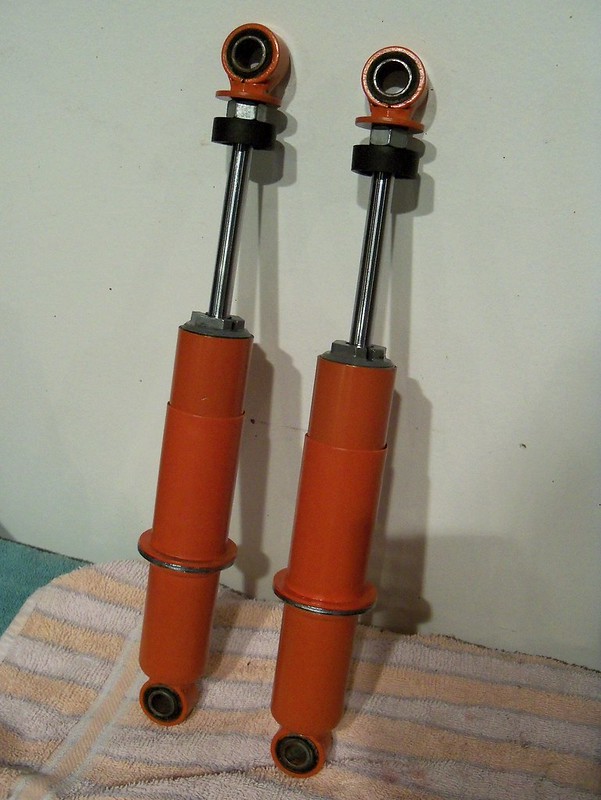
I sandblasted them, and then used Dupli-Color self etching primer and Chrysler Hemi orange engine paint. I think Chevy orange might have been closer to the original color, but I like the Hemi orange.
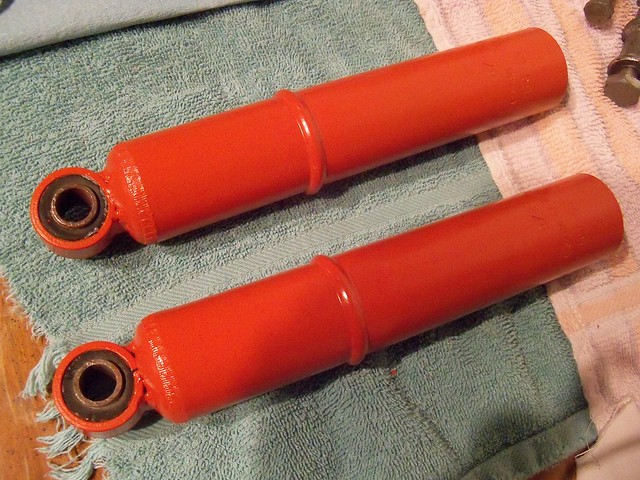
Here they are painted and ready to reassemble.
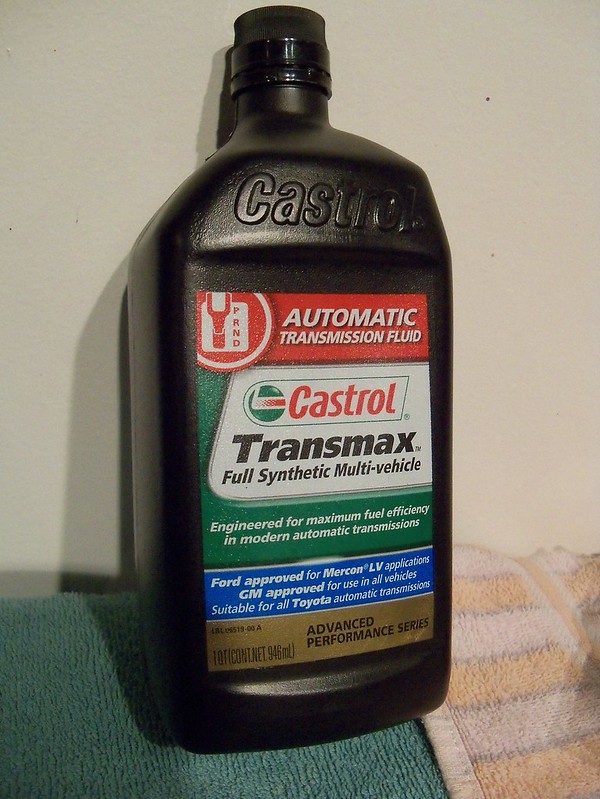
For oil I'm using Castrol Transmax synthetic ATF.
Here they are reassembled other than the springs.
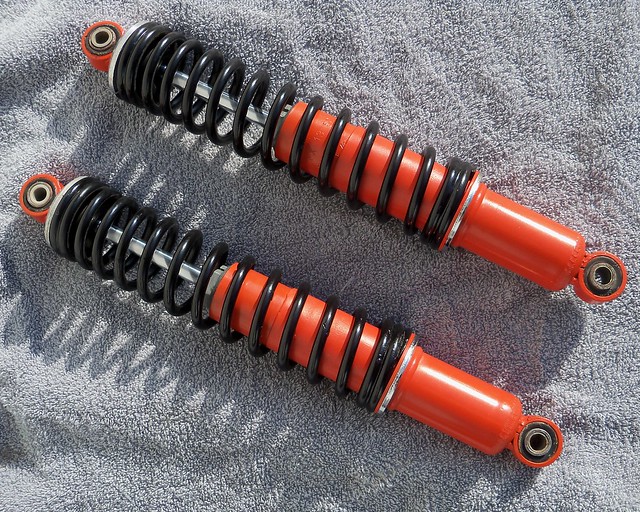
Here the springs are back on. They look great out in the sunlight.
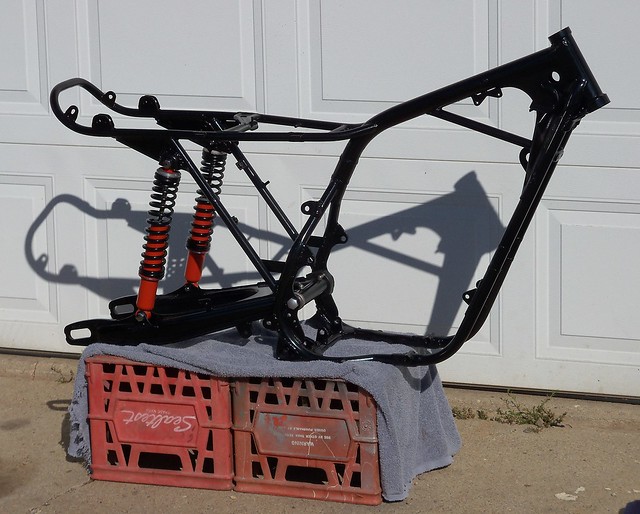
I installed new needle bearings in the swingarm, and put it and the shocks on the frame.

These are the MX1350 model shocks. The Junk Man's Adventures has some great information on these here: http://www.thejunkmanadv.com/boge-mulholland-shocks-info.html The MX1350 takes 110 cc of oil.
First thing is to remove the springs. I use these spring compressors. They are inexpensive and easy to use.
The springs were in fairly good shape. I just scrubbed them up and gave them a thin mist coat of paint. I used the same Dupli-Color black as the frame.
Now to the shock body. I first held the top eyelet in a vise and loosened the lock nut. I then slit some old air hose and put it over the shaft so I could hold it in a vise to unscrew the eyelet.
Here it is apart.
Now to remove the seal nut. This is the housing for the seal, and holds the shock internals in.
These look like they are just pot metal, and are known to break, so only use the correct 6 point socket and go slow and easy on them. I held the bottom eyelet in a vise to loosen them.
After the seal nut is off, remove the O-ring and pull out the internals.
Here are the internal parts.
I then screwed the seal nuts back into the empty shock body to hold them so I could knock out the old seals. I bought some 11 x 25 x 7 mm double lip seals, and pressed them in.
Here are the parts cleaned up, and the new seal in the seal nut.
These shocks had been painted red a some point. Peeling back the label you can see the original orange.
I sandblasted them, and then used Dupli-Color self etching primer and Chrysler Hemi orange engine paint. I think Chevy orange might have been closer to the original color, but I like the Hemi orange.
Here they are painted and ready to reassemble.
For oil I'm using Castrol Transmax synthetic ATF.
Here they are reassembled other than the springs.
Here the springs are back on. They look great out in the sunlight.
I installed new needle bearings in the swingarm, and put it and the shocks on the frame.
Subscribe to:
Comments (Atom)