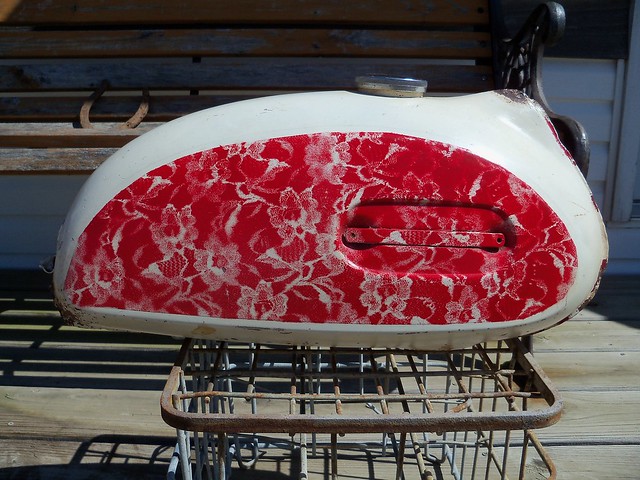
It is super clean on the inside. It had an oily feel, so must have been on a premix bike, which is why the inside is so nice. It has some small dents, but that is much easier to fix than a rusty inside. Note the paint on the top of the filler. That will need to be removed.

The tank also had a weld repair on a seam, so I wanted to pressure test it for leaks. I use a section of old inner tube and a hose clamp.
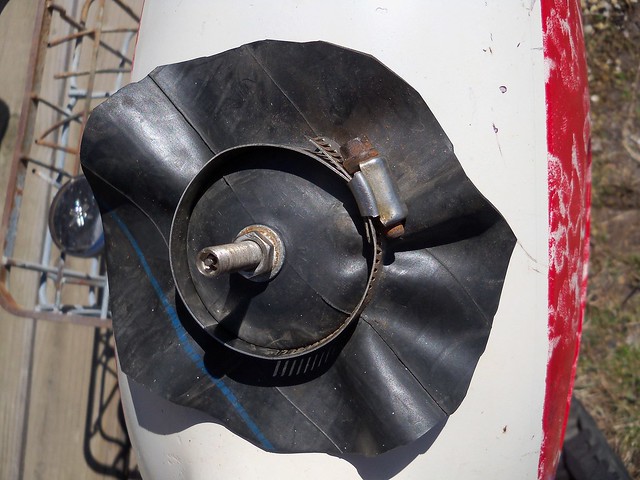
I then use a bicycle tire pump to put a very small amount of pressure, and then use a dish soap and water mix to look for bubbles. It checked out OK.
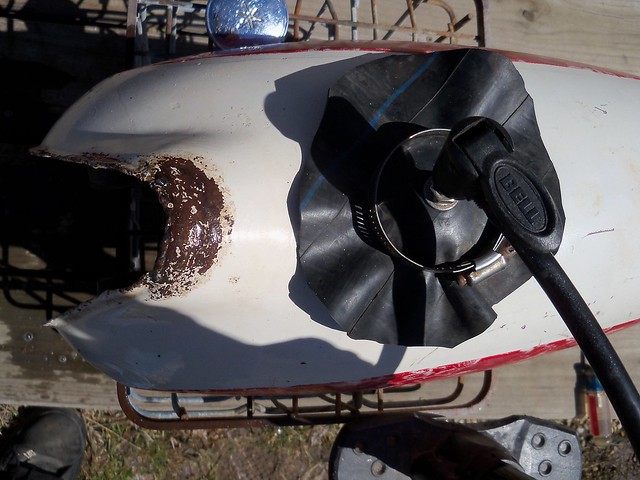
Next is to hand sand the paint from the top of the filler and the petcock mounting area. After this I sprayed out the inside of the tank with brake cleaner, and then rinsed it several times with kerosene, and then let it dry out as much as possible. The kerosene will leave just enough of a film to keep the inside from flash rusting.
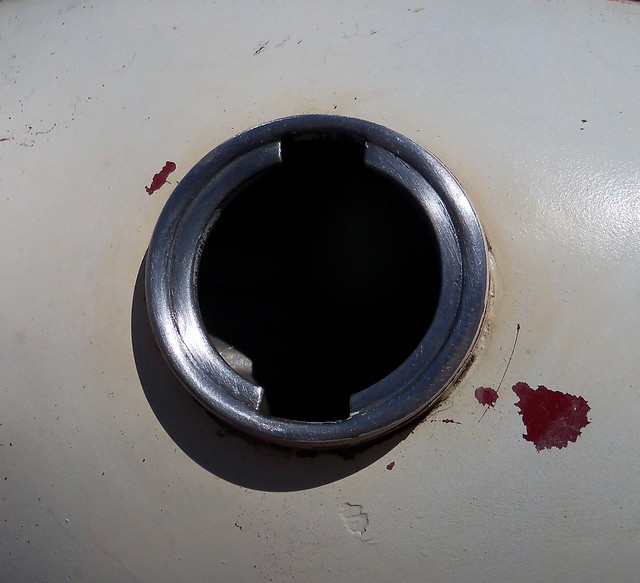
I need to seal up the tank for sandblasting. I cleaned the top of the filler with brake cleaner so the masking tape will stick.
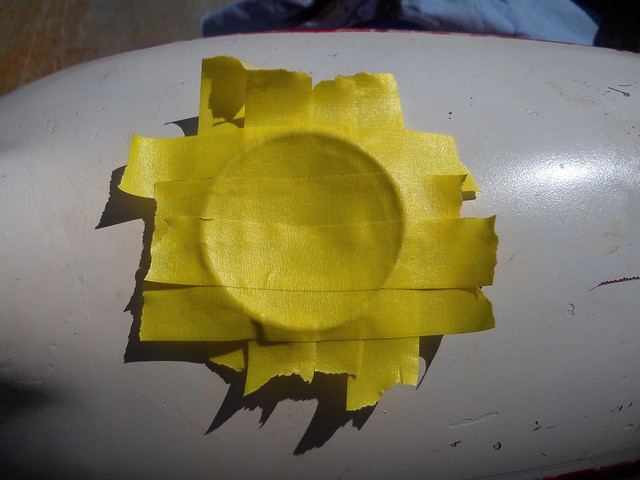
Then the tape is trimmed.

I did the same for the petcock area. The sand just bounces off the tape.

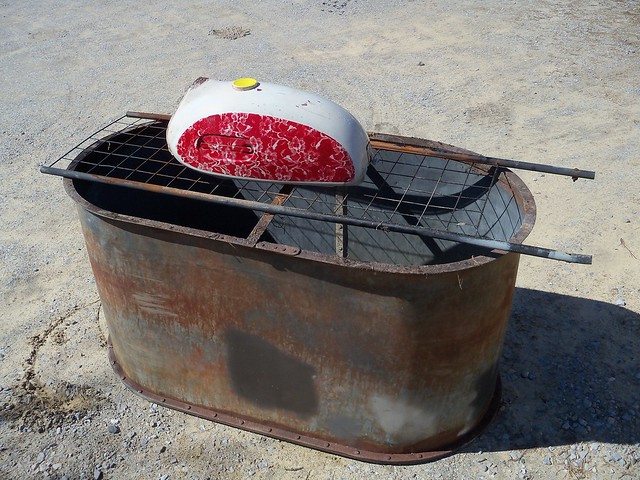
Here it is ready to blast.
The original paint was red, so I think this was a '70 DT1 tank.
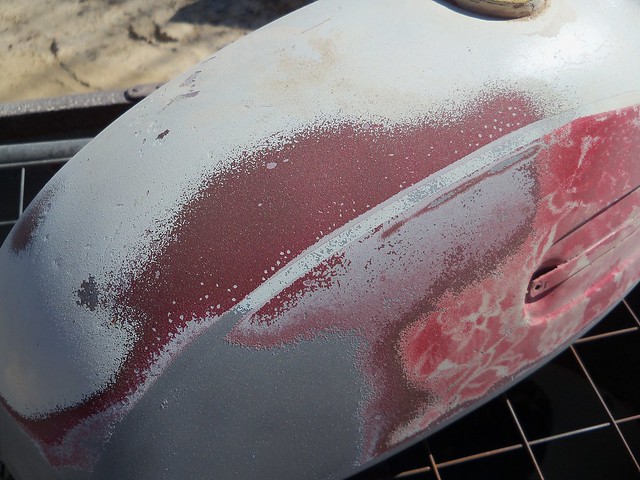
Here it is after blasting.

I then primed the tunnel so the tank will be ready to go on my stand for bodywork. I'm using Dupli-Color self-etching primer.
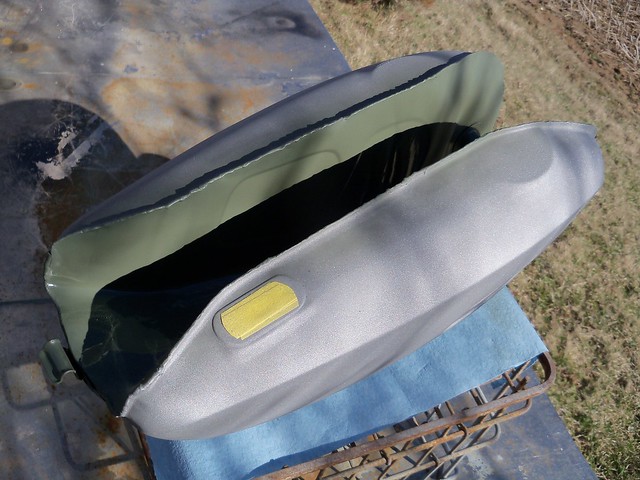
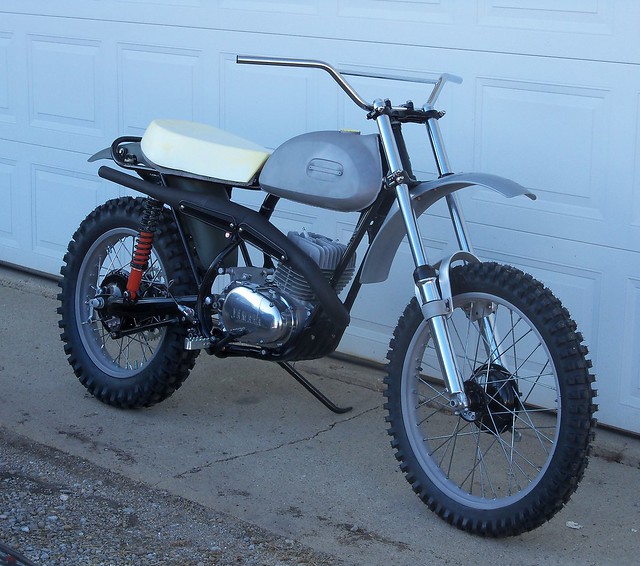
Here is a sneak peek of what the bike will look like.

I'm also finishing the bodywork on the rear fender. With the longer swingarm it didn't fit the radius of the rear tire, so I cut it off at the frame hoop, and trimmed it to fit kicked up slightly, then welded it back on. I also welded up the tail light mount holes and removed the wiring channel.

No comments:
Post a Comment