
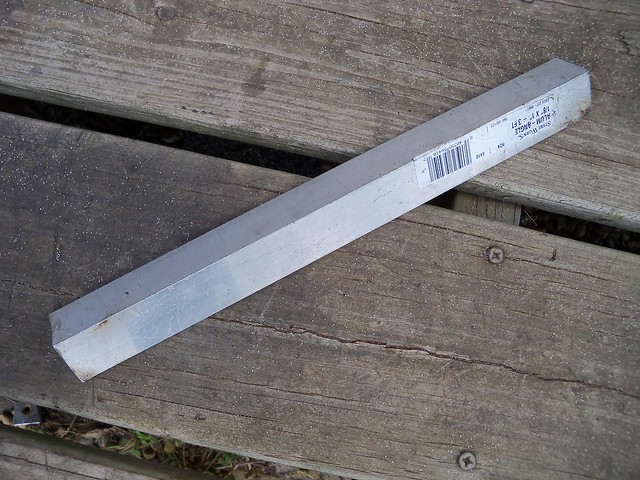
For the front I'm going to whittle some brackets from a piece of aluminum angle stock to mount them on the lower fork clamp.
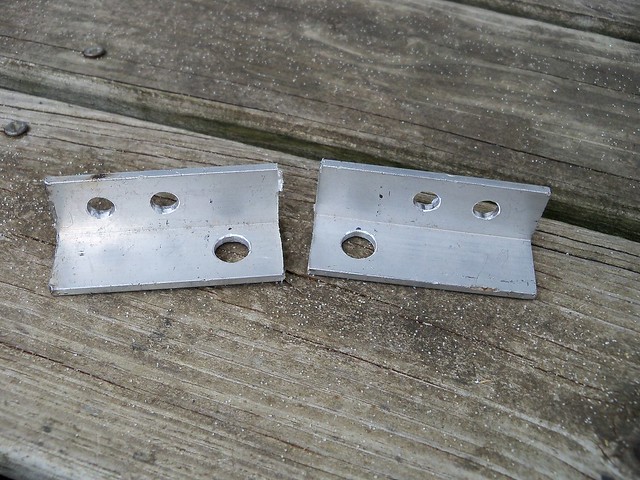
I first drilled the two 8mm holes for the clamps, and the 10mm hole for the signals.

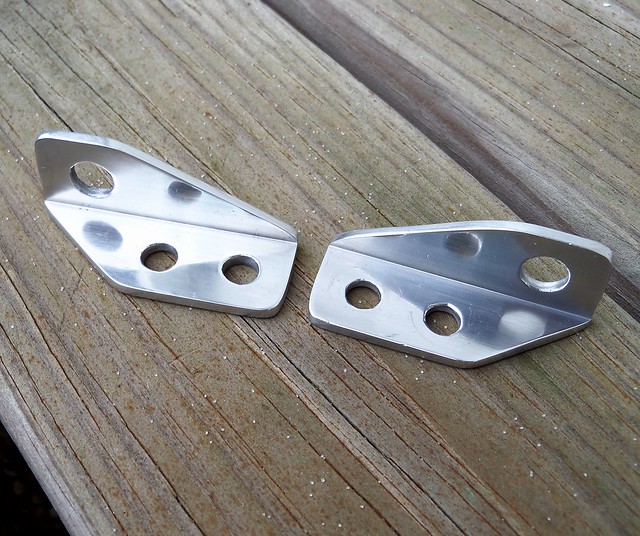
I then cut the pieces off to begin shaping them.
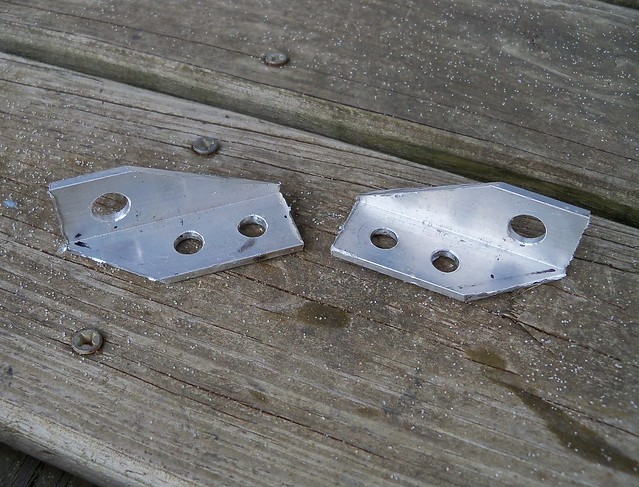
I used a cut-off wheel to remove the bigger parts.
I then bolted them together and used an angle grinder with a flapper disc to shape them.
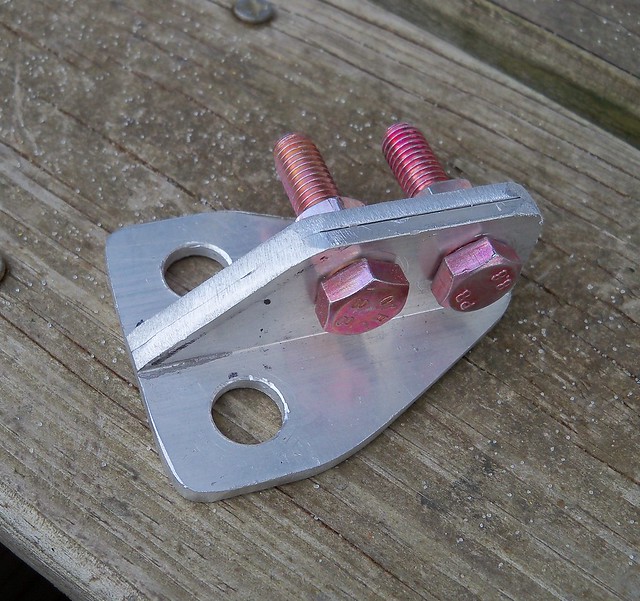
Next was wet sanding with 220 grit paper using a Meguiars backing pad to remove the sanding scratches, and then 400 grit. Then some Autosol polish and they are done.
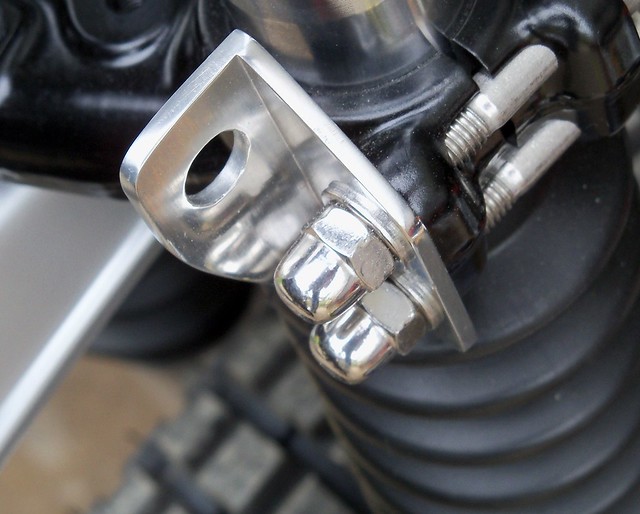
Here is one bolted in place.
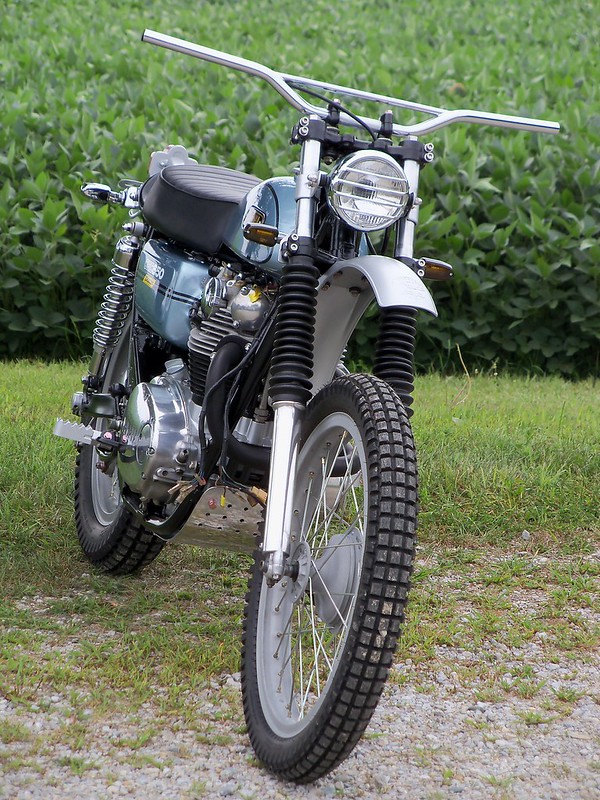
Here are all four signals mounted.
No comments:
Post a Comment