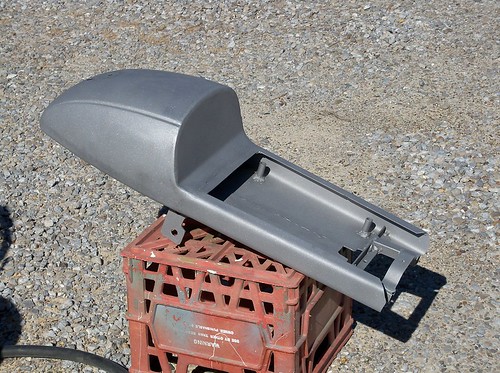
The visible weld seams filled with body filler, then sanded, and next a coat of self-etching primer.
Now on to the final bodywork and block sanding. I start off with a light gray filler primer, and then switch to black. Using the different colors makes it easier to see high or low spots. It's 99% ready for the top coat, but I'm going to set it aside now and get the gas tank to this point also.
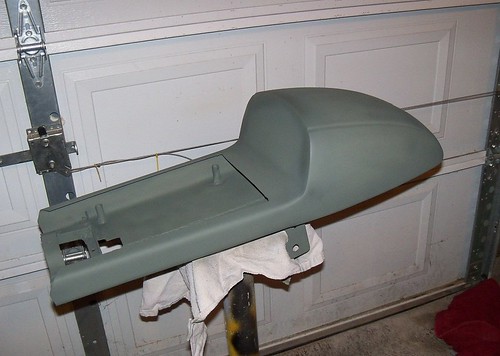
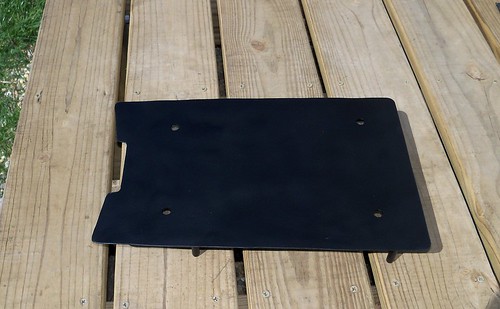
Here's the top of the lift-off seat base. I need to start thinking about what I'm going to do for upholstery.
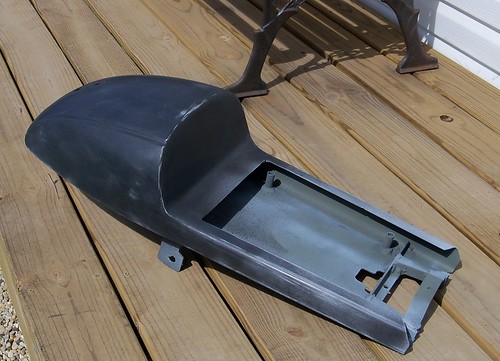
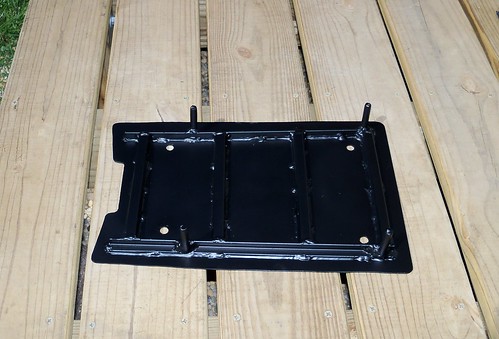
The bottom side. It will get rubber edging around the outside edges. I made it sit about 1/8" above the main seat part, so I'll use peel-and-stick weather striping around the bottom to keep water out of the storage area.
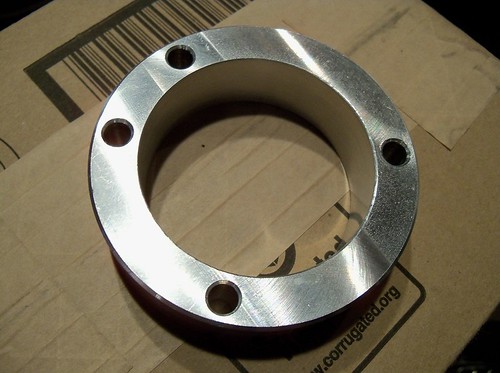
This Kuyakyn air cleaner spacer fixed the clearance problem with the gas tank.
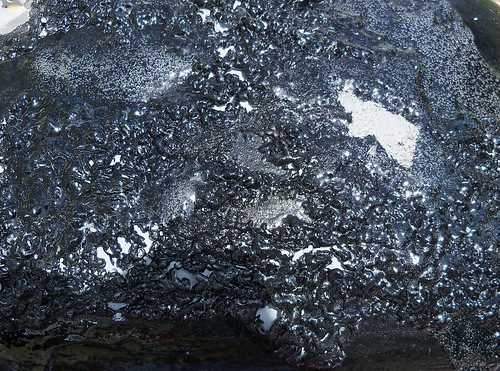
Now to the gas tank. The paint was very thick, so I decided to use a chemical stripper.
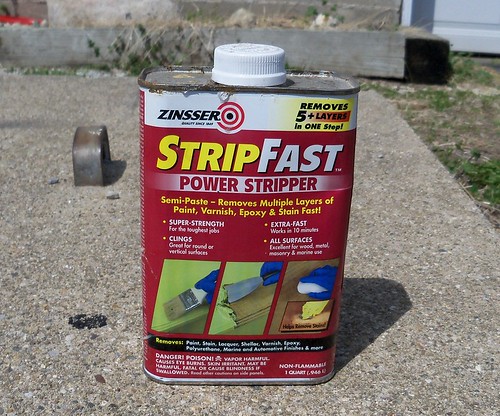
I've had mixed results with paint strippers before, but not this time. It worked excellent.
Almost there! It did take three applications, but certainly the easy way to go.
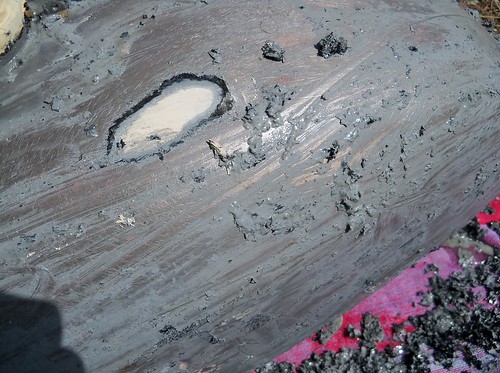
One quick tip on paint strippers, use an old towel instead of newspaper to collect the mess. With the towel it is easier to roll it all up and dispose of. This way you can rinse it off right on the towel, where this would make newspaper fall apart.
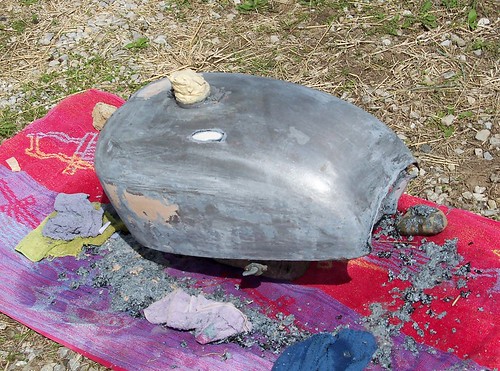
A light sand blasting to finish, and to remove the old body filler. It has a couple small dents, but overall a nice tank. I'll try to get most of the bodywork done on the tank this week.

1 comment:
lookin' great!!!
Post a Comment