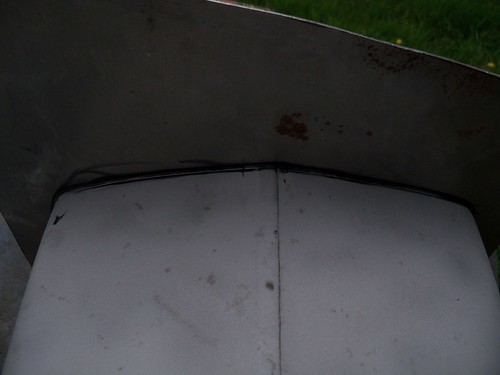
Once I figured out where I wanted it, I tacked it to the pan. I want the front to angle back, so using masking tape here to see how it will look before cutting.

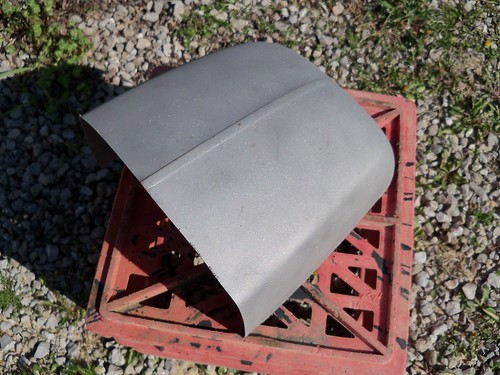
To close in the front I'm using 16 gauge steel, first fitting it to the pan here. I'm doing it almost the same way as the seat on my Sportster I did last year.
Next step is to trace an outline of the cowl on it.
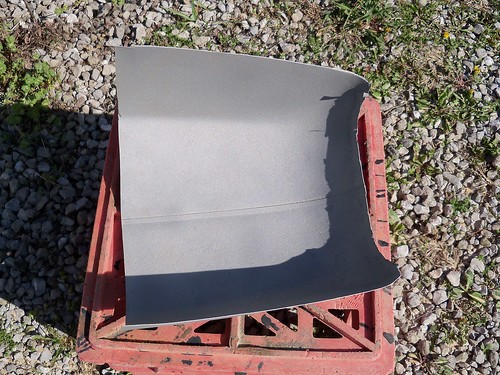
Then cut outside of the line roughly 1/4 inch. This is just a rough cut, and doesn't need to be precise. And finally, cut slots slightly past the outline, making them closer together in areas where there is a curve.
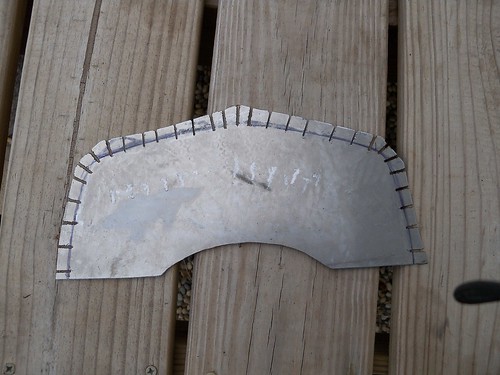
The tabs then are bent to get just the right fit.
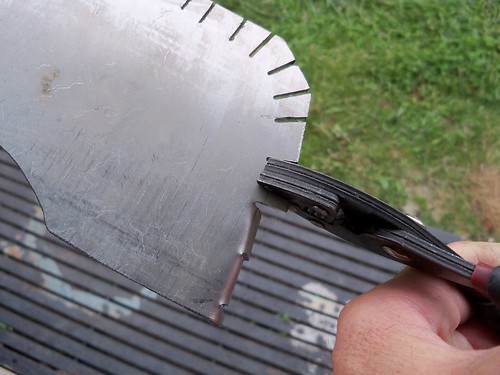
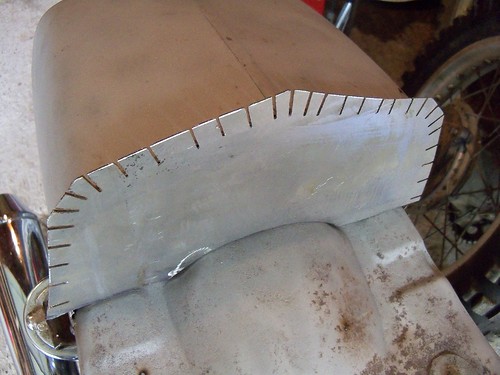
Fitting and adjusting as I go. At tight curves, the tabs need narrowed to fit.

Pretty close here, and almost ready to weld in.
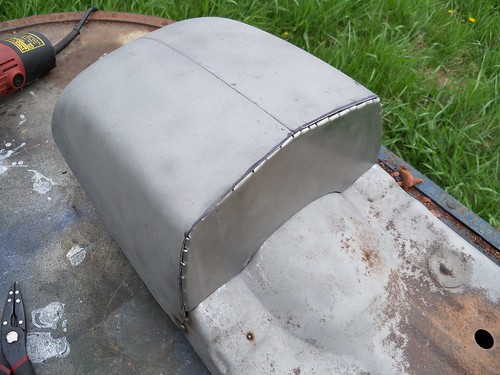
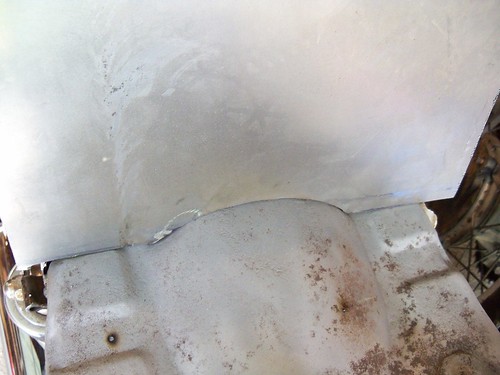
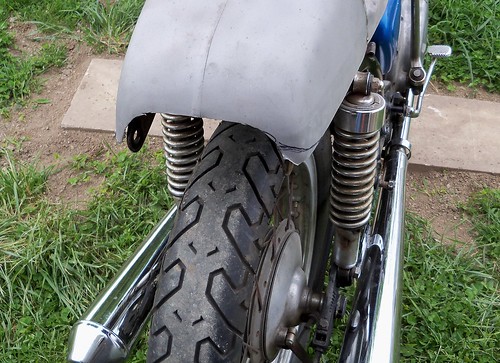
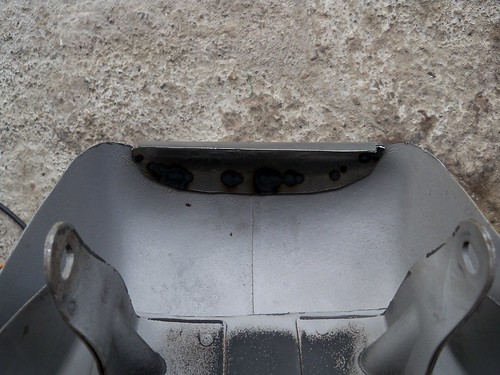
This is where the tunnel was on the CB350 tank, and needs a filler piece. The cowl will be cut to curve up at the rear, exposing the stock fender mount tabs on the rear of the frame loop, and be used to mount some small turn signals.
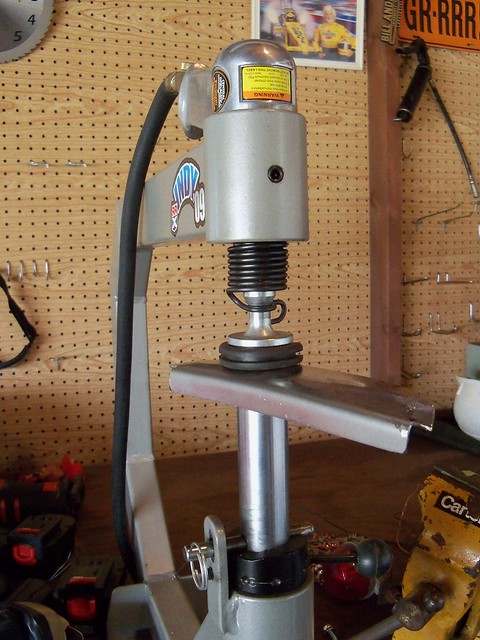
For the filler piece, I bent some 16 gauge, and then had to curve it. I hammered it roughly to the shape I needed, and finished off with the planishing hammer. It is a cheap one from Harbor Freight, but works great for things like this.
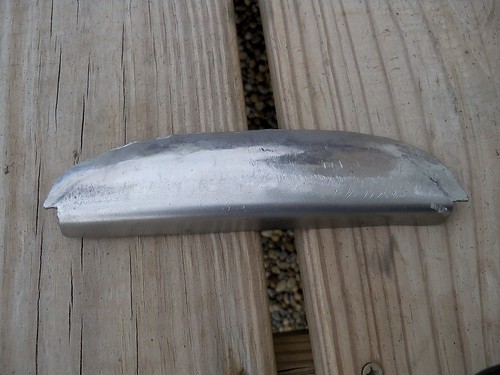
Here it is tacked in place. The reason for the bend is that I wanted more of a finished edge for that part. An unfinished edge here might be prone to damage from rocks hitting it, being right above the rear tire. I also cut the pan off behind the mounts. That part wasn't needed, and made it difficult to reach up inside to work, and later on paint.
Now to do the finish welding, and sandblasting the rest of the pan.
No comments:
Post a Comment