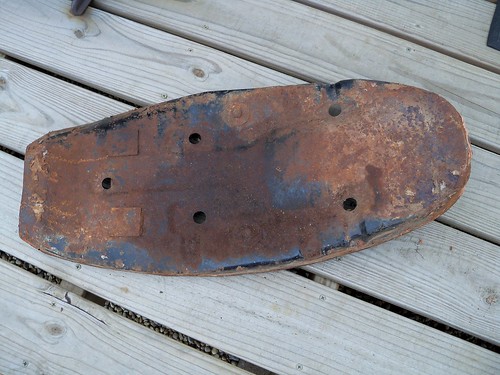
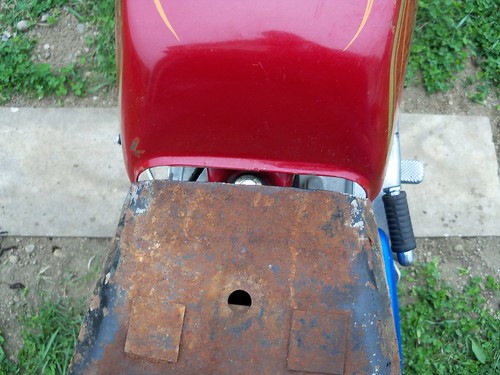
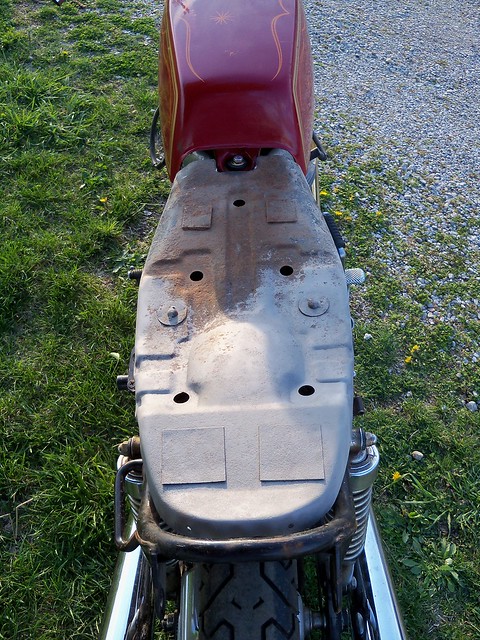
Rusty, but this will clean up nicely.
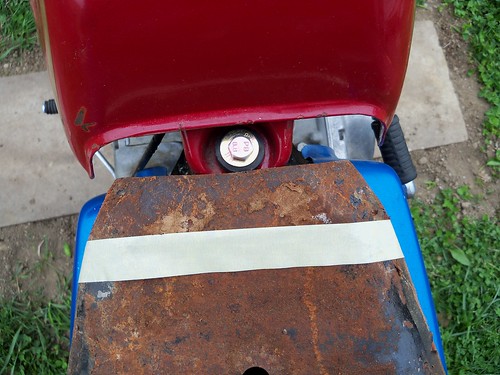
Too narrow for the tank at the front of the pan, so some measuring...
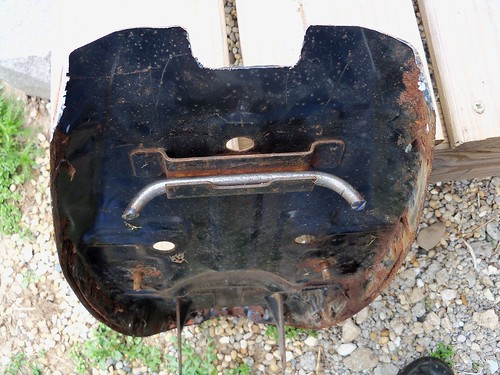
...and now the right width.
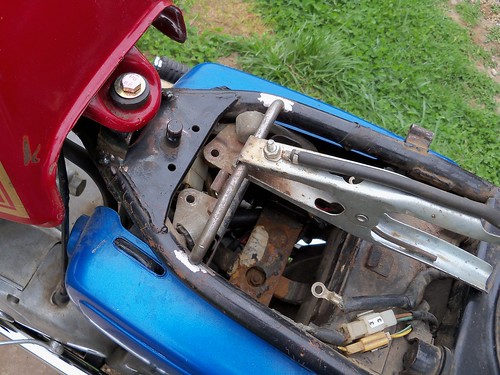
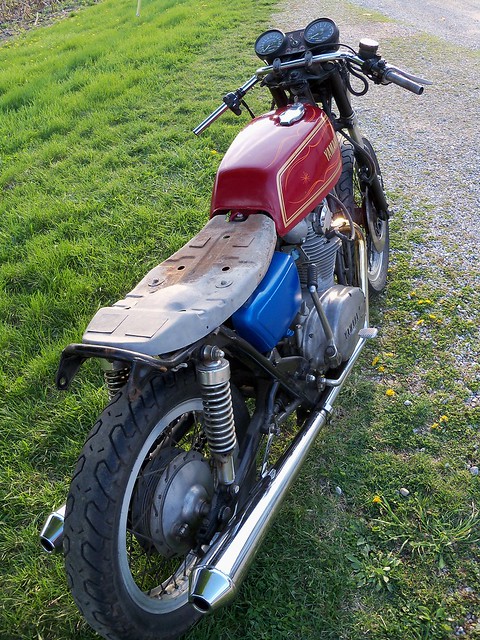
I'm using the stock front mount on the pan. I bent some round bar for a mount on the frame.
A lot of fitting and trimming, getting ready to tack it to the frame, just in front of the battery box.
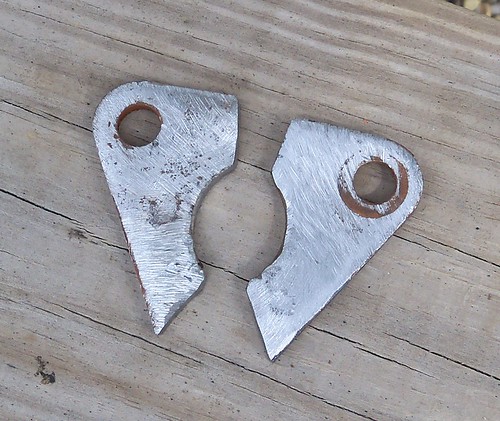
The rear mounts will work with some bending.
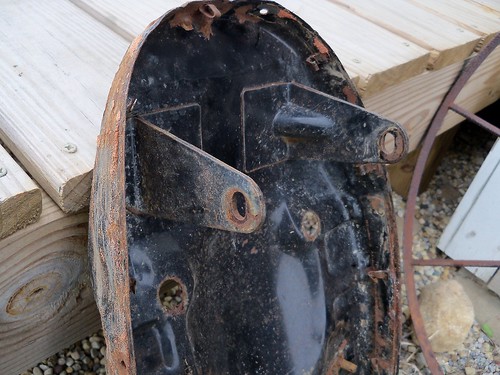
Bent out, so now they are near the frame.
The rear frame mounts are made from some old engine mount brackets, and welded in just behind the upper shock mounts. They are easy to get to there, but mostly out of sight.
It bolts on now. I sandblasted to rear part where I'll be working, and the rest I'll do after the metal work is done.
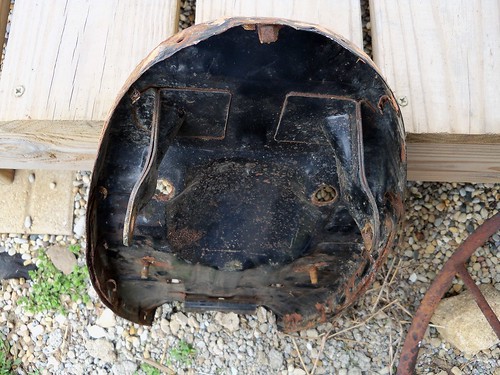
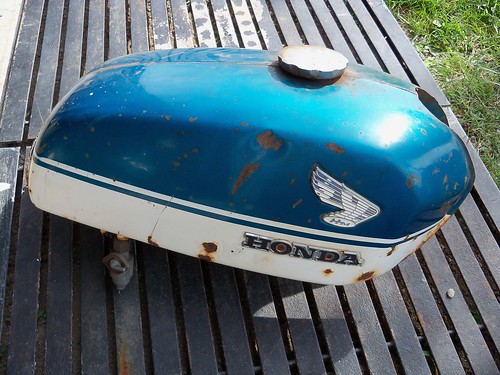
This is a CB350 tank that I'll likely use for the bum stop.The shape is just square enough to look good with the new tank.
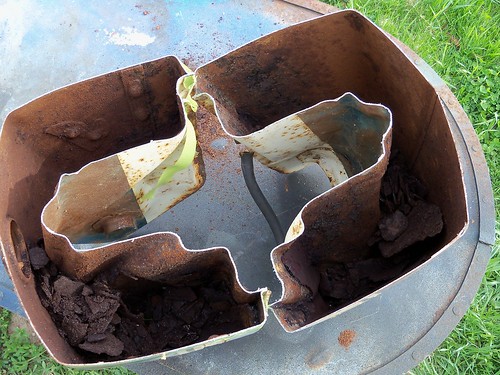
First I cut it in half. Check out the crude inside.
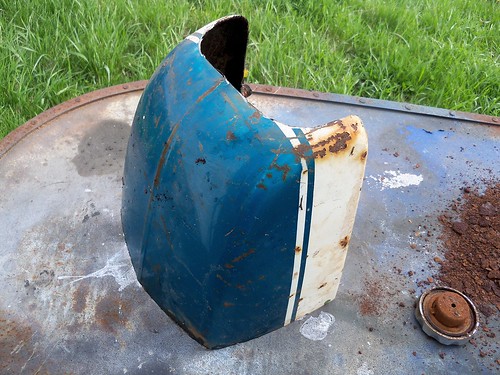
Getting to the part I want to use.
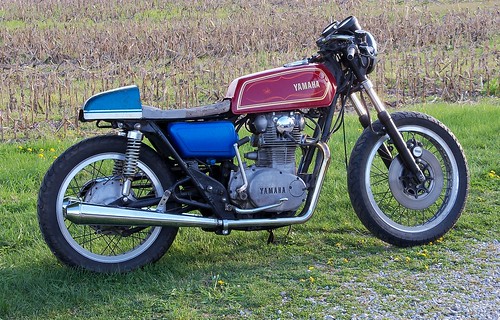
Here it is just sitting in place to get an idea of the look. I dig it so far. Just a simple, tight look, and fits over the frame loop nicely. Next will be to refine the seat and finish it off. Then rearsets and the teardown.
No comments:
Post a Comment