11/28/15

XS650 enduro project

I've already made a couple of changes on this project. The first is I'm going to use a YX600 Radian swingarm, which is a popular swap on the XS650. It is almost a bolt-in. The pivot is a direct fit using the XS650 pivot bolt.
100_7760

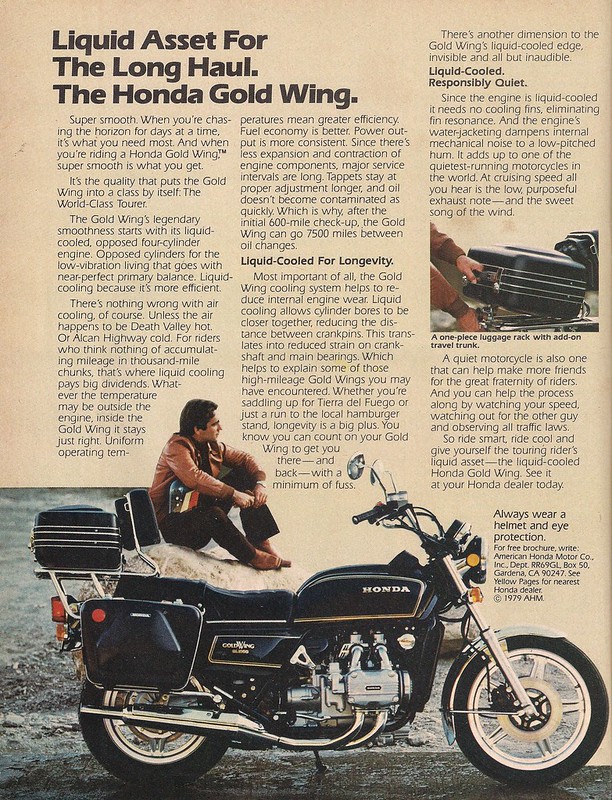
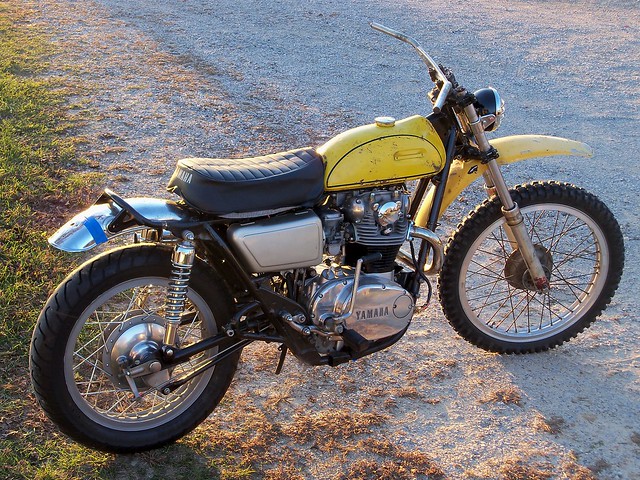
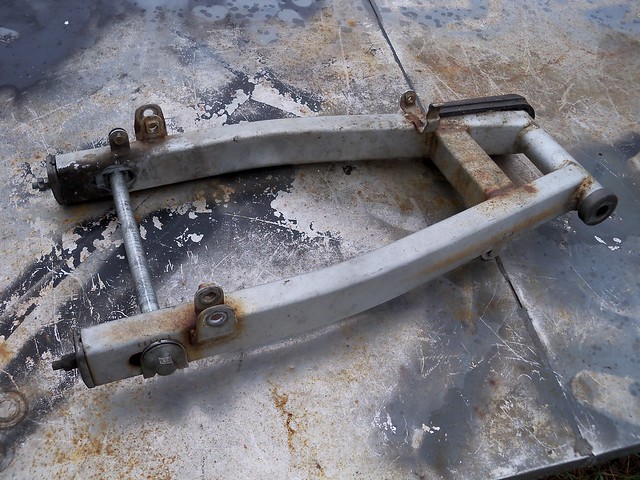
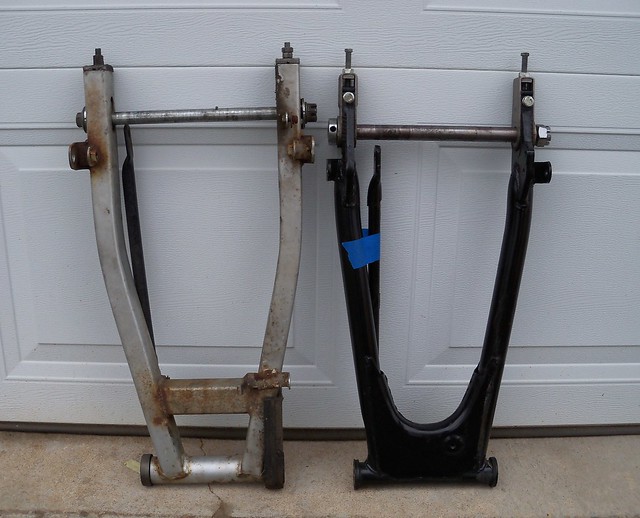
Here it is compared to the stock '75 XS650 swingarm. It is slightly longer, uses a 17mm axle compared to the 20mm XS650, and the shock mounts are farther back and a little wider.
100_7758

I'll need to drill out the adjusters and enlarge the axle slots to use a 20mm axle. The XS650 axle is too short, since the adjusters are wider on the Radian arm, so I'll need to get a longer one. The shock mounts will need moved inboard about a 1/4" inch on each side.
100_7763

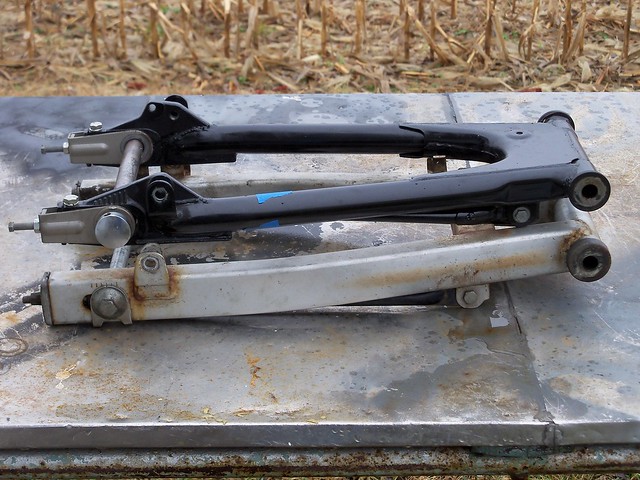
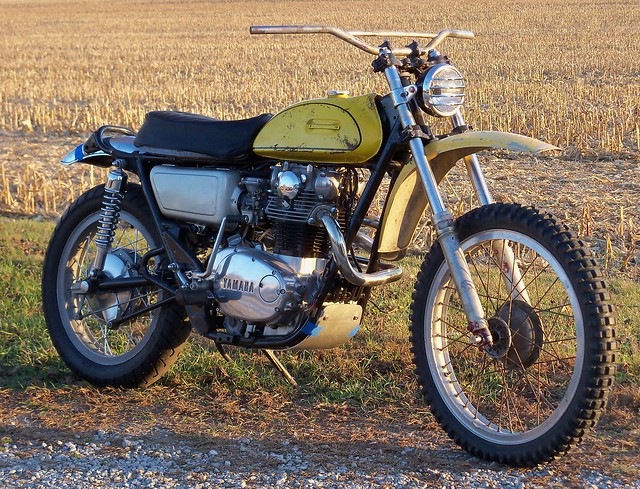
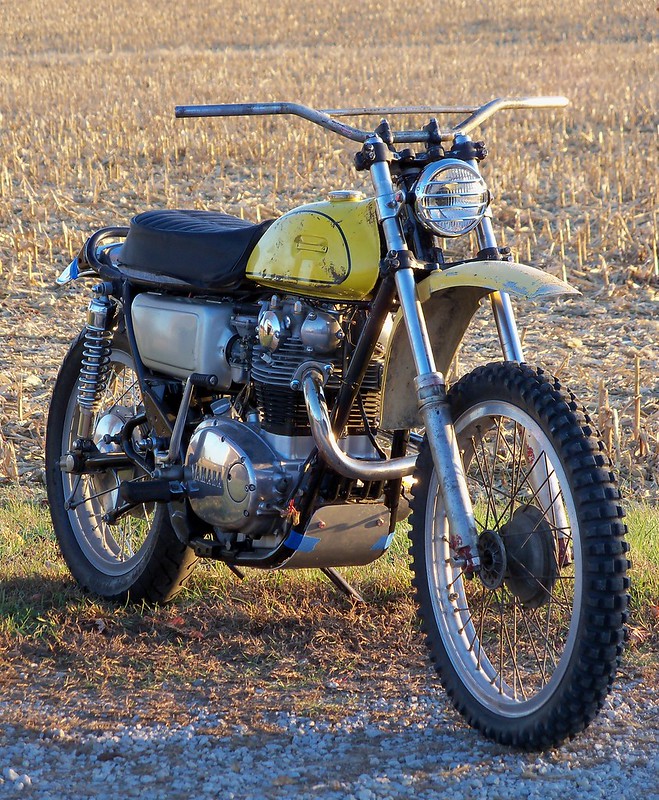
I did a quick mock-up of the arm on the bike. I like it. It reminds me of the square swingarms on the '68-'70 DT1, so fits the look I'm after, and is stiffer than the stock XS arm. When I move the shock mounts in I'm going to keep them in the same location front-to-back as I like the shock angle better than if I moved them forward to the stock XS position.
100_7768

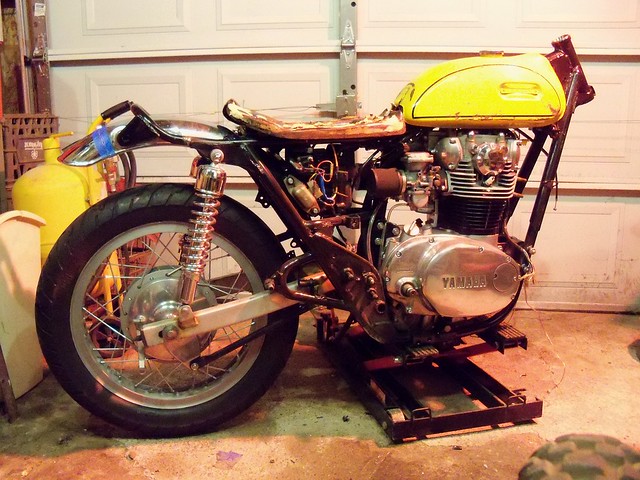
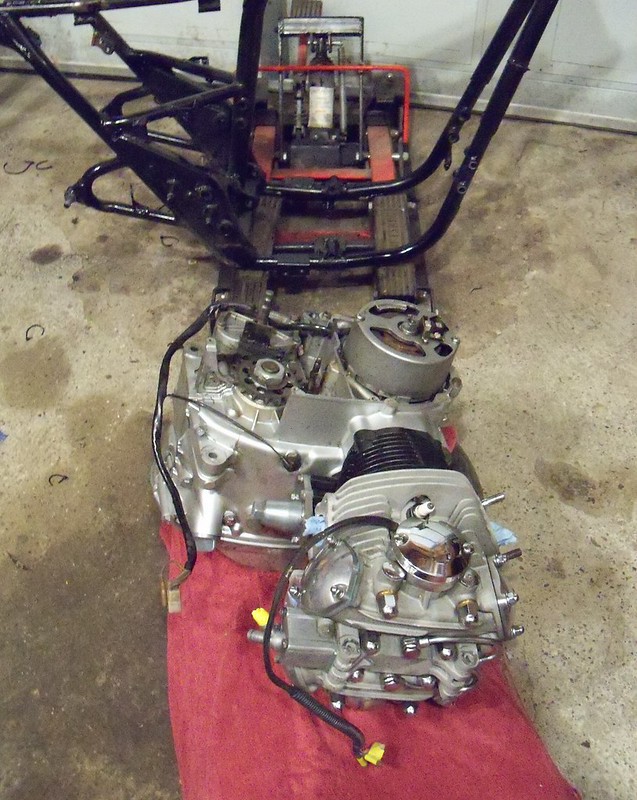
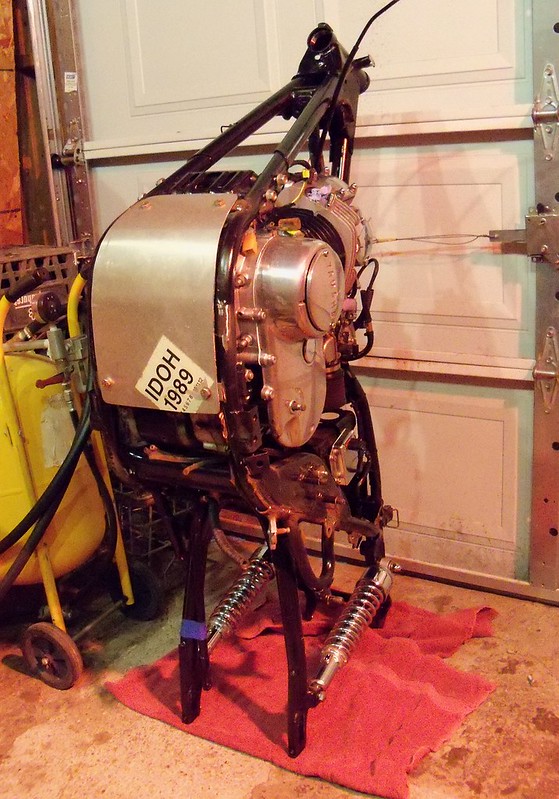
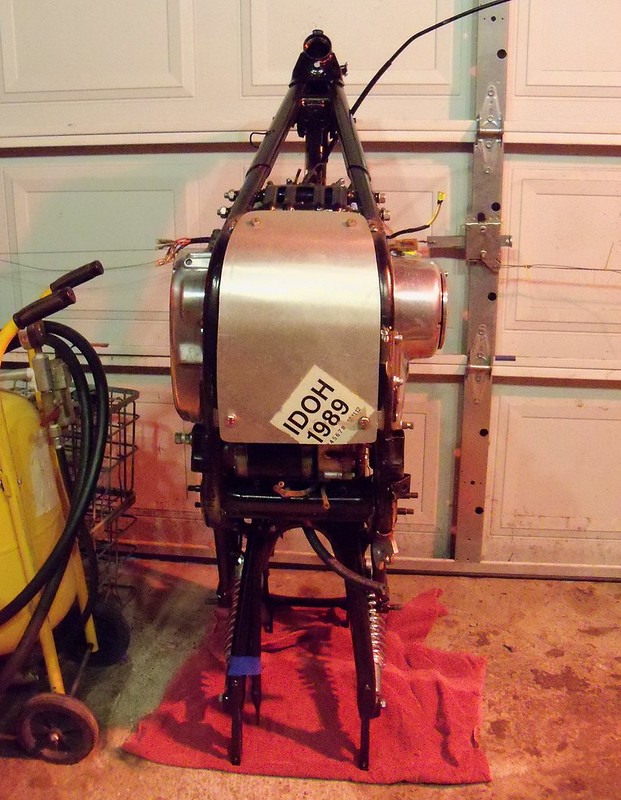
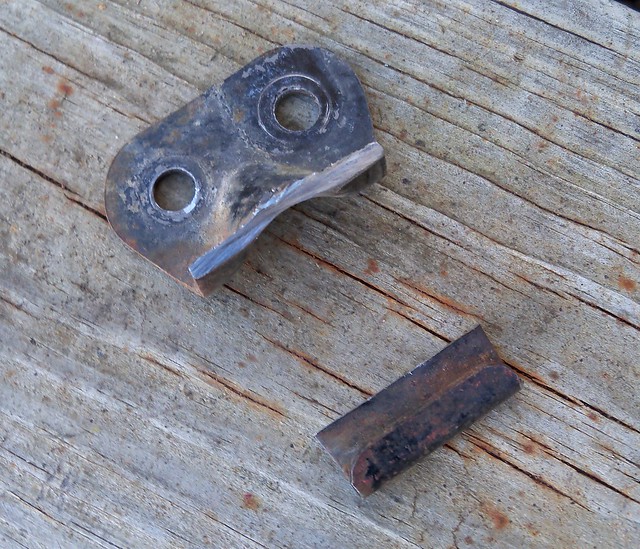
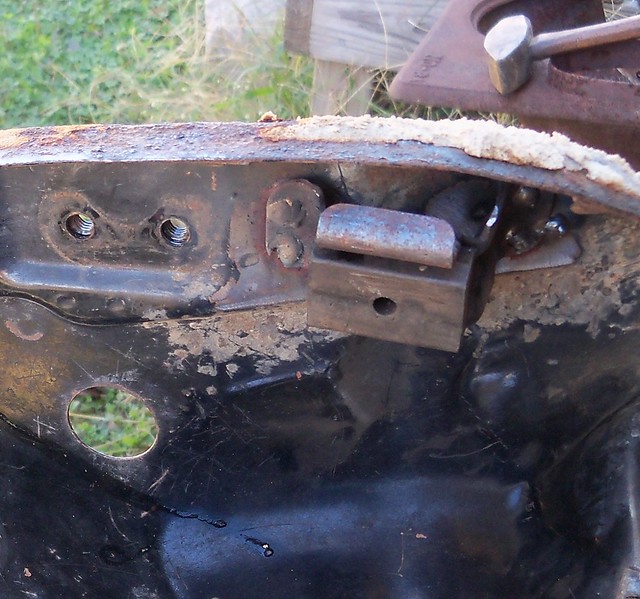
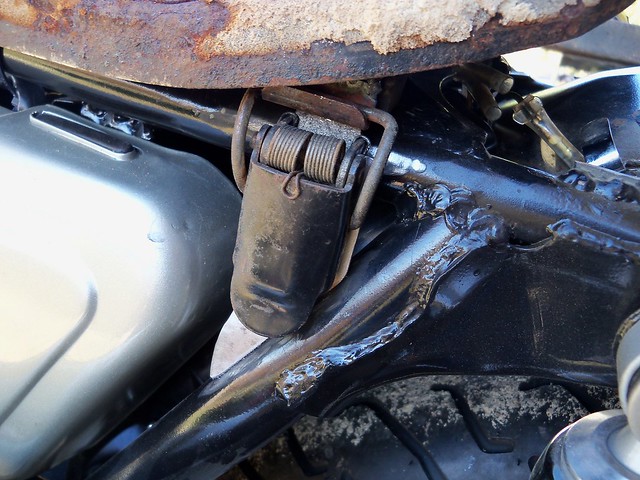
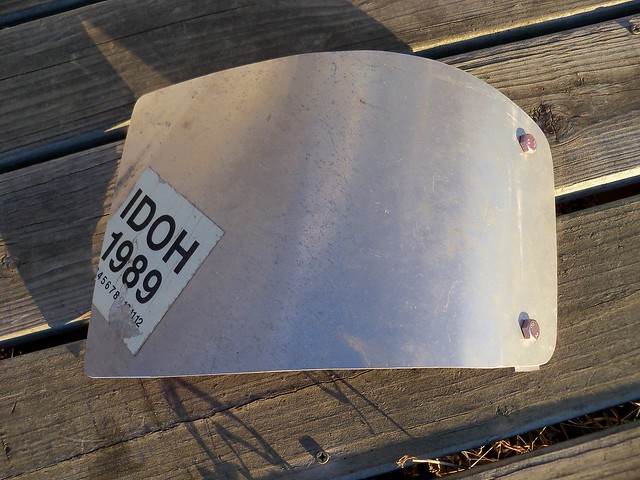
The other change is that I decided to completely disassemble the bike to sand blast and paint the frame rather than just touch up the areas I'd worked on. I'd removed the old coil mount, side stand mount, four center stand mounts, and welded on two exhaust tabs, new coil mount, new side stand mount, new rear tank mount, moved the front two tank mounts, new seat hinges and latch mount, four new skid plate mounts, and some other things. It'll take about the same amount of time, and I'll be much happier with the results if I do the entire frame. The easy way to remove the engine is to take off the engine mounts, but leave the two long bottom bolts in place, lay the bike on the clutch side with something to support the engine, pull the two long bolts, and then just lift the frame off the engine. I use a couple of small airplane tires with a towel over them to support the engine. Do the same method reversed for putting the engine in the frame. I'll probably remove the passenger peg/exhaust mounts. The right side mount is also where the rear brake switch and brake tension spring mount, so I'll look at either leaving the part they mount to or relocation them.
100_7789

11/22/15

XS650 enduro project

This was Saturday evening at the shop last weekend.
100_7610

Sunday was another beautiful day, and we spent it hiking at Turkey Run State Park. Nothing quite like exploring Indiana's ancient canyons in the fading autumn glow.
100_7623

100_7627

100_7637

100_7644

100_7653

100_7673

100_7697

100_7704

100_7715

Saturday evening this weekend, the autumn glow being replaced by winter gray. The weather is changing, and the bike is going from mock-up to the finish work. It was 9 degrees F this Sunday morning.
100_7724

And speaking of colder weather, I've got a salamander heater for the shop, which is a forced air kerosene heater, but rarely use it. It stinks, is noisy, and you've got to worry about carbon monoxide poisoning with it. Some of the propane heaters have the same issues, and burning wood isn't very practical. I really don't need to actually heat the shop, but just take some of the edge off the cold, and I've found brooder lamps work good for this. They are very inexpensive. They are about $7 for the lamp and $6 for the bulbs. The give off instant heat, so you plug them in when you need it, and unplug when done. No open flame or fuel to store. It does make a small work area more comfortable.
100_7731

Anyway, the bike. It's torn down, and I'm finishing welding the various new tabs on the frame, and finishing removing some of the old ones. It should warm up enough this week to touch up the paint in the areas being worked on.
100_7753

An XS650 will stand perfectly stable on the swingarm and rear frame. This makes it really easy to get to some of the areas on the bottom of the frame.
100_7754

11/14/15

1973 Motocross


XS650 enduro project

I've been working out some of the last details on the XS so I can tear it down and get started on the finish work. One thing was the seat latch.
100_7402

The latch was right where the side cover is, so needed moved.
100_7408

I cut the end of the latch off.
100_7413

The solution, I welded it to the rear seat damper mount a couple inches back.
100_7422

I then made a bracket to mount the latch lever.
100_7425

I also got a new cover for the seat, so once I blast and paint the pan it'll be ready to upholster.
100_7557

I'll be using a 5" TT500/TY250 headlight. I bought a 15-005 shell and 19-021 grill from The Vintage Spoke. These new parts were quite a bit less expensive than beat up used ones usually go for.
100_7505

I bought a NOS Yamaha 434-84120-60-00 lens.
100_7508

It was used on 6V bikes, but since it isn't a sealed beam I'll be able to fit a 12V bulb.
100_7513

I got three used 195-84324-00-00 springs to mount the lens.
100_7510

Coolest headlight ever.
100_7516

To mount it I got some used TY250 ears. I'll probably blast these and paint them black.
100_7554

The skid plate will be like the one on my '79 XS650, other than it won't need to be cut around the stock side stand, so I took it off to use as a template. I'm making it from the same stop sign.
100_7576

I have a deck porch on my shop, and it works good for bending the aluminum to the needed shape.
100_7578

Here it is after shaping and I'm fitting the front mounts. I bolt them to the skid plate and then trim them to fit the frame before welding.
100_7598

Here it is so far. I've still got to finish mounting the skid plate, and modify the steering stops for the XT/TT500 front end. The seat cover is just sitting in place to see how it will look. The bike should be ready to break down next weekend.
100_7602

100_7605

100_7609