11/27/11

TC90 Blazer part 2

I've been getting some more work done on the little TC90. Down to the bare frame now, and ready to clean up, here sitting on my shop porch. It is a rainy day anyway, so a good time to do it.
100_6619

It is in about as nice of shape as you'll see for being 40 years old. I first hit it with the pressure washer to knock off the big stuff, then scrub with hot soapy water, then the pressure washer again. I'll touch up any bad spots in the paint after it completely dries.100_6623
The skid plate doubles as a perfect work stand for the engine. I've got a complete seal kit on the way. I'm hoping the engine won't need much more than the new seals and a good clean-up, but I'll have to see. Sometimes the crank bearings can be rusty on a 2 stroke that has sat, since they aren't bathed in oil like a 4 stroke.
100_6630
Looking for some ideas and inspiration I found a couple Suzuki 90cc racers. The first photo is a 1970 TS90 TT racer from a Flickr member. He has some excellent vintage race photos, and click the pic to see them.
1970 Suzuki TS90 at Adelanto Raceway
Here's another TS90 racer project from Youtube. I might have to see if a can find a low chamber like these two bikes, but plan on just using the stock high pipe.

11/24/11

11/23/11

TC90 Blazer part 1

It's getting about time for winter project season. I've got a few other things going on this winter, but decided to get started on this one also.

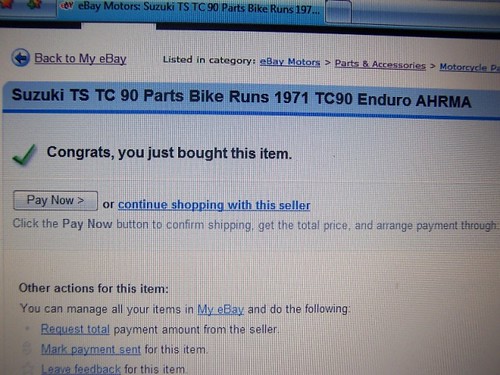
The story starts back in 2009. Browsing eBay I noticed a "buy it now" listing for a 1971 Suzuki TC90. Complete, only 2 hours away, and $150. Why not? The worst that could happen is that it would be worth that in parts. The "runs" in the listing title wasn't exactly accurate, as the description explained it didn't actually run, but I figured it wouldn't take much to get it going, and would make a great vintage play bike.
100_9276

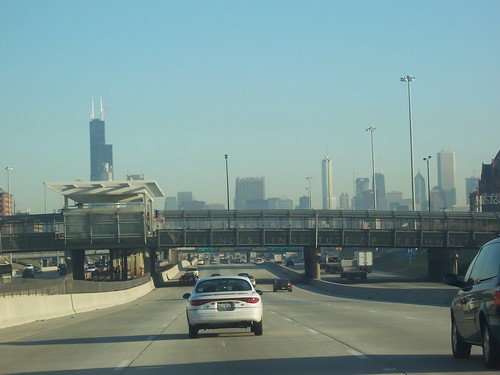
The next Saturday morning I set off early to pick it up, on I-65 headed north here.
100_9283
The bike was in Chicago. A beautiful day and the traffic was light.
100_9302
Got it!
100_9310
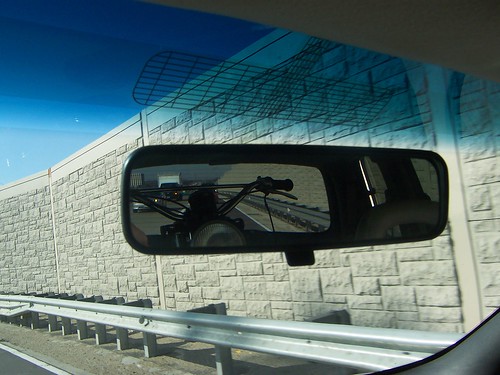
I left the truck at home and used the van to save gas.
100_9311
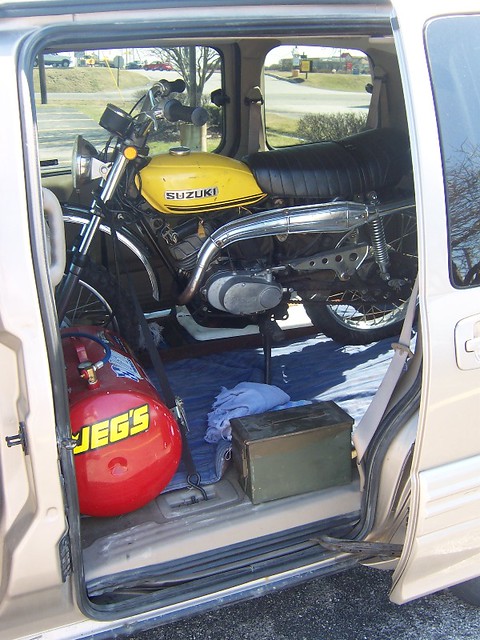
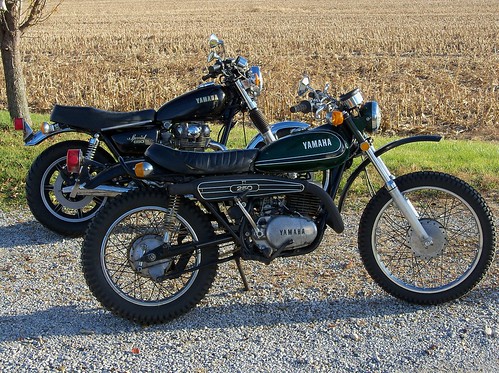
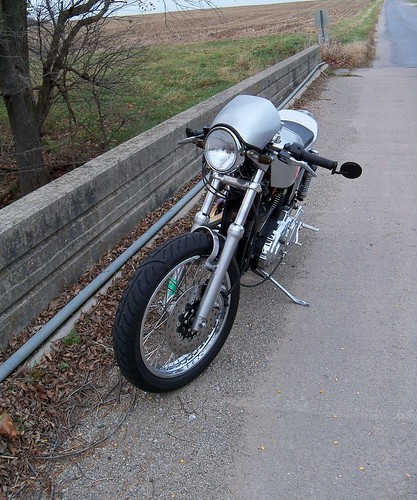
At home and unloaded, not too bad of a bike...
100_9321
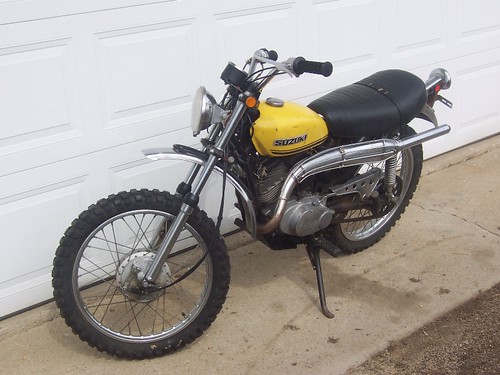
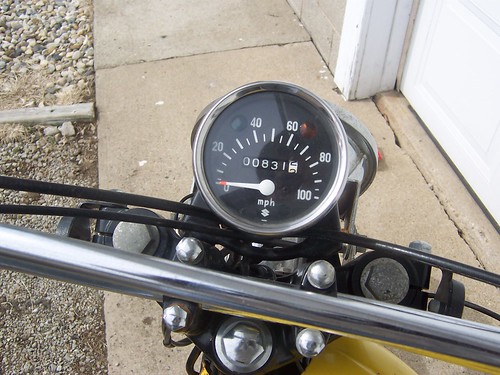
...with a very optimistic 100 mph speedometer. The manual I have says it is rated at 11 hp at 7500 rpm, more than enough to have fun with anyway. I think the 831 miles is likely accurate. This is one of those bikes that got stuck under piles of junk in the back of someones garage for 30 or so years.
100_9322
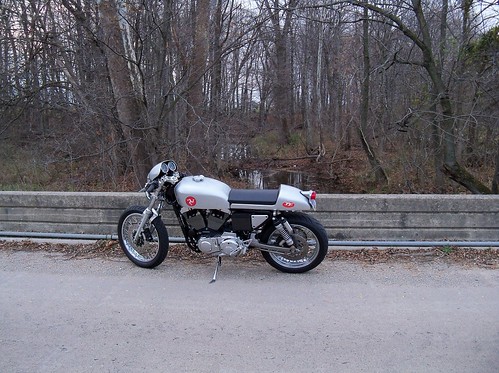
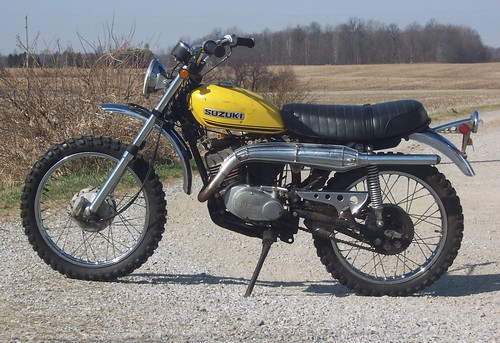
It does have a great stance. The rims are 18" front and rear. The TC90 is different than the TS90 in that it has a dual range transmission, so 4 gears in both low and high range, which is neat. I did get it running. The problem was simply the wire from the magneto was rubbing the flywheel, grounding out the ignition, but the crank seals quickly went bad, and the tank is very ugly inside, so those are the two big items that need fixed.
100_9430
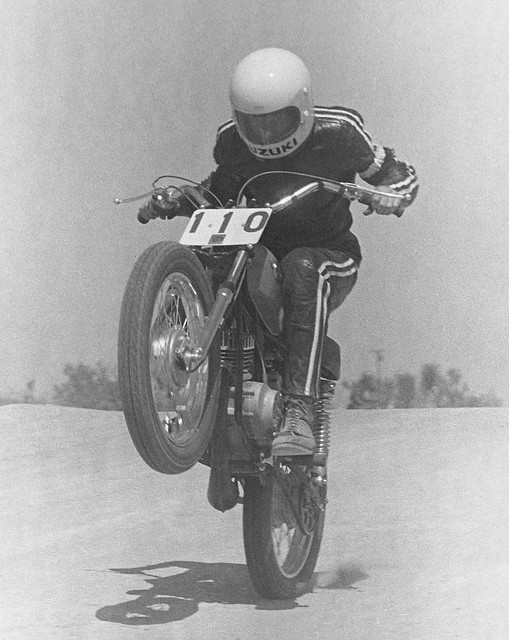
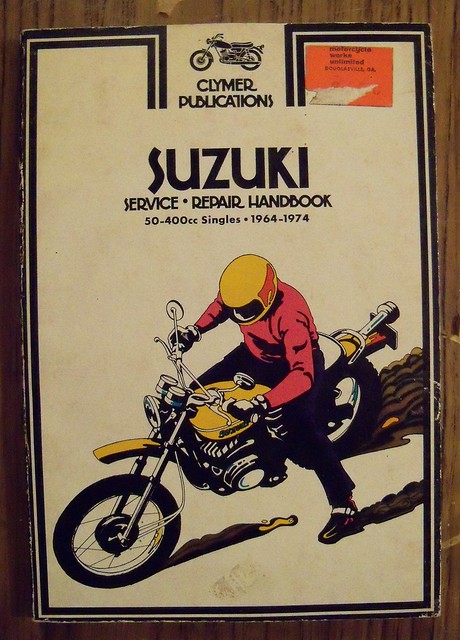
Not the best service manual, but the picture on the front is cool at least!
100_6571
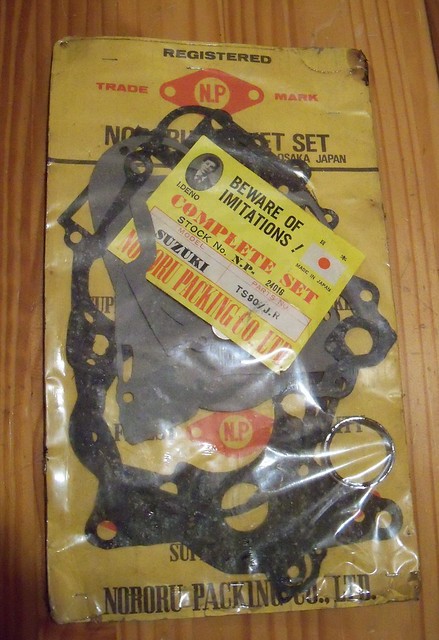
I got an NOS gasket set from Thailand. It was $14 shipped. It is for the TS90, so not sure if all the gaskets are correct for the TC, but I might not need them all anyway. I'll need to get a seal set.
100_6570
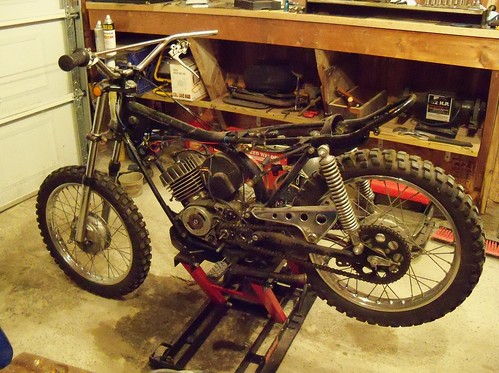
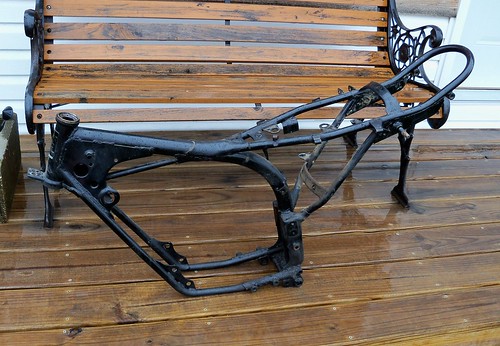
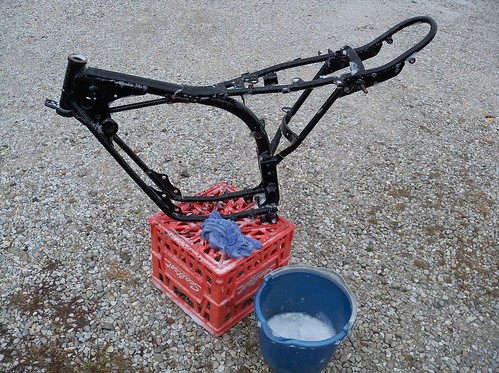
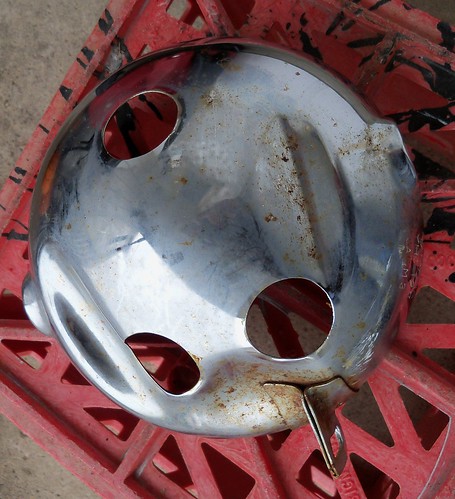
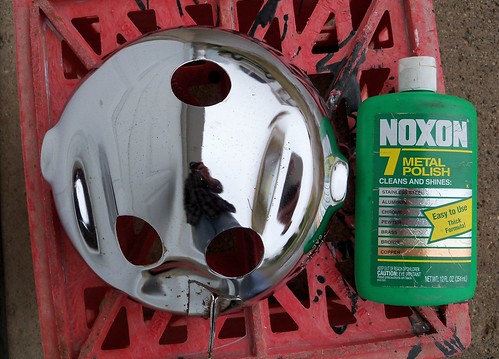
And so it begins, getting started taking it apart. It will be off road only, so no lights. I'd like to do something cool for the rear fender, and maybe a vintage number plate up front. Mostly just a lot of cleaning, inspecting, greasing and some paint. It should be a super fun project, and great fun when it is done.
100_6556

11/13/11

chin on the tank

oil change

I was doing an oil change on my SR500 this morning and thought of this great video a member of the SR500 forum made. You'll enjoy it.

11/7/11

Josh Hayes

Josh gets a 7th place finish in his MotoGP debut riding in place of the injured Colin Edwards.

http://www.roadracingworld.com/news/article/?article=46570

11/6/11

today

A very windy but otherwise really nice November day, I got the XS out for a nice ride getting the mold release compound worn off the new front tire and bedding in the new brakes. I like the new 17/30 gearing. The 17/34 it had before would be better in the city, but the 17/30 works great for faster backroads or on the highway.
100_6506

100_6492

100_6500

11/5/11

XS650 Special

Just a few checks and adjustments to do and it is ready to ride.
100_6464

The exhaust cleaned up nicely. This thing is very quiet. My '75 has much longer mufflers, but is also much louder.
100_6462
The black chain guard looks great with the new gold chain.
100_6468

100_6472

100_6454
I'm glad the fork dust wipers I bought didn't fit right, since that led me to use the gaiters, which I think look great.
100_6458
At first I had a set of old Suzuki GT250 bars on it, but I went with some Bikemaster "European" bars, which are a bit lower, and just right. The grips and mirrors are what came on the bike when I got it. I don't care much for the mirrors, so might change them later on, but they'll work for now.
100_6445

100_6452
I kept the old sticker on the rear fender.
100_6450
And here was the starting point for this, the Special model I swapped a Suzuki GS for. I think that with just a few minor changes to take the bike back to it's standard roadster roots, and the Special models look fantastic. I like certain things better than the standard XS, like the slimmer gas tank.
100_5890
This was the second old Yamaha I got this year, and just fixed a few things and kept it stock. Really a lot of fun for just the cost of a few payments on a new bike.
100_6474
Now back to some other projects.

11/3/11

rusty chrome

If you like to work on old bikes then you'll inevitably have to deal with rusty chrome. On a full restoration you might either replace the part or have it rechromed, but no need to do that if you are just making a decent rider like what I'm doing. Here is what I did to a couple of the worst parts on the '79 XS650, the headlight bucket and chain guard.

Here is the headlight bucket after washing. Rust and lots of hazy chrome. Most of this is hidden, and never gets washed, which is why it looks like this. The top and sides where it is exposed look fine. Nothing here a quick polish won't fix.
100_6425

Ten minutes later and it looks much better. Any visible areas look just as good as new. You can then use clear coat touch-up paint on the pitted areas to help seal them up, then wax it and it'll look fine for years.
100_6437
And now the chain guard. Like the headlight bucket, areas that get washed look fine, but not so much the more hidden parts.
100_6133
Here is the inside. Rust like this is too far along for polishing. I decided to sand blast and paint this. The gunk buildup underneath here needs cleaned before sandblasting, or the sand tends to just bounce off it or push it around, so I hit it with my pressure washer first.
100_6137
This is what sitting under a battery for 30+ years will do, and why I'll be using a sealed AGM type battery in it.
100_6145
Here is what you are doing with the sandblasting, basically roughing up the chrome for paint adhesion. It feels smooth to the touch, but lets the paint get a mechanical bite in the chrome.
100_6147
Nice and clean. The chrome around heavily pitted areas will peel away with the sandblasting, so hit these areas hard to remove any chrome that isn't firmly attached.
100_6153

100_6152
Ready for paint.
100_6156
I start off with a self-etching primer for better adhesion, shown here. Next was a high build primer filler to smooth some of the pits, sanding, and then I painted it black.
100_6162