5/28/13

Nagoya CCM


From the latest Sportster meet in Japan. http://shin883.com/

5/27/13

today

Out putting some more miles on the '75...
101_0046

...and back in the garage for the initial post break-in oil change and checks.
101_0054

XS650 project

It is a cool and slightly damp morning, just right for the first time putting the engine through it's paces. The bike ran flawlessly. The engine shakes at idle, but smooths out going down the road. Like my '79 it has more of a 4 cylinder buzz than vibration like an SR500 or Sportster. I kept the revs and speed down on the first ride, but did some wide open throttle, and it pulls cleanly and crisply; no hesitation or stumbles whatsoever, so I think the jetting looks to be fairly close. The transmission shifts smoothly, and the clutch feels great. The front brakes feel excellent, and should get even better as they are bedded in. I'm happiest about the ergonomics. The rearset positioning is just right. The bike feels roomy and comfortable, but radical at the same time. It is smaller than my Sportster, but leaves me less cramped. I'm running a 520 O-ring chain with 17/33 gearing. I have 17/30 on my '79. The 17/33 suits this bike better. The bad; the tach is slow, but seemed to work better the more I rode it. I might have to change it, but no hurry on that. At idle the front brake pads rattle around. It looks like it is the locating tabs in the calipers making the noise. More of an annoyance than a problem, but I'll look into it. Just a slight bit of lever pressure stops the rattling anyway. I'll go for another ride in a bit and then do an oil change and check the bike over, but I think it is all set for summer.
101_0045

5/26/13

XS650 project

She's tuned up and tightened up. Ready to stick the plate on and and go for a shake-down ride.
101_0021

101_0024

101_0027

101_0029

101_0035

101_0039

5/25/13

today

101_0004

100_9995

101_0001

100_9998

100_9997

101_0002

XS650 project

One of the last things to do is finish up fitting the XS360 tank to the '75 XS650 with a new gas cap gasket from MikesXS.
100_9969

On this style Yamaha cap you remove the two lock screws and the cap opens up to make it easy to change the gasket and clean it up.
100_9971

Here it is cleaned up, and making sure the vent holes are clear. Clogged gas cap venting is a big cause of poor running on older bikes.
100_9973

You need to hold the spring loaded latch in position when reassembling.
100_9977

One of the first things I had done on this project was finding a smaller petcock in order for the tank to fit.
100_8301

I had made an adapter to use this style of petcock, and tapped it at an angle to clear the engine.
100_8304

Here is the finished adapter plate.
100_9937

This is how it fits to the tank. I traced it with a knife, and then removed any paint for a better seal.
100_9979

Making a gasket for the adapter, I used an modelers knife to cut out the center.
100_9940

I used a leftover throttle body gasket.
100_9981

For thread sealant I'm using Blue Monster since it is recommended for use with gasoline and gasohol. It also comes in a tape, but I'm using the paste.
100_9929

I left it to sit for a couple days to dry, and then a couple more with fuel in it before installing on the bike in case it leaked, but no problems so far.
100_9983

This is the stock huge XS360 petcock that wouldn't clear.
100_7772

The new one has plenty of clearance.
100_9985

I'm using a brass "T" fitting with the single petcock. With small fuel line that fits snugly over the barb fittings I like to use zip ties, pulled tight and then cut. Automotive worm type clamps can squeeze the hose into a "D" shape and actually cause leaks.
100_9988

So close to the first test ride!
100_9990

5/19/13

XS650 project

The plan for the upholstery was to learn to use a sewing machine and do a nice cover for the seat over the winter, but that didn't happen. At this point I'm just wanting to ride it, so it is just going to be a quick vinyl wrap job.
100_9932

I'm using short aluminum pop rivets with washers to secure the vinyl.
100_9921

These work great with the fiberglass pan.
100_9957

I cut and sewed the corners by hand.
100_9960

It is a bit crude, but it is a place to sit.
100_9958

I think is is going to be fairly comfortable. For sure I'll do a better cover next winter, but this will do for now.
100_9967

The front fender is off for another coat of paint. I've got install the petcock and some other small things and it'll be ready for a test ride. I was concerned about the area where the tank and seat base meet, but shimmed the rear tank mount and I'm happy with it.
100_9964

5/14/13

XS650 project

I painted the new front fender semi-gloss black and wanted to see how it looked with the rest of the bodywork, and couldn't be happier with it. I'll hopefully get the seat upholstery finished this weekend.
100_9914

100_9916

5/12/13

Goodyear

This flew near my house today, porpoising up and down. Pretty neat.
100_9897

100_9895

XS650 project

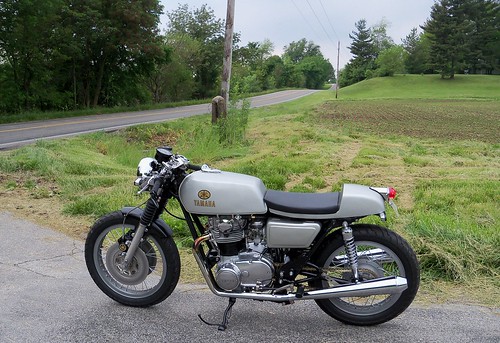
Moving on to the sheet metal, I decided not to use the fender I had on the bike during mock-up. It is a Suzuki T250 fender that I'd modified and used on my SR500 for awhile. I like it, but it is just too full of a fender for this bike.
100_5591

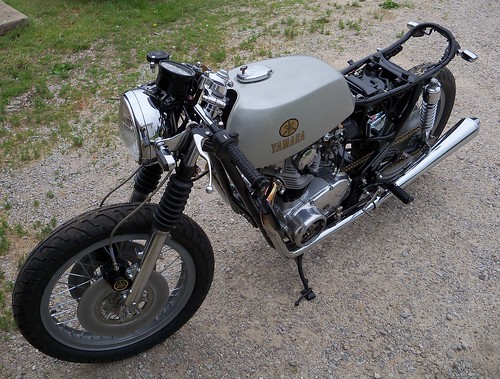
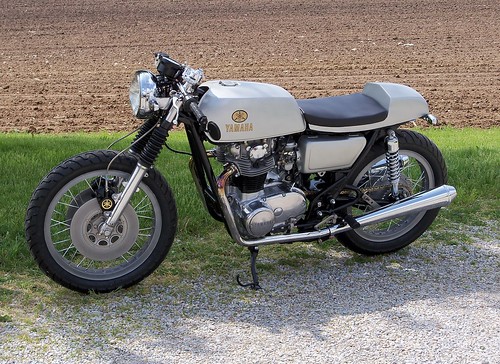
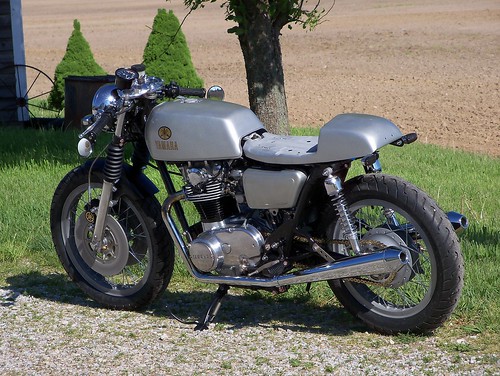
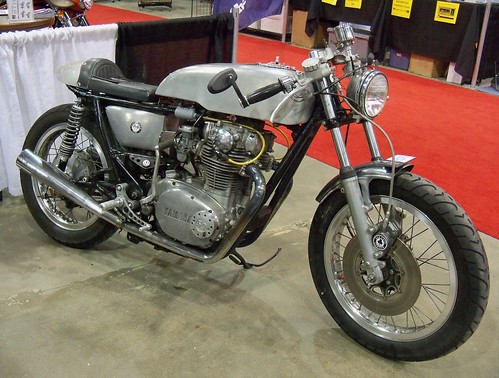
Here is more of what I want, on an XS650 from a show earlier this year. I wanted to make the front a little longer to add clamps for the brake lines, but this is pretty much the look I'm after.
100_8950

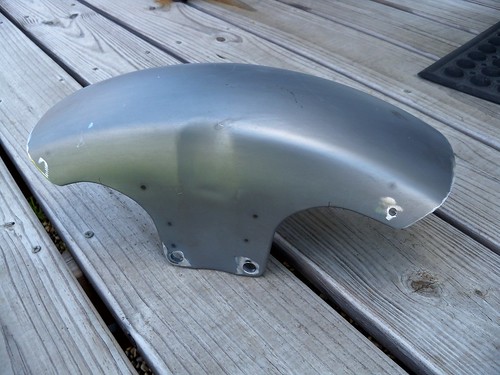
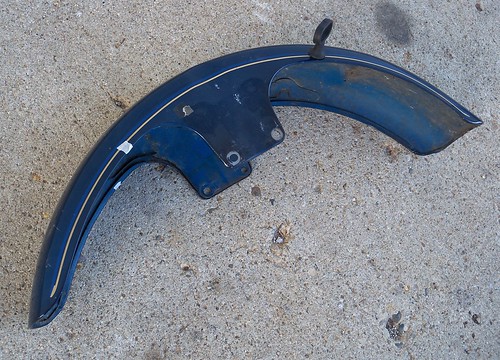
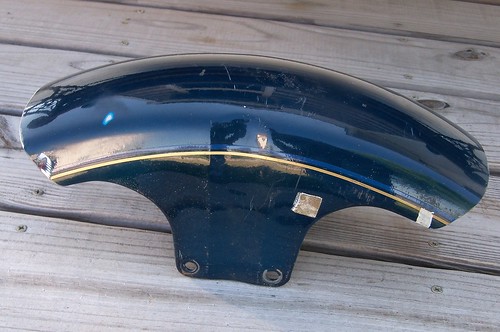
I dug through some fenders I had, and I'm going to use this Suzuki GS850G fender. This is from a GS I had, which I'd put an SR500 fender on, so I knew the mountings were fairly close to the Yamaha. I test fit it and put some masking tape where the brake lines run so I'd leave the front long enough.
100_9849

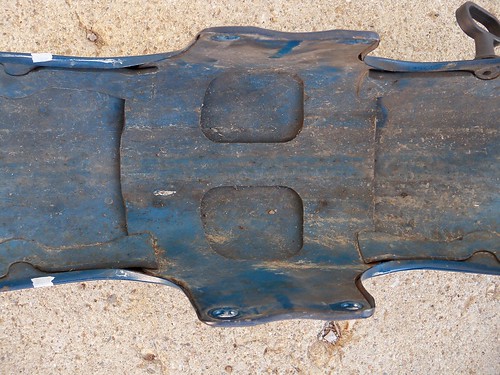
One nice thing about this fender is it has fairly sturdy bracing, unlike the T250 fender, which should help handling a bit.
100_9848

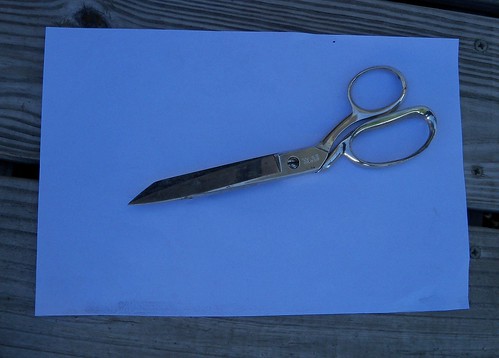
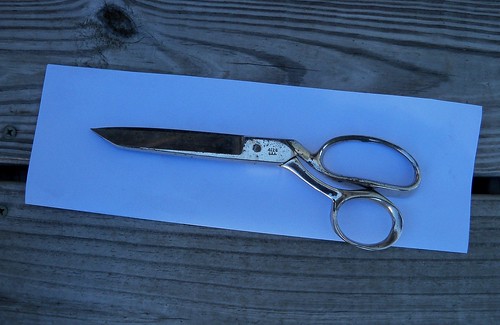
Here is a quick way to get the first rough cut fairly close. Cut a piece of paper the same width as the fender.
100_9850 (2)

Fold it in half.
100_9854

Cut the folded paper to the rough shape of the desired fender cut.
100_9856

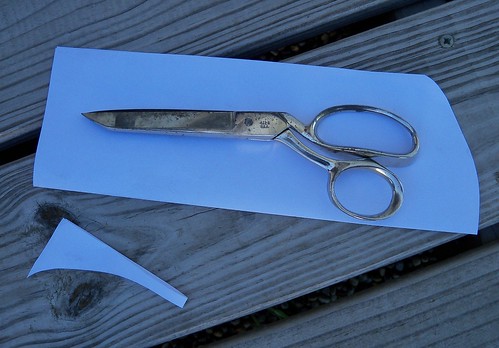
Unfold and tape it in place.
100_9858

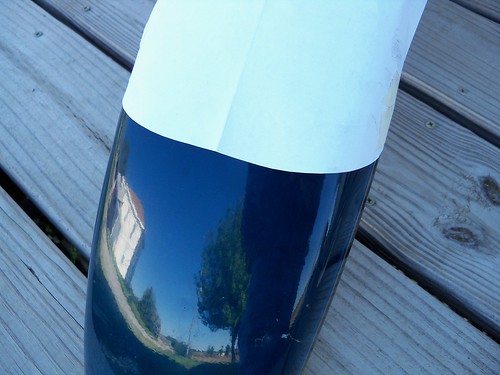
Use some spray paint as a marker.
100_9860 (2)

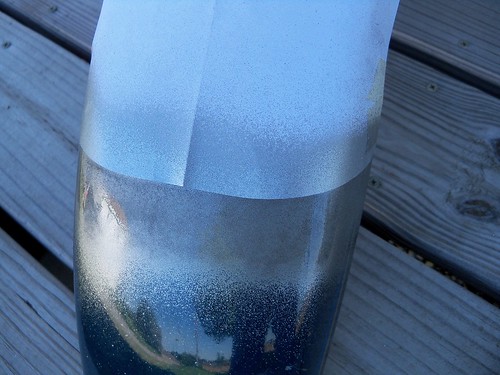
Do the same for the other end, and ready to cut.
100_9862 (2)

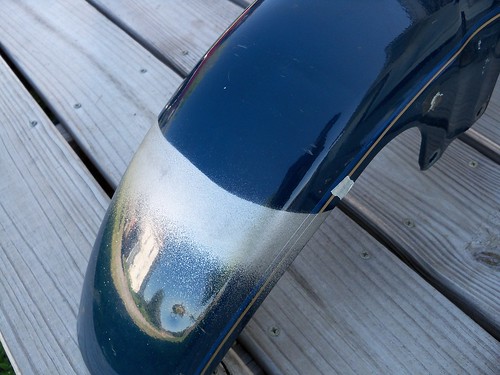
Here is the rough cut.
100_9867

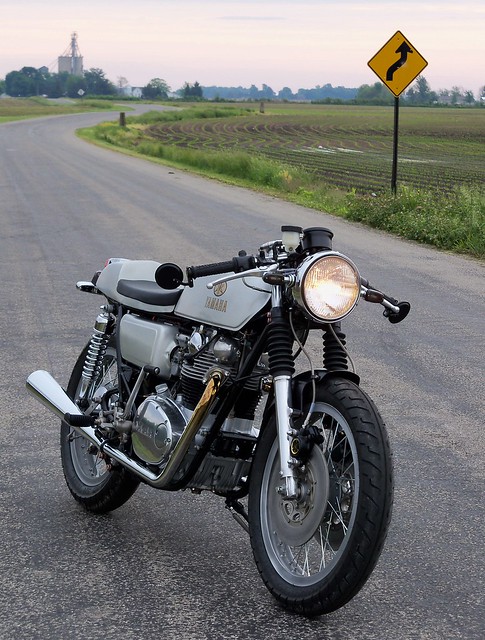
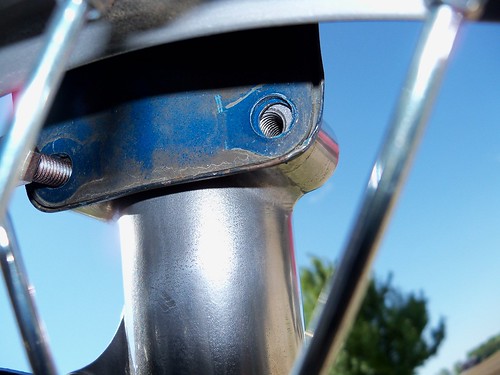
I put it in place without bolts and pushed it against the tire, then put some masking tape across the top of the fork mounts.
100_9871

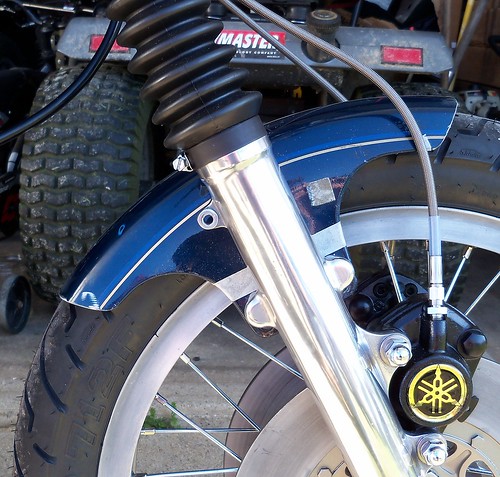
Then lifted it up to where the bolt holes line up, and you can see the clearance. It could go a bit lower, but looks good to me right here.
100_9873

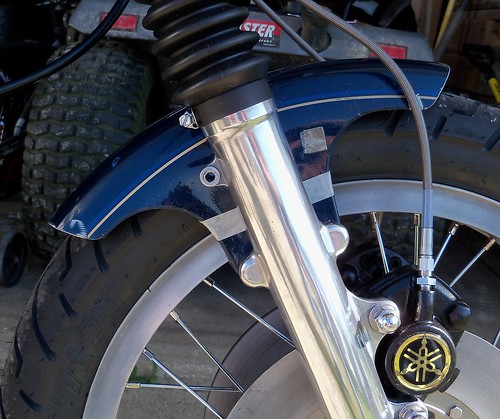
Here is how close the fork and fender mounts are. I just drilled the fender holes out a little bigger to fit it.
100_9877

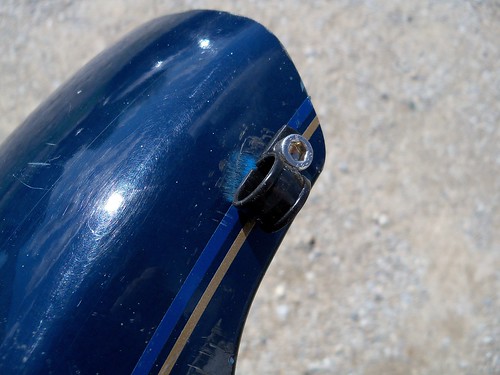
I drilled holes to use some small cable clamps for the brake lines. These are just so they won't rub.
100_9882

Next is to remove the paint with Rust-Oleum aircraft stripper.
100_9884

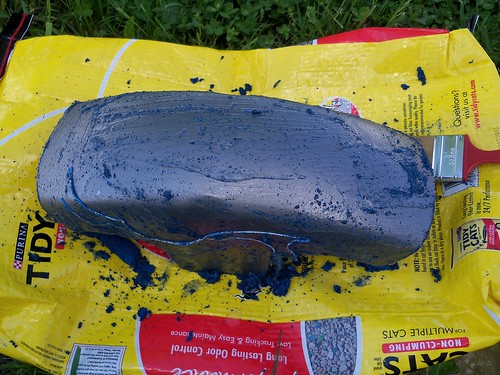
Then I filed the cuts smoother, and it is ready to sandblast and paint.
100_9888