4/30/11

Sportster cafe seat part 7

I got the seat pad knocked out this week. After reading this very helpful thread on Adventure Rider, I decided to try using a gardening knee pad for the foam. I checked Walmart, but the type they had wouldn't have worked, but Menards had just the right kind. I also picked up a 2'x2' piece of 1/4" exterior grade plywood. It took a couple attempts to get something I like, but I'm very happy with the results.
100_3680
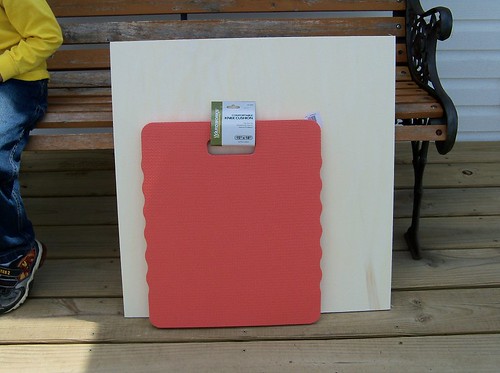
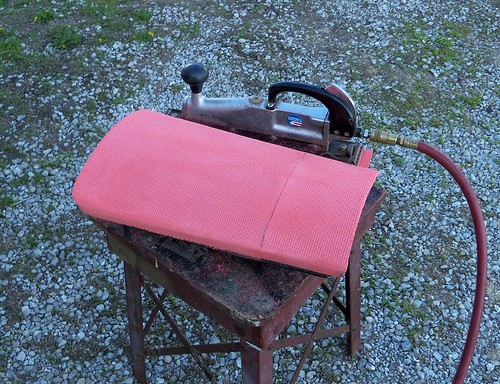
The foam cuts easily, and can be shaped in many different ways. I used my router to knock off some of the edges...
100_3682
...then smooth it with a in-line sander.
100_3683
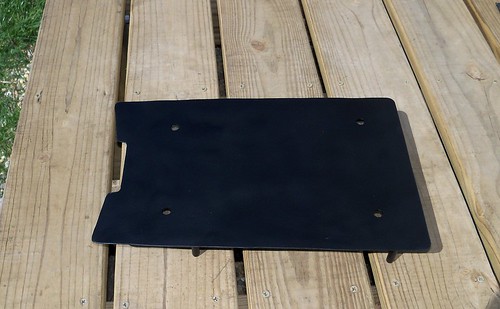
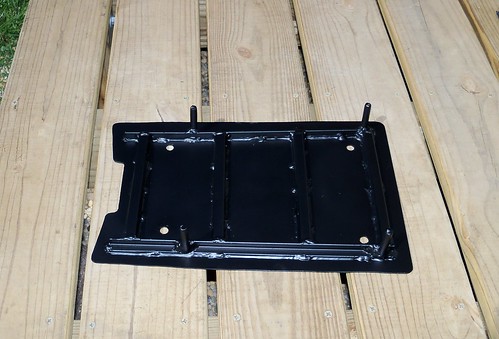
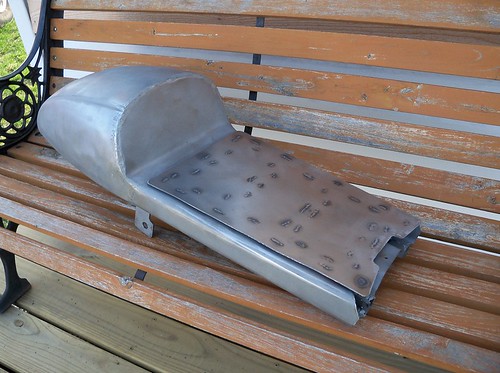
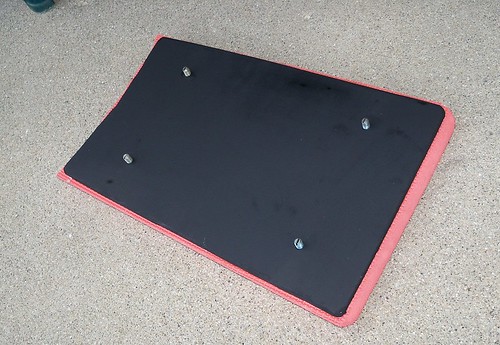
The plywood (painted below) is really just something to staple the cover to, since the lift-off seat base provides the support. This will bolt to the base. I'll use nylon lock nuts, and cut slots in the ends of the bolts so I can use a screwdriver to hold them if the bolts spin when tightening or loosening the nuts.
100_3696
The first attempt with the foam, I didn't like. Too flat and square.
100_3687
The second try I liked. I built it up some in the middle with the foam. You can use an angle grinder to quickly get it roughly shaped, and then finish with course sandpaper. I used a hot glue gun to attach the foam, since it sets up almost instantly, rather than the long curing times of spray adhesives.
100_3717
Final shaping and smoothing with the in-line sander.
100_3716
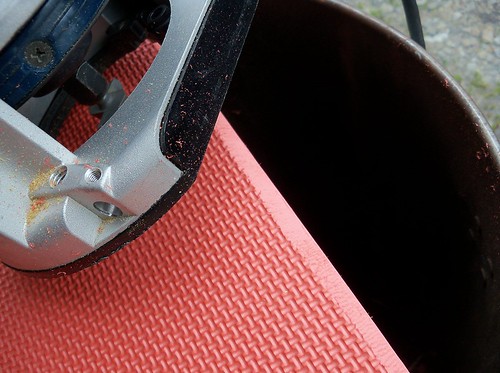
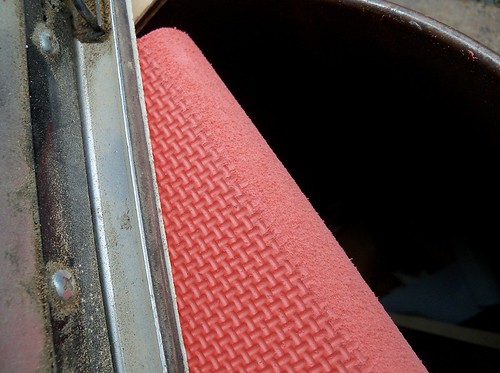
It's just a simple stretch and staple vinyl job. It's very basic, but corners can be tricky. Heating with a hair dryer makes it go much easier. Sometimes trimming and cutting the excess makes it tuck much better also.
100_3728
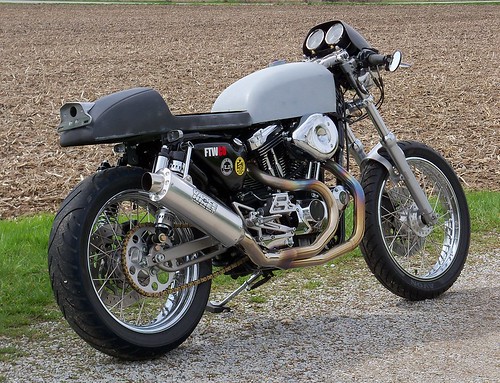
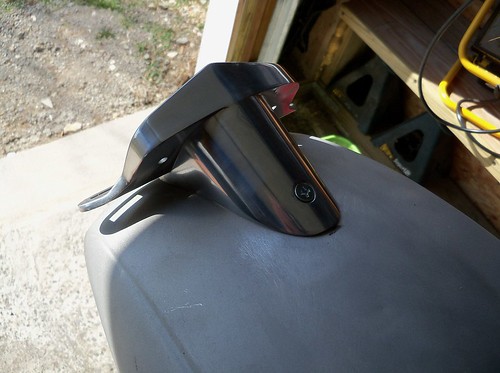
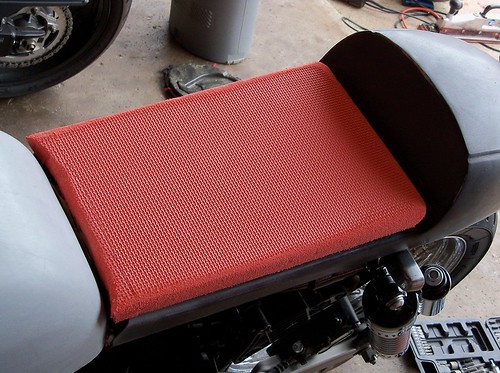
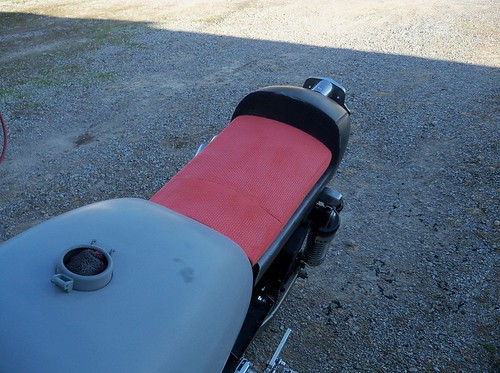
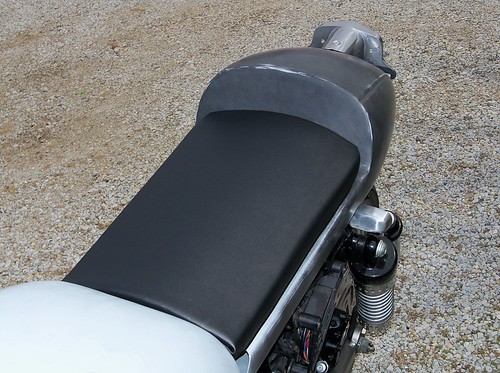
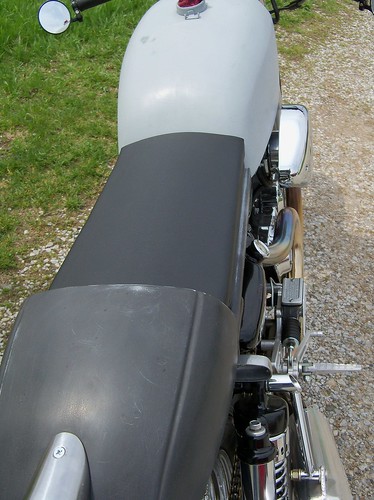
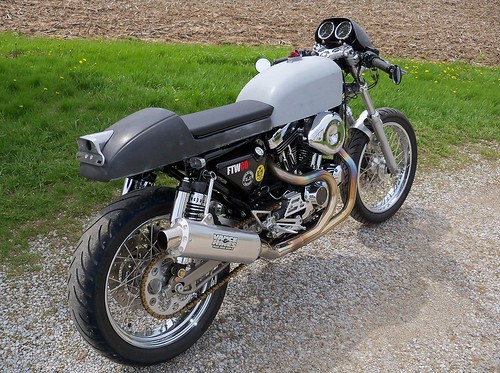
Done! Maybe next winter I'll learn to use a sewing machine, and do a really nice cover, but this looks fine. It feels like it is going to be very comfortable also, for sure better than my other seat. It was made from the trimmed down foam from the stock seat, and the gardening pad feels like a much better foam. I left the tail and tank on the bike to fit the cover, so now they can come off for paint.
100_3738

100_3740

100_3737

100_3732
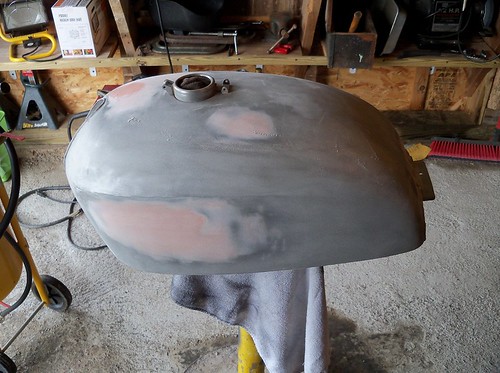
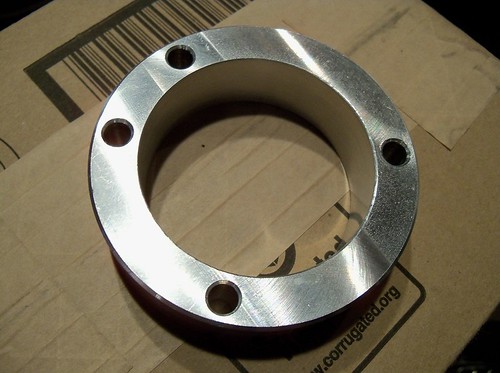
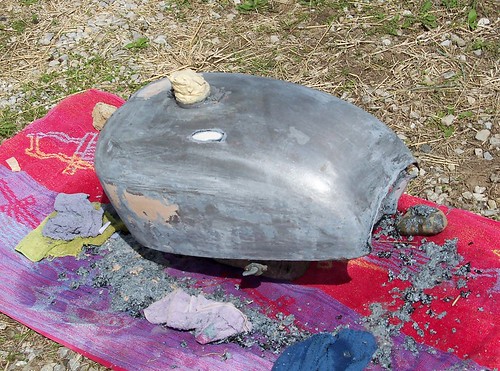
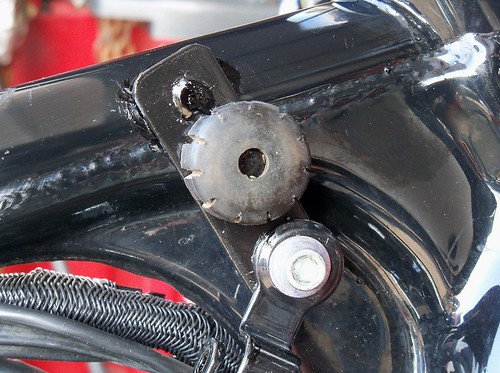
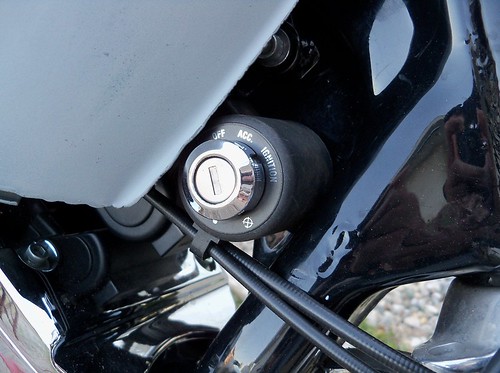
When I went lower with the gas tank, the ignition switch was in the way, and I thought I'd have to move it, but a simple spacer and I have clearance. I had to shave the plastic housing a bit in the front also.
100_3718
It just fits now. The best fixes are the simple fixes.
100_3723
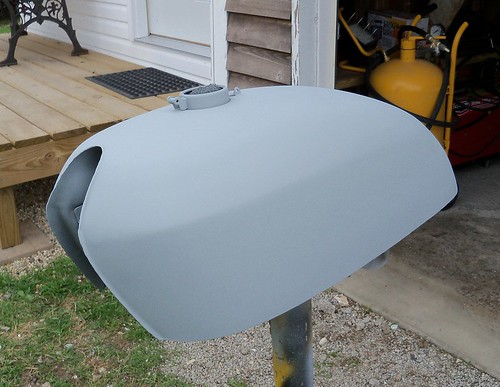
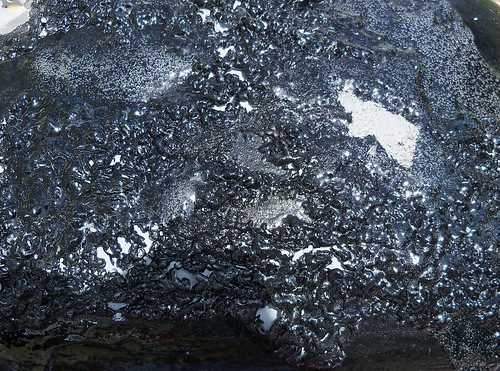
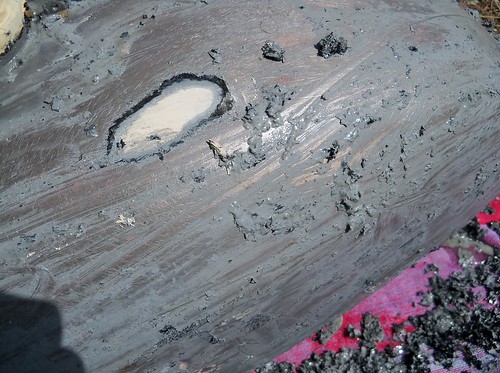
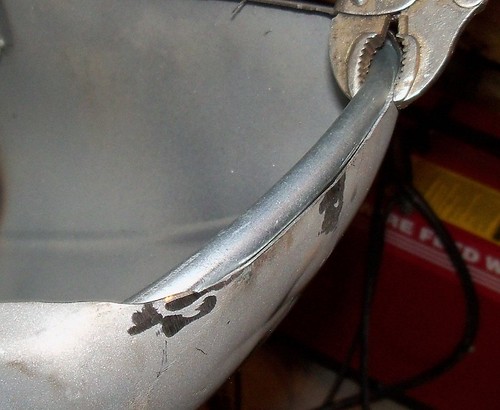
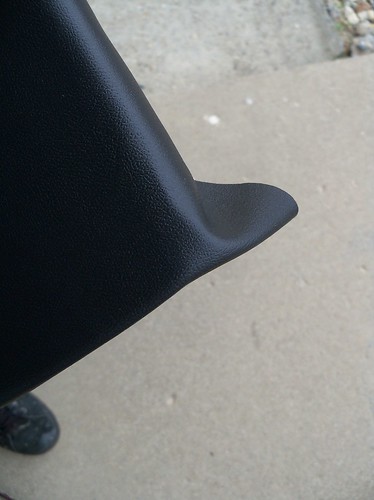
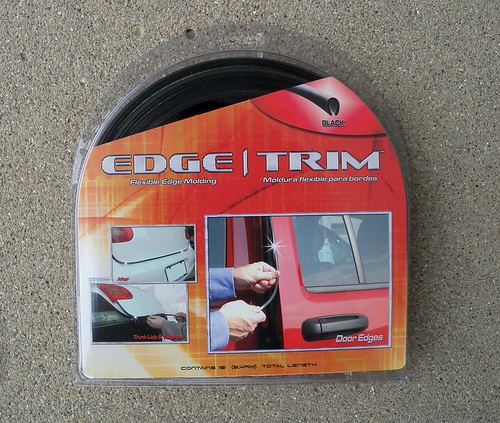
I went to Advance Auto and picked up a new roll of this edging that I'll be using in a few places on the seat. Great stuff. It also works great on gas tanks that have the exposed bottom seam.
100_3729
Next update should be the finish.

4/27/11

CL350 cafe racer


Go to the BMW Cafe Blog for info on this fundraiser.

4/23/11

Sportster cafe seat part 6

In part 5 I stripped the tank. Just a skim coat of filler in a few places was all that was needed.
100_3651
A coat of self-etching primer, then filler primer and some block sanding, and it looks mint.
100_3659
Rather than rebuilding the crusty old petcock, I got a new one from CB750 Supply. They had the best price, and I bought it from their ebay store, since it was free shipping. Some Japanese tanks use 22mm threads, but this tank has 20mm. If it had 22mm threads, I probably would have been able to use the stock XL petcock.
100_3649
Here's the final mock-up before paint. I'm going to do the seat upholstery first.
100_3669
Other than the paint and upholstery, I've got to make the rear wiring harness, and still need to relocate the ignition switch somewhere. Rather than using the stock type pins for the gas cap and latch, I'm going to head to the local Thrifty Supply farm store and see what they have. I'd like to use some small stainless cap screws and brass acorn nuts.

4/17/11

Sportster cafe seat part 5

In part 4 I finished all the metal work, and ready to move on to body work. I'm just doing a low buck spray can job, but still want to do a nice job. Here's the seat getting a final cleaning, and then a wipe down with a paint prep solvent to remove any grease or oils. I used a seam sealer on some of the weld seams inside the cowl.
100_3598
The visible weld seams filled with body filler, then sanded, and next a coat of self-etching primer.
100_3605
Now on to the final bodywork and block sanding. I start off with a light gray filler primer, and then switch to black. Using the different colors makes it easier to see high or low spots. It's 99% ready for the top coat, but I'm going to set it aside now and get the gas tank to this point also.
100_3635

100_3634
Here's the top of the lift-off seat base. I need to start thinking about what I'm going to do for upholstery.
100_3641
The bottom side. It will get rubber edging around the outside edges. I made it sit about 1/8" above the main seat part, so I'll use peel-and-stick weather striping around the bottom to keep water out of the storage area.
100_3642
This Kuyakyn air cleaner spacer fixed the clearance problem with the gas tank.
100_3609
Now to the gas tank. The paint was very thick, so I decided to use a chemical stripper.
100_3625
I've had mixed results with paint strippers before, but not this time. It worked excellent.
100_3626
Almost there! It did take three applications, but certainly the easy way to go.
100_3628
One quick tip on paint strippers, use an old towel instead of newspaper to collect the mess. With the towel it is easier to roll it all up and dispose of. This way you can rinse it off right on the towel, where this would make newspaper fall apart.
100_3631
A light sand blasting to finish, and to remove the old body filler. It has a couple small dents, but overall a nice tank. I'll try to get most of the bodywork done on the tank this week.
100_3645

Mick Doohan


source

4/10/11

Honda

Sportster cafe seat part 4

I decided the CB750 gas tank needed to be lower in the front, and farther forward, so made some brackets to work with the tubing I'd welded into the backbone in part 1. They are made from an old alternator bracket and some steel rod.
100_3568
They bolt to the stock frame coil mount, which is also the stock tank mount. I had to remove the thickness of the brackets from the stock mount tubing. I also had to clearance the bottom of the tank for the right rear area of the front rocker box, and around the coil brackets. I also need to relocate the ignition switch, and space out the air cleaner. I bit more work with lowering the tank, but it really looks better.
100_3574
Here's the tail light/tag mount I'll be using. I bought it from Bellacorse. It's a very nice polished aluminum, and was only $30.
100_3554

100_3558
To finish off the under side of the cowl (at the very rear) I welded in some steel tubing, fitting it here.
100_3561
Here's the lift off seat base frame. It's made from 1/2" square steel tubing, angle stock and steel rod. The steel rod fits into tubing welded into the main seat pan. It's the same thing I did on my other seat, and worked great on it. Having the underseat storage ads a bit of weight (this part weighs 1 pound 13 ounces), but it's nice to have some storage area built in.
100_3548
The top welded on. To remove, you have to lift perfectly straight up. I haven't decided for sure, but I'll probably do the upholstery myself.
100_3570
Ready for body work and paint!
100_3588
I'll likely paint it silver. The gas tank looks nice and clean on the inside, but I'm not sure what I'll find under the black paint. Someone had filled over the Honda badges, so could be some surprises there. The fuel petcock doesn't look to be in the greatest shape, so I'll either rebuild it or buy a new one. The air cleaner cover is off since the tank hits it, so a simple spacer looks to be the best way to fix that.